Dutch Oven Recipes

Dutch Oven Baked Pears and Cherries

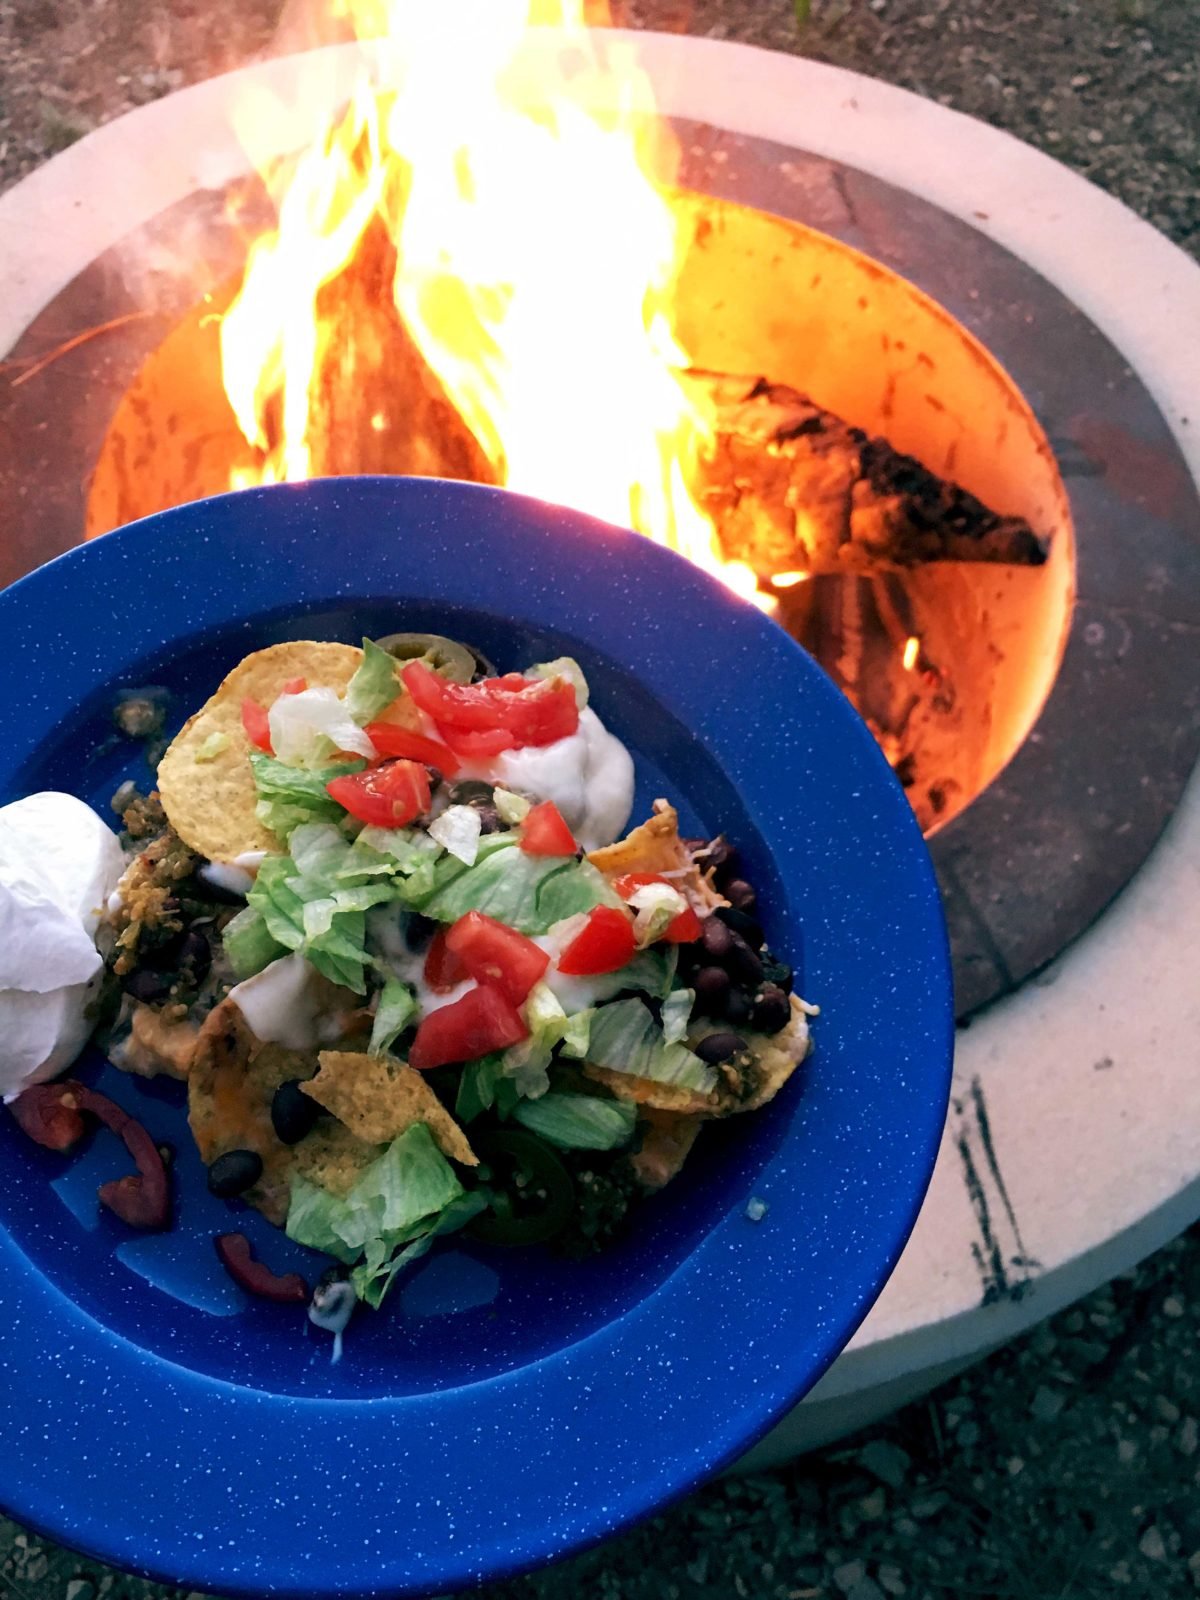
When camping, dessert typically consists of such campfire classics as s'mores, fruit cobblers, and caramelized bananas or peaches. Don't get me wrong, these traditional camping delights are one of the main reasons I enjoy spending a night under the stars. I can't deny the nostalgia I get when roasting a marshmallow on the end of a long stick I spent an hour searching for through the dark, stumbling and tripping over fallen tree branches. Childhood quickly returns as one crunches into a gooey, chocolate and marshmallow graham cracker s'more. It is awesome.

JUMP TO RECIPE

However, since purchasing a dutch oven, I have discovered dessert can be more than something concocted over the flames of a fire on the end of a stick. Dessert can be something you find in a five-star restaurant, such as this baked pear with dried cherries.

While this dessert is decadently eye-catching, and smells sweet and rich, it is incredibly simple to put together. It requires very few ingredients, minimal prep time, and cooks quickly.

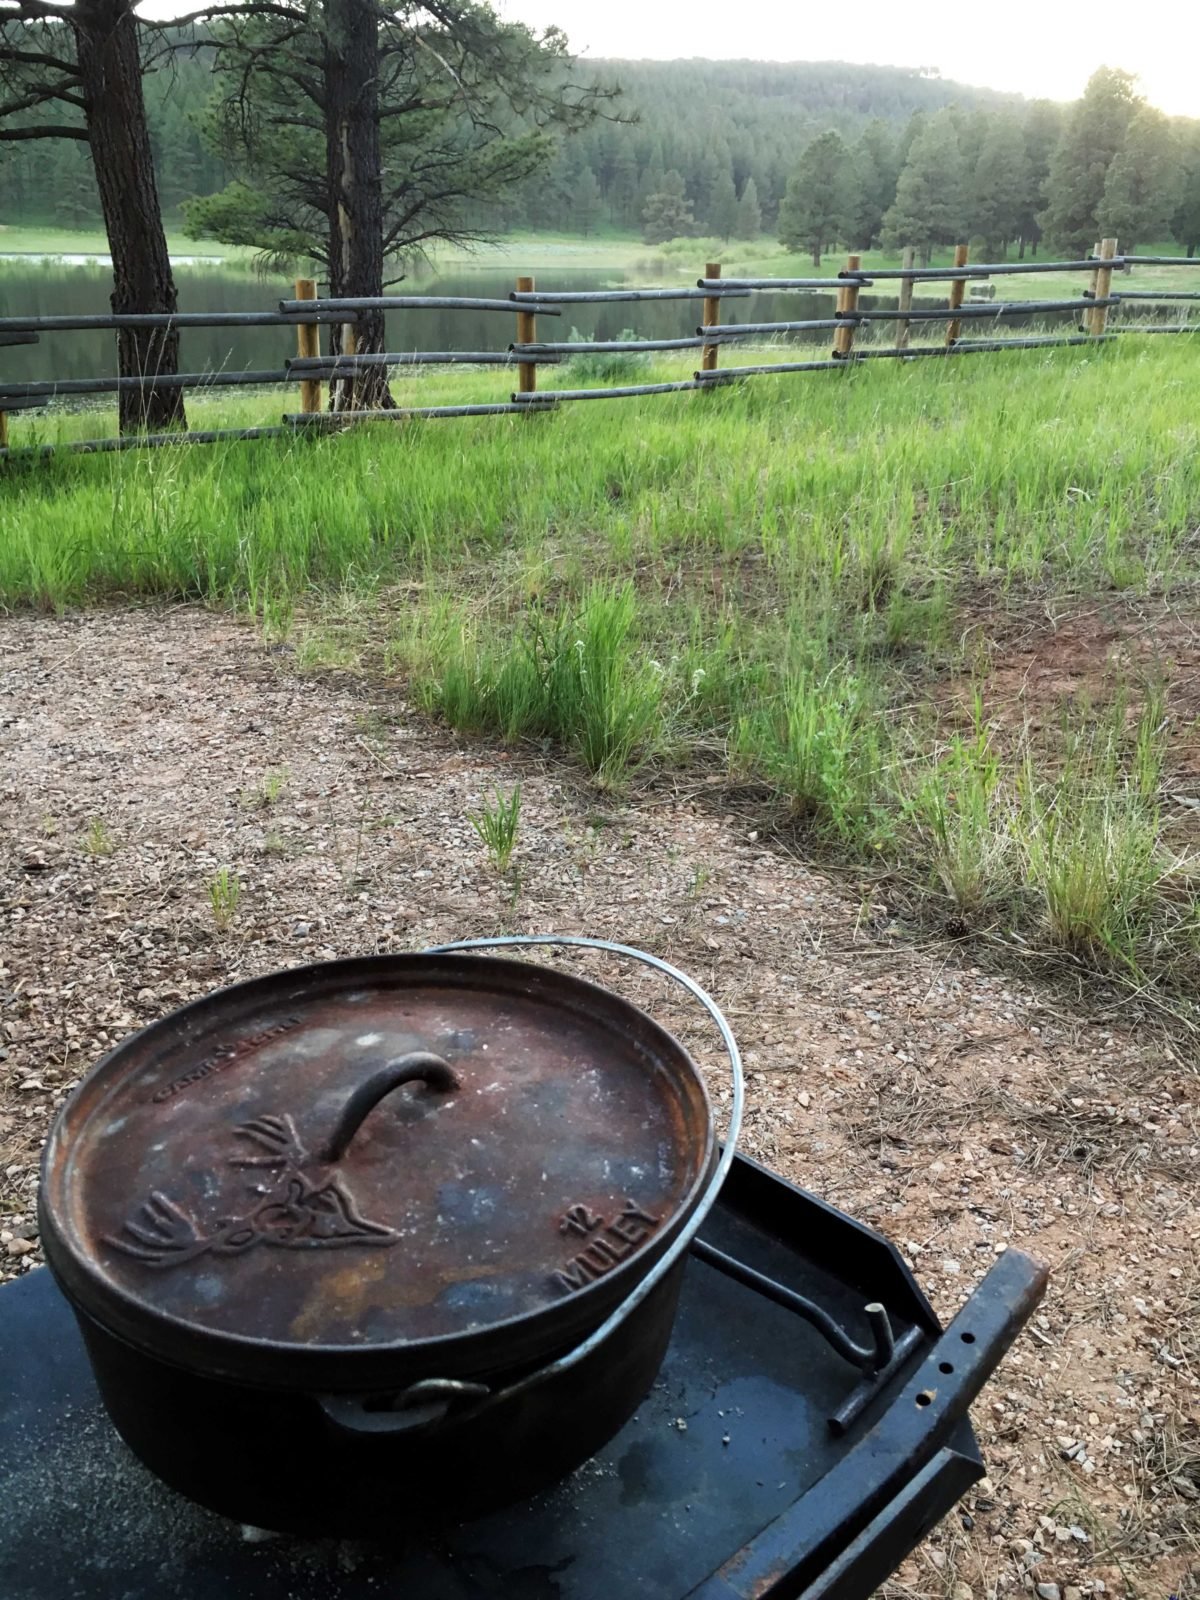
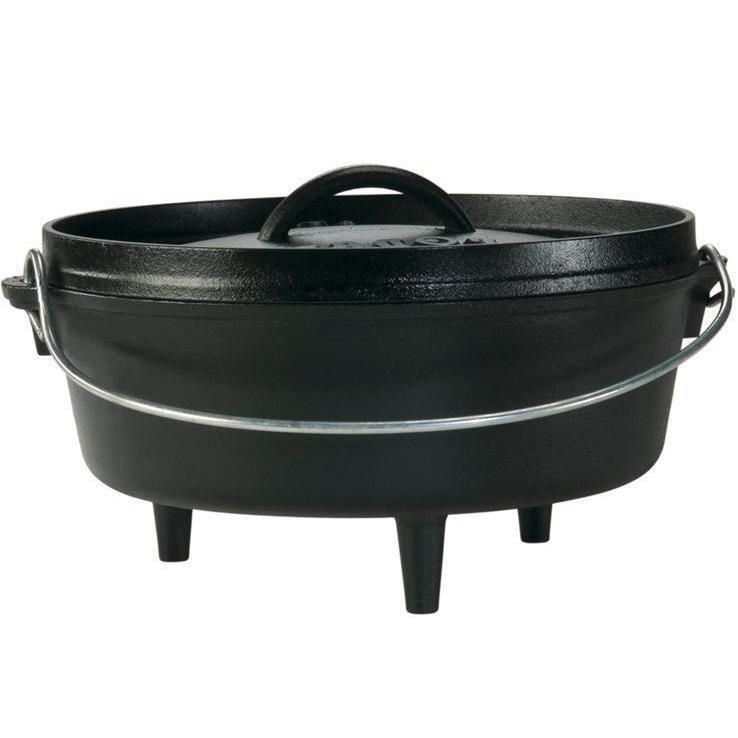
For this dessert, gather together a pear per person. For this time, I did three pears, but a 14 inch oven, like the one I used, will hold up to six. Some dutch oven recipes require a specific oven size in order to create a perfect cooking environment. One of the beauties of this dessert is it can be prepared in any size oven.


Other necessary ingredients include a bottle of your favorite semi-sweet white wine. I used a pinot grigio, but others such as a moscato or zinfandel would work great. Another option would be a semi-sweet red wine. A pinot noir would work nice or maybe a red zinfandel. Also needed for the recipe is some honey, ground cinnamon, nuts, and dried fruit. I used walnuts and dried cherries this time, but other great alternatives could include almonds or pecans for the nuts and currants or cranberries for the dried fruit. As you can see, it is a very flexible and diverse recipe.

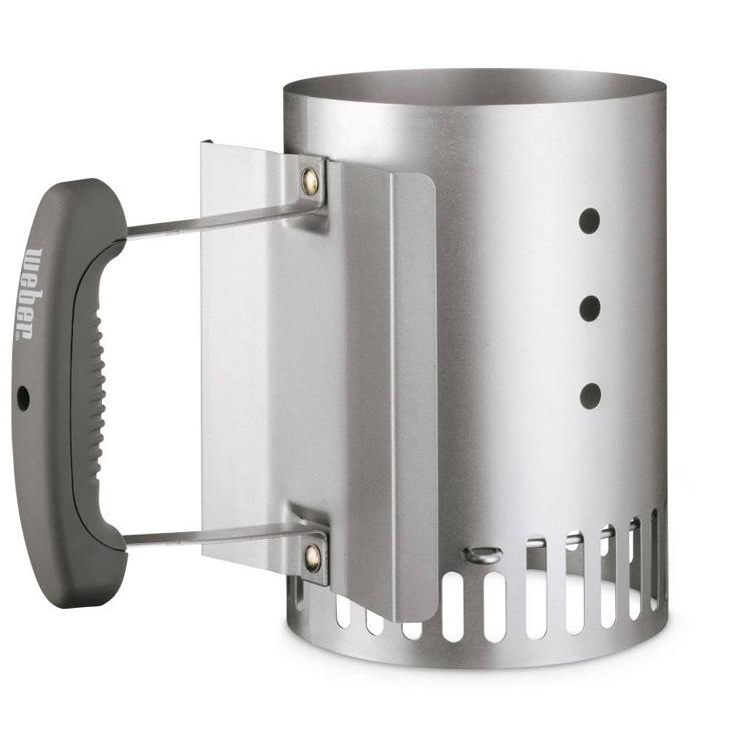
Before prepping the pears for cooking, start the cooking coals. The coals are easiest to start in a charcoal chimney. To do this, crumple up some newspaper and place it below the chimney, pour the desired amount of coals into the chimney, for this recipe you will need around thirty, and light the paper. Allow the coals to cook until the ones at the top of the chimney are just starting to turn grey. This can take awhile, so you want to start the coals a good time in advance, such as twenty minutes.

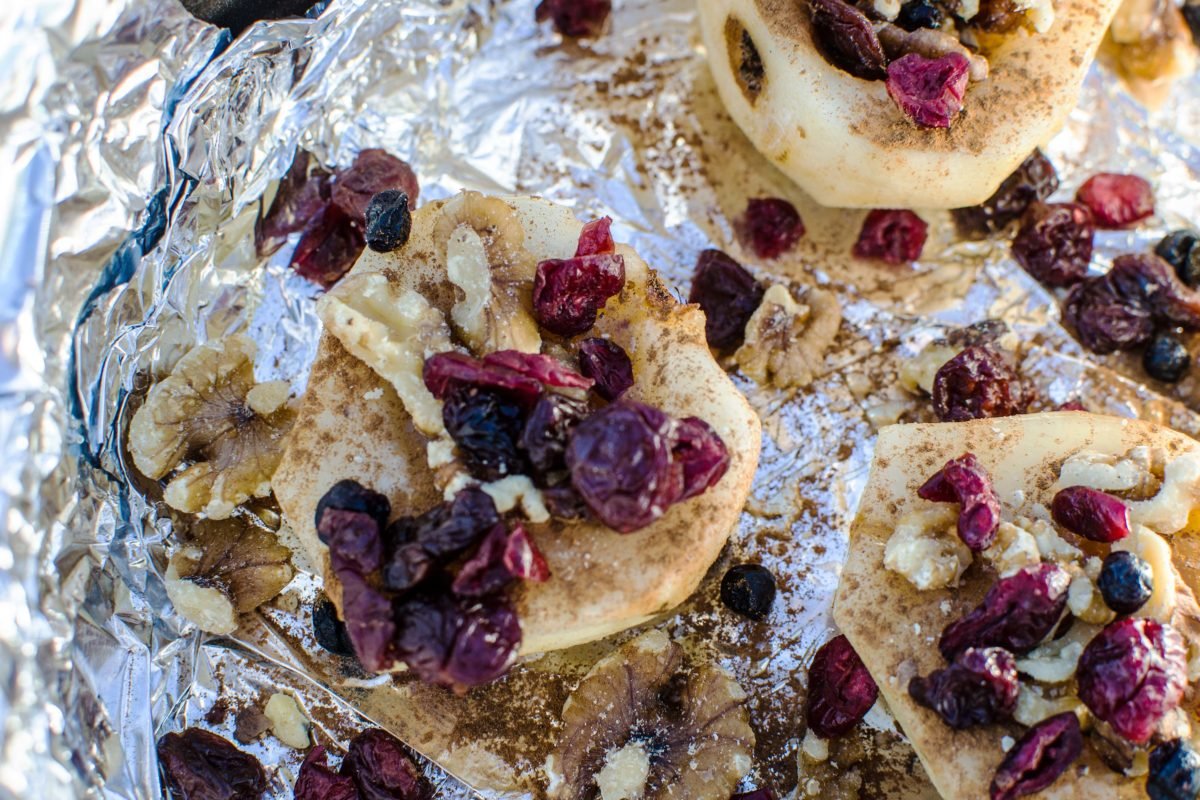
When making desserts, I like to line the inside of the dutch oven with aluminum foil. This helps to keep the pears from sticking to the bottom of the oven, and also makes clean-up easy.

To prepare the pears, begin by removing the peels. Cut the stem off from the top of the fruit, and then remove two thin slices from each side of the pear. Removing the thin slices creates a stable base for the pear to sit in the oven. Finally, cut the pears in half. Use a spoon to scoop out the seeds and coarse center for the fruit, which also creates a nice bed for the honey and cinnamon to settle into.

Lay the pear halves into the oven and drizzle them with honey. Sprinkle each pear with your desired amount of cinnamon. Drop in the dried cherries and nuts. It is okay if some of the ingredients end up in the bottom of the oven instead of on top of the pears, they will just cook down into the wine and create a syrup.

At this point, it is easiest to carry the oven over to the coals. Set the oven on top of about 10 to 12 coals. Slowly pour in your wine, being careful to not splash it over the pears. The amount of wine needed will depend on the size of your oven. I just kept pouring until there was about a half an inch of wine in the bottom of the oven. Cover the oven and place about ten coals on the top of the oven. Allow the pears to cook for twenty to thirty minutes, or until they are soft.

The sweet aromas of the pears and dried cherries may seem like this dessert is already enough, but it doesn't stop here! Plate up two halves of pear per person, making sure each serving is covered with a generous portion of cherries and walnuts. Drizzle the sticky, thin syrup from the bottom of the pan over each pear, and top everything off with a dollop of whipped cream. The warm pears and sticky honey will melt in your mouth, and everything is topped off with the sweet, cool taste of the whipped cream and a slight crunch from the walnuts! This dessert will make you simply sigh.

So, enjoy this decadent fruit dessert, but fear not, s'mores are still on the menu for all camping excursions.


Yield: 4-6
Author: a 12 Gauge Girl
Dutch Oven Baked Pears and Cherries

Dutch Oven Baked Pears and Cherries

( 0 reviews )
A fragrant and delicious dutch oven dessert that is sure to impress all your camping guests. Filled with pears, cherries, and stewed in a light white wine. Topped with nuts and fresh whipped cream.

Ingredients

  • Six bosc pears
  • Three tablespoons honey
  • One tablespoon cinnamon
  • One cup dried cherries or other dried fruit of choice
  • One cup of walnut or other nut of choice
  • Bottle of semi-sweet wine, such as pinot grigio, moscato, or zinfandel
  • Whipped cream for topping

Instructions

  1. Begin by preparing the coal briquettes in the charcoal chimney. Allow coals to cook for twenty to thirty minutes, until the top coals in the chimney start to turn grey.
  2. Line the oven with aluminum foil.
  3. Peel the skin from the pears, and cut the stem from the top.
  4. Take a small slice from two opposite sides of the pear, creating a flat bottom for the pear halves to sit on.
  5. Cut the pears in the half and scoop the seeds out.
  6. Lay the pear halves in the oven and drizzle with honey.
  7. Sprinkle on cinnamon.
  8. Drop in cherries and walnuts.
  9. Place the oven on top of 10 to 12 coals.
  10. Add the wine to oven, taking care to not splash it on the pears. Pour in until about a half inch of liquid is in the bottom of the oven.
  11. Cover and place 10 coals on the top of the oven.
  12. Bake for twenty to thirty minutes, or until the pears are soft.
  13. Top each portion with a healthy dollop of whipped cream!
Did you make this recipe?
Tag @a12gaugegirl on instagram and hashtag it # huntingandcooking

Dutch Oven Nachos

Dutch Oven Nachos have made me re-think campfire meals. I always struggled with dinner the first night of a hunting trip. Usually, we pull into camp after dark. Everyone knows how it goes. You have a long weekend planned full of camping, fishing, hunting, hiking, and recreating, but you can't leave until after work on Friday. And then when you get home from work, you realize you have to go grocery shopping for three days worth of food. And then you realize you have to load the truck. And the entire drive to camp you are remembering all the things you left at home, like a pillow or the coffee (Oh man! Don't even start with me on someone forgetting the coffee, talk about a camping nightmare!). When all is said and done, you pull into camp after dark, and you still have to set everything up!

"Life is a nacho. It can be yummy-crunchy or squishy-yucky. It just depends on how long it takes for you to start eating it." ~ John Updike

It is always at this point I realize dinner is going to be a midnight affair, if we are lucky. Usually I like to start my hunting trip with a memorable dinner to kick the weekend off right, but that plan always backfires, as it is too late to dutch oven anything in hopes it will be ready in a reasonable amount time for everyone to eat. We usually end up grumpily eating sandwiches, which were supposed to be for lunch the next day but have now replaced dinner. Everyone goes to bed a little disappointed at the start of the trip.

Well, this sad story will not be repeated for us anymore! I have found the PERFECT dutch oven meal for your first night at camp: Dutch Oven Nachos! They are quick, easy, delicious, and give that fun feel to the start of the weekend you are looking for, because hey, you are eating nachos in the outdoors and how fun is that? My favorite dutch oven meals are the ones that bring the unthinkable to the outdoor. Usually, nachos are made in the oven, or at least the microwave, and have a ton of ingredients so they don't really sound like a very easy camping meal. Don't be fooled, they are super easy!

The key to not having your nachos ready at midnight is to pull the charcoal chimney out when you first arrive at camp and light your briquettes. The briquettes will be ready to go by the time you are finished setting up the tent. Besides the coals, there is very little prep needed for this meal. Light the coals and allow them to heat until the top ones have just started to turn grey. I used to let them burn until the top ones were completely grey, but this resulted in the coals at the bottom of the chimney amounting to nothing more than dust.

The fun thing about nachos is you can top them with pretty much anything your heart desires. They can be filled with meat or vegetarian, spicy or mild, topped with a pile of veggies, have beans of several varieties, and so on. Anything the old heart desires!

I used a 12 inch Dutch oven for these nachos, but really any size will work. The temperature is not crucial to the success of this meal, like it would be if you were doing biscuits or some type of cake, so you can be flexible in the size of your oven. To start, I poured a very thin layer of nacho cheese sauce in the bottom of the oven. I felt that if I set my chips directly onto the bottom of the pan without a little bit of liquid they might burn. For those of you who might not know what nacho cheese sauce is, like I did not before making this meal, it is canned cheese found in the Hispanic food section of the grocery store. There were several varieties available out my grocery store, and I went with a queso fresco style, but you could get anything that catches your fancy. There were several varieties filled with different chilies or spices.

On top of the thin cheese layer, add a layer of chips. Everyone likes a different style of tortilla chip, and you can't change their mind once it is set. Trust me, I have experienced this with the loved ones in my life. No fight is ever as vicious as when someone pulls out a brand of tortilla chips that is different than my sister's or my dad's favorite brand. So, use whatever brand of tortilla chips you love, but my suggestion, and it is purely a suggestion, is the Mission Tortilla Rounds. I like to use these for nachos because they are a bit thicker than some of the other brands, which means they hold up a little better to the cheese or other ingredients that make nachos soggy.

To the tortillas, add a layer of shredded cheese. I used the Mexican cheese blend, but you could also use any variety of cheddar, Colby, or even Italian style cheese. Pepper jack cheese would add some nice spice and heat to your nachos. Next I poured half a can of black beans on top of the cheese. Again, there are several options of beans that could be added, including red kidney beans, pinto beans, or refried beans. At this point, you could also add meat. For this time around, I was looking to make a very quick meal and I did not add meat, but shredded chicken, pork, or steak would be amazing! You could also do chorizo or hot sausage. And that is something you could prepare at home and it would then be quick and easy to throw onto the nachos.

I added a couple more toppings to this pot of nachos, including pickled jalapenos, sliced black olives, and some diced tomatoes. You can create any flavor combination you want at this point. Other great toppings could include: diced pineapple slices, bell peppers of any color, red or white onion, zucchini (I know sounds, kind of weird but it is actually pretty good), shredded carrots, and whatever else you can dream up.

So, once you have all your toppings added, it is time for the second layer. Add another layer of tortilla chips, top with more cheese, the other half of the can of beans, and all the additional toppings you have decided to add. Top it with a final layer of chips and a sprinkling of whatever cheese is left over. To finish it off, pour the entire can of nacho cheese over the top of the nachos and let it run down through the mountain of chips and toppings you have created.

Place the lid on top of the oven and set over your hot coals. I did about ten coals on the bottom of the oven and added another eight coals to the top. Let the nachos cook for 15 to 20 minutes.

While the nachos are baking away, you can prepare the fresh toppings for your nachos. For this time around, I added shredded lettuce, salsa, diced avocado, and sour cream.

The nachos are ready once the cheese is all melted! Pile on your favorite toppings and enjoy around a crackling campfire!

Happy Hunting!

Dutch Oven Nachos

Dutch Oven Nachos

( 0 reviews )
Author: a 12 Gauge Girl
Prep time: 10 MinCook time: 20 MinTotal time: 30 Min
Nachos aren't the first meal that comes to mind when preparing the campfire, but these dutch oven nachos will change your mind! They are packed with melted cheese, jalapenos, beans, and the meat of your choice. And nothing is more fun around the fire then preparing your dutch oven nacho dinner!

Ingredients

  • 1 bag tortilla chips
  • 1 can beans, any style including black, red kidney, pinto, or refried
  • Half pound meat, your choice of chicken, pork, steak, chorizo, sausage
  • 2 cups shredded cheese
  • 1 can nacho cheese
  • !Additional topping suggestions
  • 1 can sliced black olives
  • 1 shredded carrot
  • 1 jar pickled jalapenos
  • 1 shredded zucchini
  • 1 can diced pineapple
  • 1 diced tomato
  • !Fresh ingredients
  • Cilantro
  • Sour Cream
  • Avocado
  • Salsa
  • Lettuce
  • Diced tomato

Instructions

  1. Heat charcoal briquettes in charcoal chimney until top briquettes are just starting to turn grey, about fifteen to twenty minutes.
  2. In a 12 or 14 inch Dutch oven, pour a very thin layer of nacho cheese in bottom of pan.
  3. Add single layer of tortilla chips.
  4. Top chips with layer of shredded cheese.
  5. Add half of the can of beans.
  6. Add meat, if desired.
  7. Add additional toppings such as sliced jalapenos or black olives.
  8. Create a second layer of chips, cheese, beans, meat, and other toppings.
  9. Finish nachos off with a single layer of chips, any remaining cheese, and the rest of the can of nacho cheese.
  10. Cover with lid and cook over coals for fifteen to twenty minutes. Cook with 8 to 10 coals on bottom of oven and 6 to 8 coals on the top.
  11. Serve with additional fresh toppings.
Did you make this recipe?
Tag @a12gaugegirl on instagram and hashtag it #huntingandcooking

Chipotle Apricot Rum Chicken: Dutch Oven Dinner

Chipotle Apricot Rum Chicken: Dutch Oven Dinner

I was so happy come Saturday evening to have a spicy, warm, rich dutch oven dinner ready to share with the hunting camp. This recipe takes a bit of time to cook, but is worth the wait and is very simple to put together. It is perfect for a chilly evening and a tired, maybe even exhausted, camp full of people.

Dutch Oven Apple Pie

Dutch Oven Apple Pie

Homemade spice-filled apple pie straight out of the dutch oven. Your camp will smell great with the scent of warm apples, spicy cinnamon, and flaky buttery crust cooking in the dutch oven.

Dutch Oven Pineapple Upside Cake

Dutch Oven Pineapple Upside Cake

Dutch oven dessert goodness is served up with this classic pineapple upside down cake. Pineapple upside down cake is a quick and easy campfire dessert filled with sweet, sticky pineapple and classic maraschino cherries on top.

Elk Shepherds Pie: Dutch Oven

Elk Shepherds Pie: Dutch Oven

Wild game meat with vegetables and a tasty red wine gravy are topped with a dome of creamy mashed potatoes and melted cheddar cheese. All cooked up in the dutch oven.

Dutch Oven Chicken Cordon Bleu

Dutch Oven Chicken Cordon Bleu

Juicy chicken and ham with a cheesy center are crisped to perfection and covered in a creamy sauce. This super easy Dutch oven meal is perfect around the campfire or easy to make at home too.

Dutch Oven Biscuits and Gravy

Dutch Oven Biscuits and Gravy

This quick and easy dutch oven recipe for biscuits and gravy is perfect for whipping up in the backcountry. The silky and creamy gravy is bubbling over with chunky wild game sausage and bursts of pepper. Perfect for sharing around the morning campfire.