
Bear Shank Osso Buco. It is a meal so commanding that just the name is a sentence of its own. I can’t think of a dish that I feel more comforted by and calm while preparing, but at the same time have zero patience as I wait for it to finish in the oven. It is, to me, the definition of comfort food.

Bear Shank Osso Buco Final Plate
Translating from Italian to English, Osso Buco literally means “bone with a hole” because the dish is the braising of the shank from an animal. The shanks are crosscut, exposing the marrow hole of the bone, and the meat surrounding the bone is tough. Osso Buco takes these two unique aspects of the cut of meat, the still intact marrow of the bone and the ligament filled tough meat, to create a very flavorful, hearty, and tender dish.
Though not a traditional Osso Buco, this Bear Shank Osso Buco is packed with a full flavor experience! The bear shank is tender and savory, the sauce is rich and silky from the bone marrow but also incredibly flavorful from the spice mixture, and the polenta is creamy and cheesy. It also isn’t too hard to pull off!
The hardest part of preparing Bear Shank Osso Buco is the wait. You brown your shank, chop up your vegetables, put all the kids in the dutch oven swimming pool, and then…you wait…for hours.
The wait is definitely worth it, but man-oh-man does it feel like forever.
Osso Buco’s story starts from Celtic origins and the culinary tradition of Lombard cuisine. Lombard cuisine, developed mostly in the Lombardy provinces of Italy, but this cacophony of cooking influences across centuries of cultures is a collection of rices, pastas, soups, risottos, and polenta. The cuisine is extremely varied, but utilizes a lot of butter, oils, and other cooking fats. It is also known for dishes that are “low and slow” such as braised meats and stews.
A traditional Lombard cuisine Osso Buco is a veal shank slow braised in white wine and broth with carrots, onions, and celery. With this simple presentation, the marrow is the star of the show.
This Bear Shank Osso Buco recipe has a little bit more going on than a traditional Osso Buco, but it was built using the blocks of a traditional Osso Buco with a little “adjusting” to help the bear shank shine a little more.
Let’s Make Bear Shank Osso Buco
So, let’s get started. Preheat the oven to 325 degrees Fahrenheit. Also, preheat your dutch oven over medium heat. Once the dutch oven is hot, add about a half cup of chopped pancetta and brown until just crispy. Remove the pancetta and set to the side, but reserve the fats left behind for cooking the rest of the dish.
Lightly dust your bear shank in a mixture of flour, salt, and black pepper. Place the coated bear shank into the pancetta fat and brown five minutes per side. If your pancetta didn’t leave enough fat behind for browning your bear shank, add a little oil or butter to the pan.

Remove the browned shank and set aside. To the dutch oven, now add one large diced onion, four diced carrots, four diced stalks of celery, and a large minced shallot. Coat everything in the leftover fats and oils and let cook for five to seven minutes, or until the onion starts to turn translucent.

Braising liquid flavoring: diced carrots, celery, onions, and minced shallot.

Deglaze the dutch oven with a cup of white wine. I always take a minute to bask in the steam from the white wine hitting the hot pan. It smells amazing. I also do that when I put onions into butter. Nothing smells better than onions in butter. Anyway, let the wine cook down for a few minutes to release some of the alcohol, and then add the cup of vegetable stock.
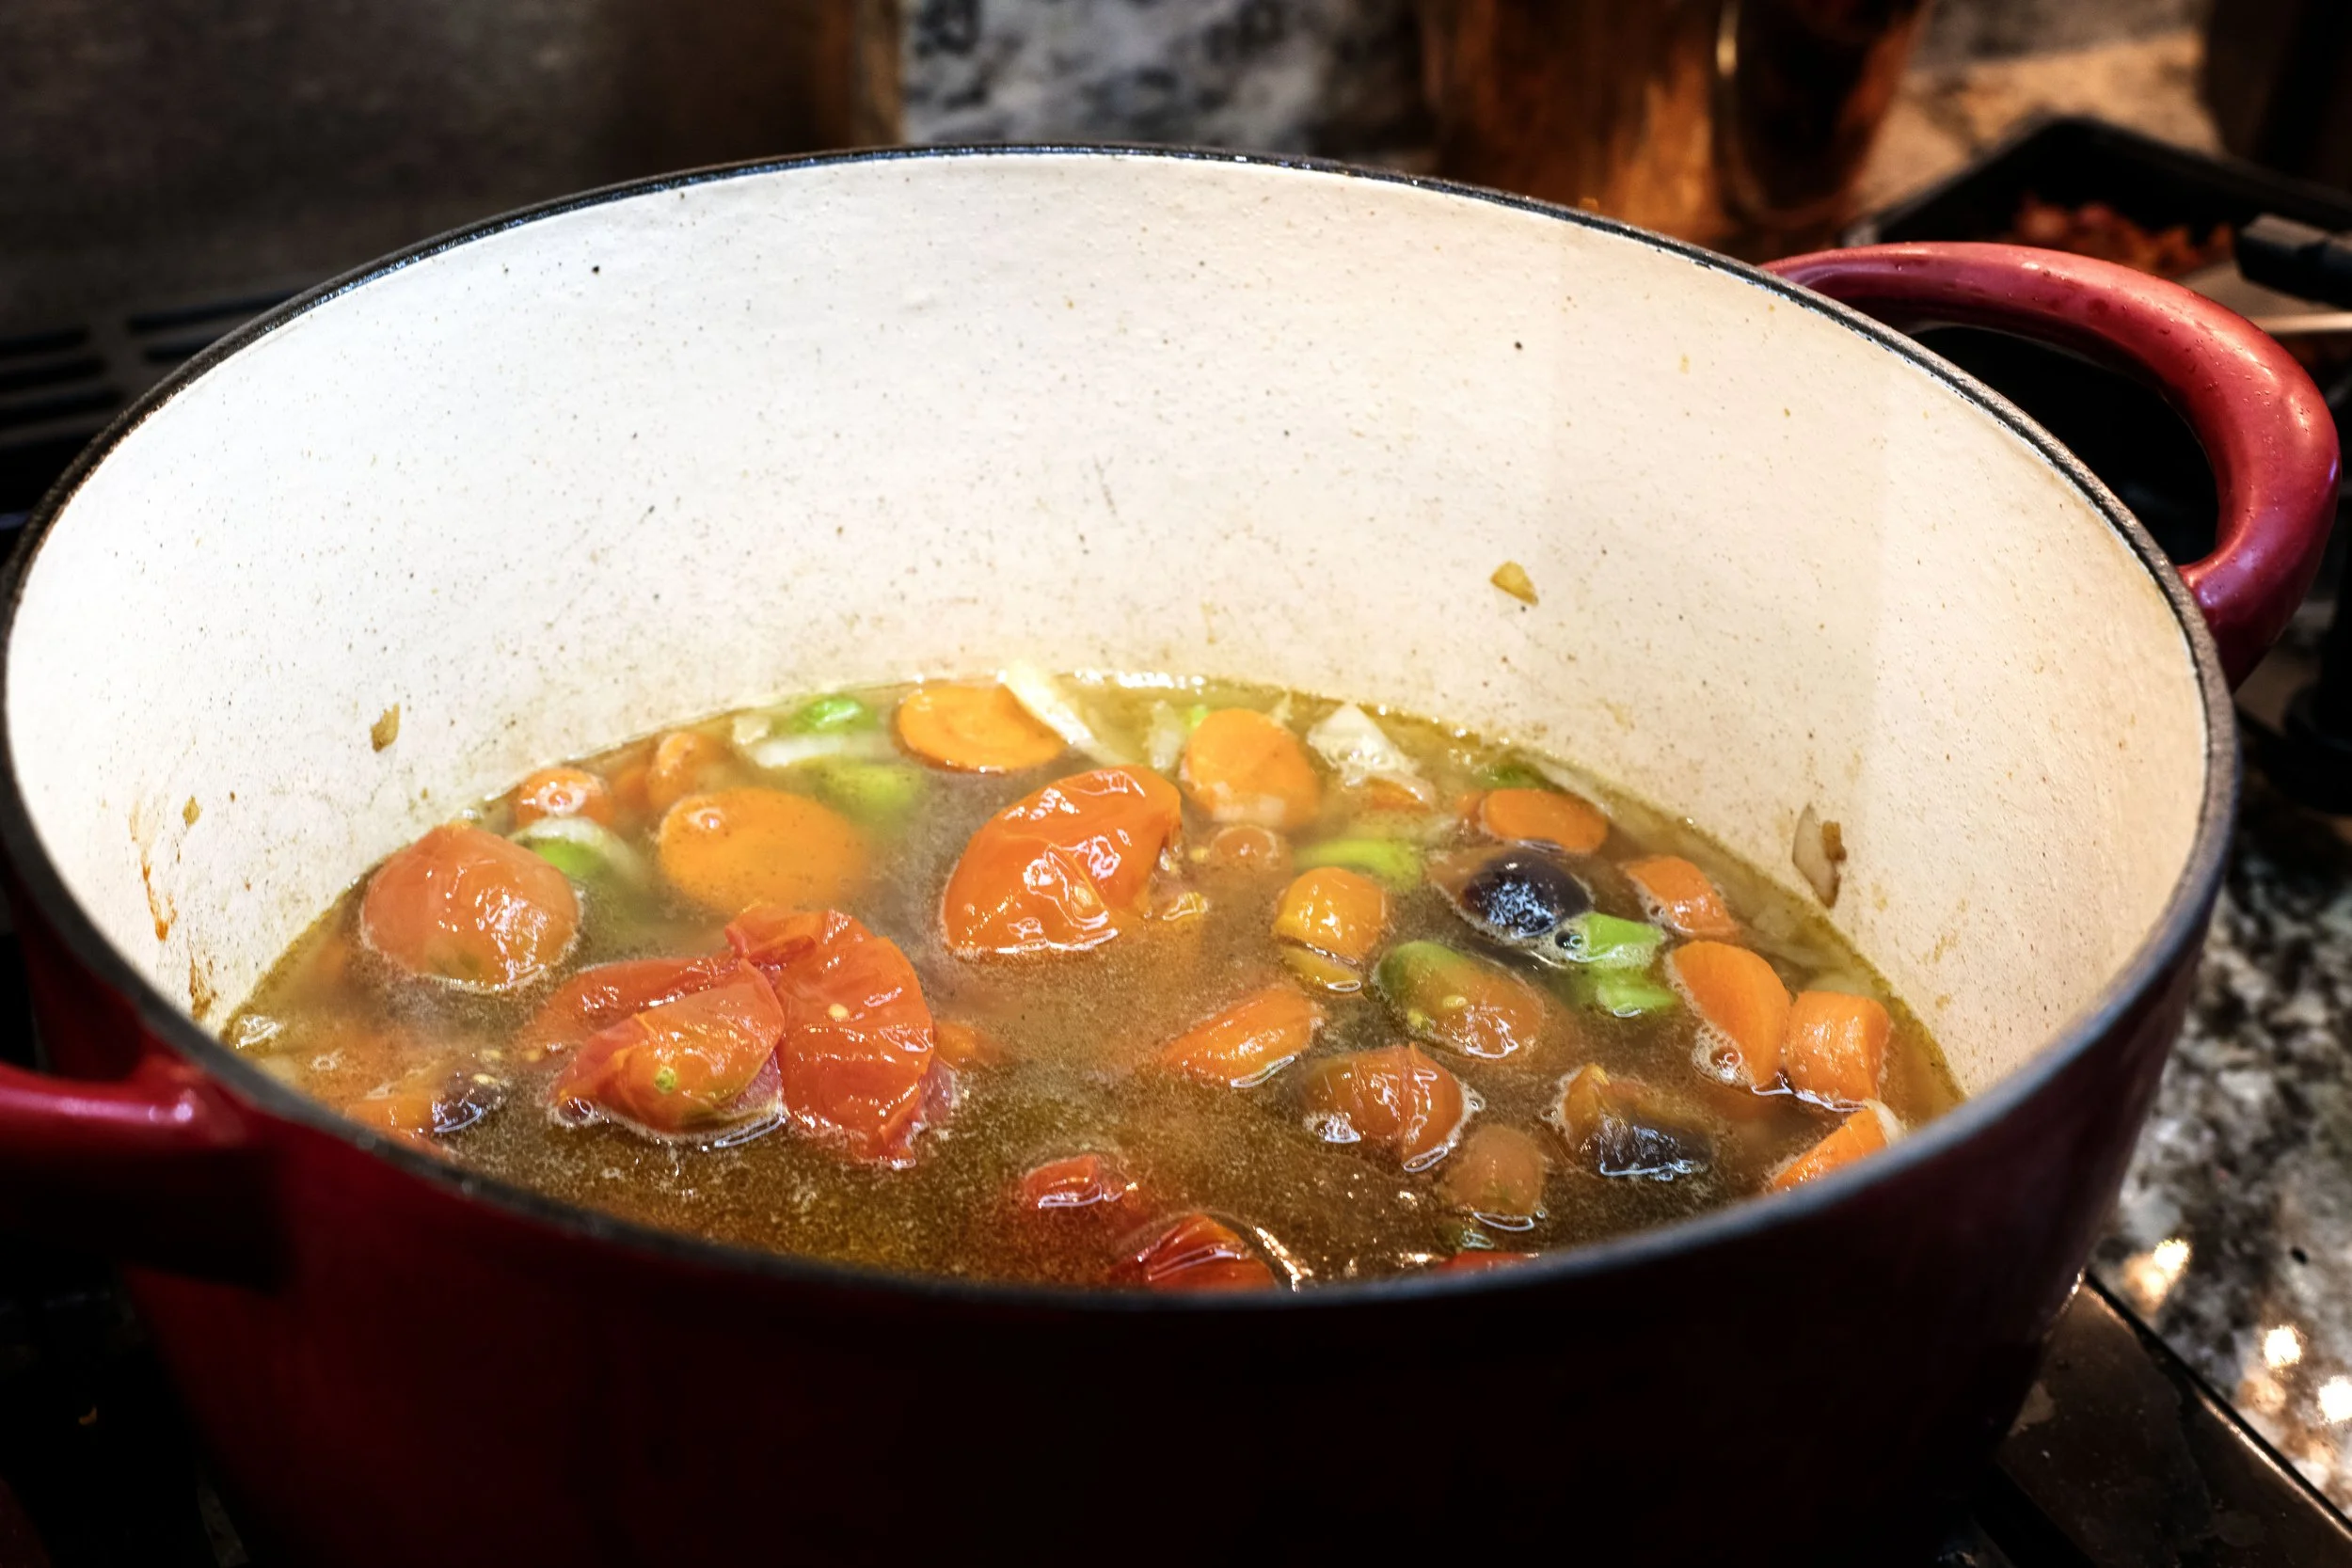
This next step is where we will leave the familiar trail that leads to Osso Buco and add a little flair of our own. Traditionally, Osso Buco does not include tomatoes, but I was just feeling the need to have some tomatoes. I added a pint of cherry tomatoes to the dish. Season to taste with a little salt and pepper. It is also time to add our little bundle of spice joy.
To make your own little bundle of spices, cut a square from cheese cloth and get yourself some twine. You can leave the spices whole because you will pull the entire little bundle from the pot at the end of cooking. My little bouquet bundle included a few sprigs of fresh thyme, a stem of fresh rosemary, a little piece of mace, two bay leaves, a full star anise, and five whole cloves. Tie it up, take a moment to say “Awww” at how cute it is, and drop it into the pot.

Spice bouquet bundle: star anise, whole cloves, thyme, rosemary, mace, and bay leaves
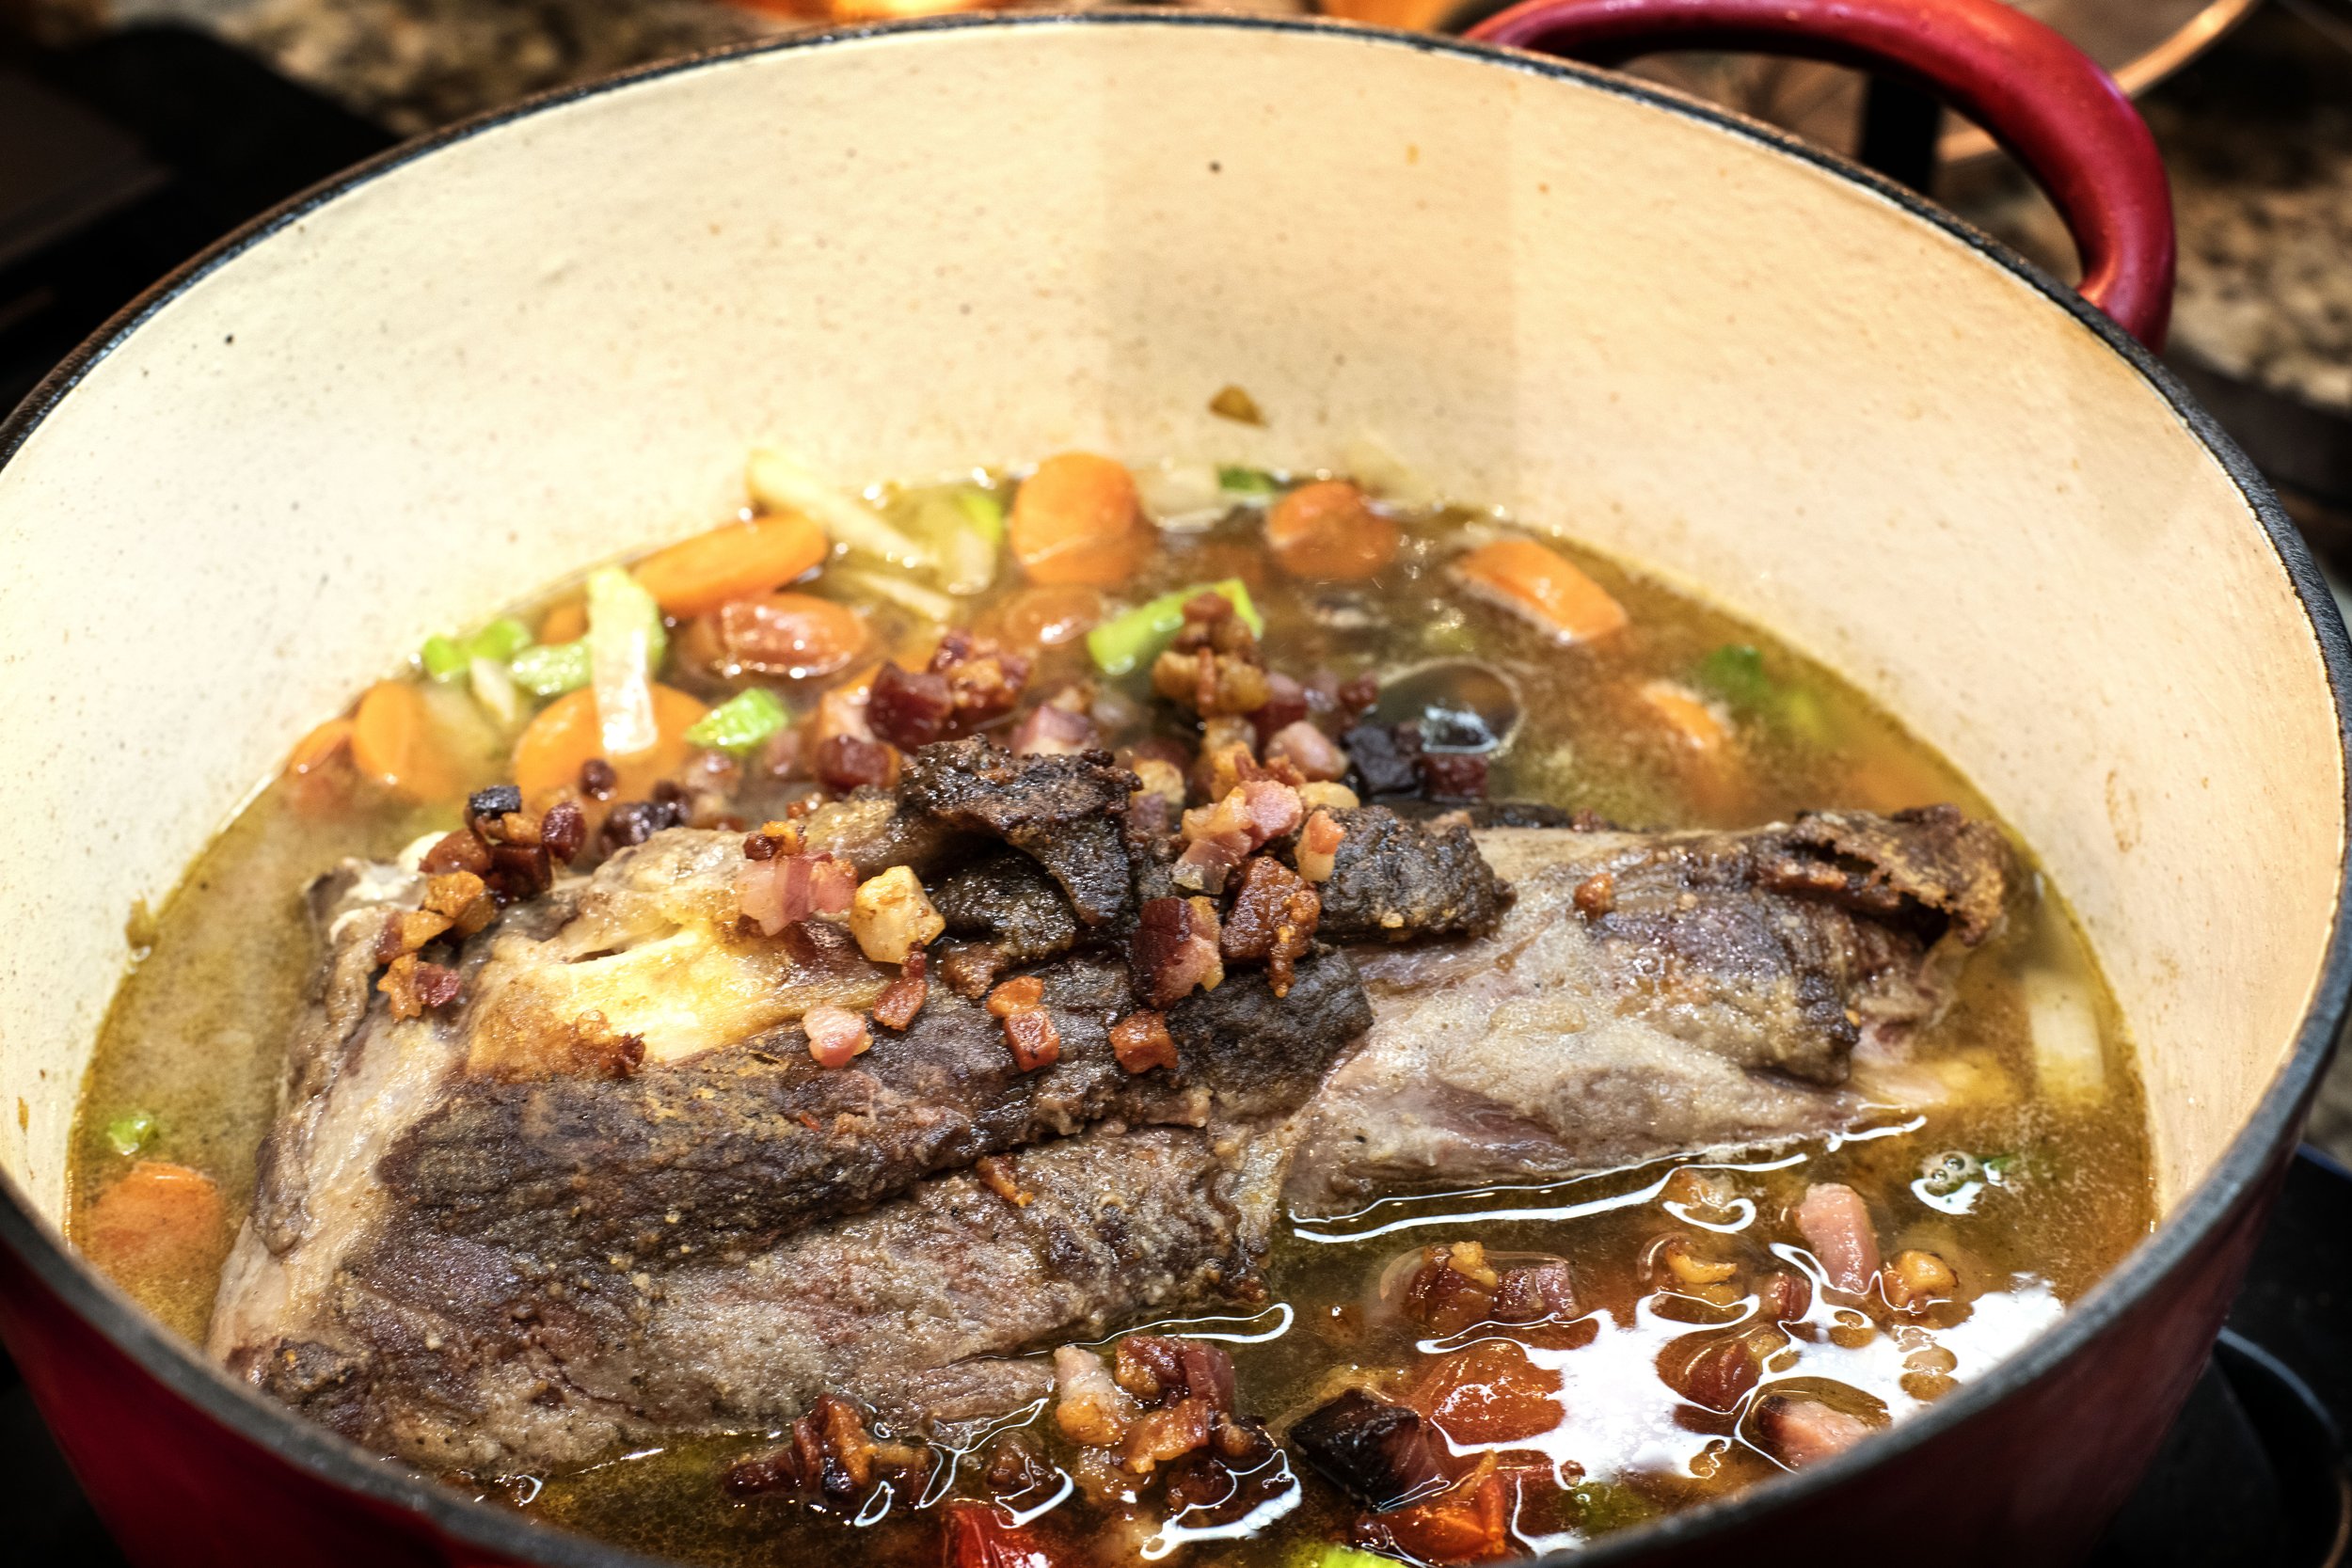
Finally, nestle the bear shank back into the liquid and cover. The liquid should reach about halfway up the shank at all times, so you might check it throughout the braising process to ensure the liquid stays full enough. Shanks are a pretty tough cut of meat off most animals. They are also full of ligaments and tendons, which aren’t always the most appealing items to find in a dish; however, braising actually uses the “flaws” of a shank to the dish’s advantage. The slow cooking at a low temperature in basically a sauna of braising liquid takes the shank meat from tough to tender, sweet, and just a little caramelized from the initial browning. It also breaks down the tastier parts of the ligaments and tendons, releasing collagen into your braising liquid and thus laying the groundwork for a very flavorful and hearty gravy for your final dish.
Slide your dutch oven into a preheated oven to 325 degrees Fahrenheit. Let the shank cook for at least three hours. The shank should be falling apart when you pull it out of the oven. It should be fork tender and shred easily.
Let’s Make Cheesy Polenta
About thirty minutes before your shank is ready to serve, start the polenta. I am in love with cheesy polenta. It is so creamy, a little salty, and soaks up the liquid of anything you top it with. It’s delicious!
You want to make sure your polenta cooks for about thirty minutes so you can start to really break down the corn bits. You want smooth and creamy here. If you do the quick cook recommended on the package, you will end up with chewier and even a bit hard polenta, which is fine, but trust me the slow longer cook is worth the time and effort.
Add three cups of water to a saucepan and a teaspoon of salt. Bring to a boil and then whisk in your cup of polenta. Stir constantly while the polenta thickens. Turn the heat down to low and let the polenta slow cook for up to a half an hour, the longer the better. Stir it frequently to keep it from sticking to the bottom. If it starts to get to dried out, add a little more liquid.
Right before you are ready to pull the polenta from the stove, pour in a cup of cheese. I used gruyere for this dish. The salty but tangy flavor of gruyere sounded perfect with the spice bouquet used to braise the bear shank.
Whelp! It’s time to plate up this bear shank Osso Buco. I can hardly wait! Put a heaping scoop of cheesy, gooey, creamy polenta in a shallow bowl. Add chunks of tender, savory bear shank meat over the top and then drench in the braising liquid gravy. Be sure to get plenty of carrots, celery, and tomatoes. Sprinkle with pancetta bits and fresh minced parsley.
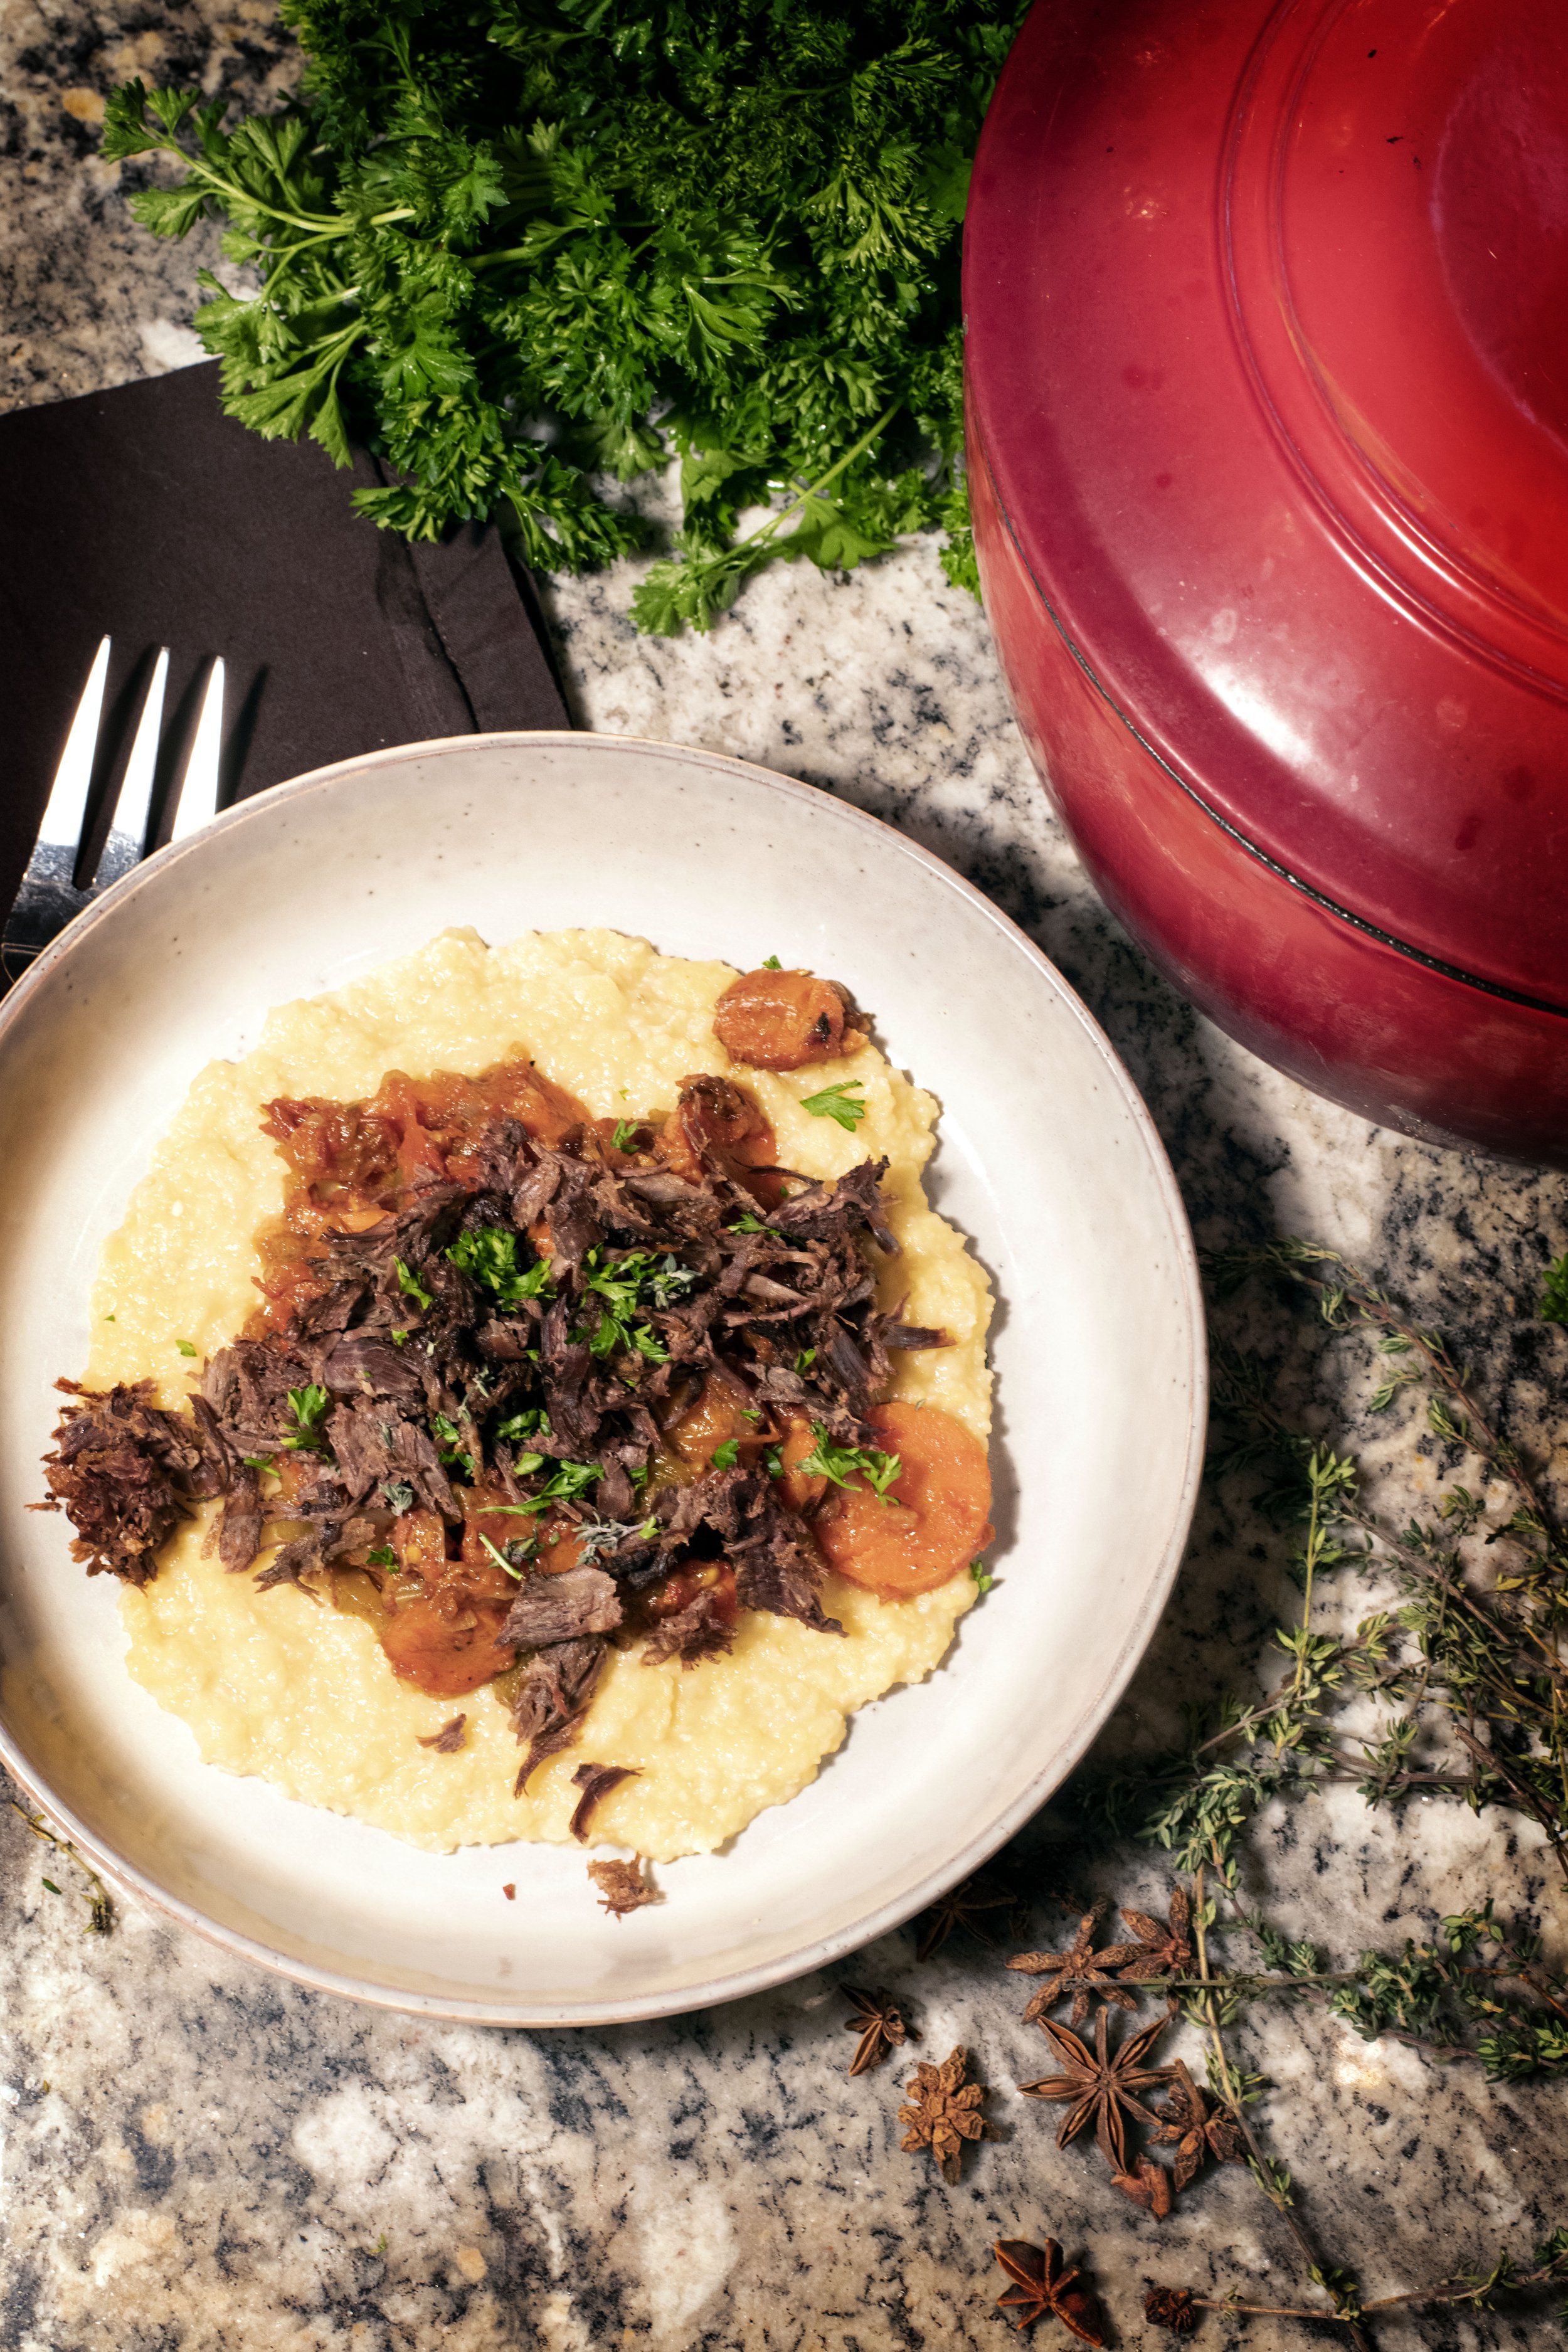
Finally, time to dig in!
Happy Hunting
If You Enjoyed This Recipe, You’ll Also Like…

Sweet Barbacoa Bear Bowl

Elk Tenderloin with Chimichurri Sauce

Seared Deer Steak Medallions in a Cilantro Jalapeno Lime Sauce


