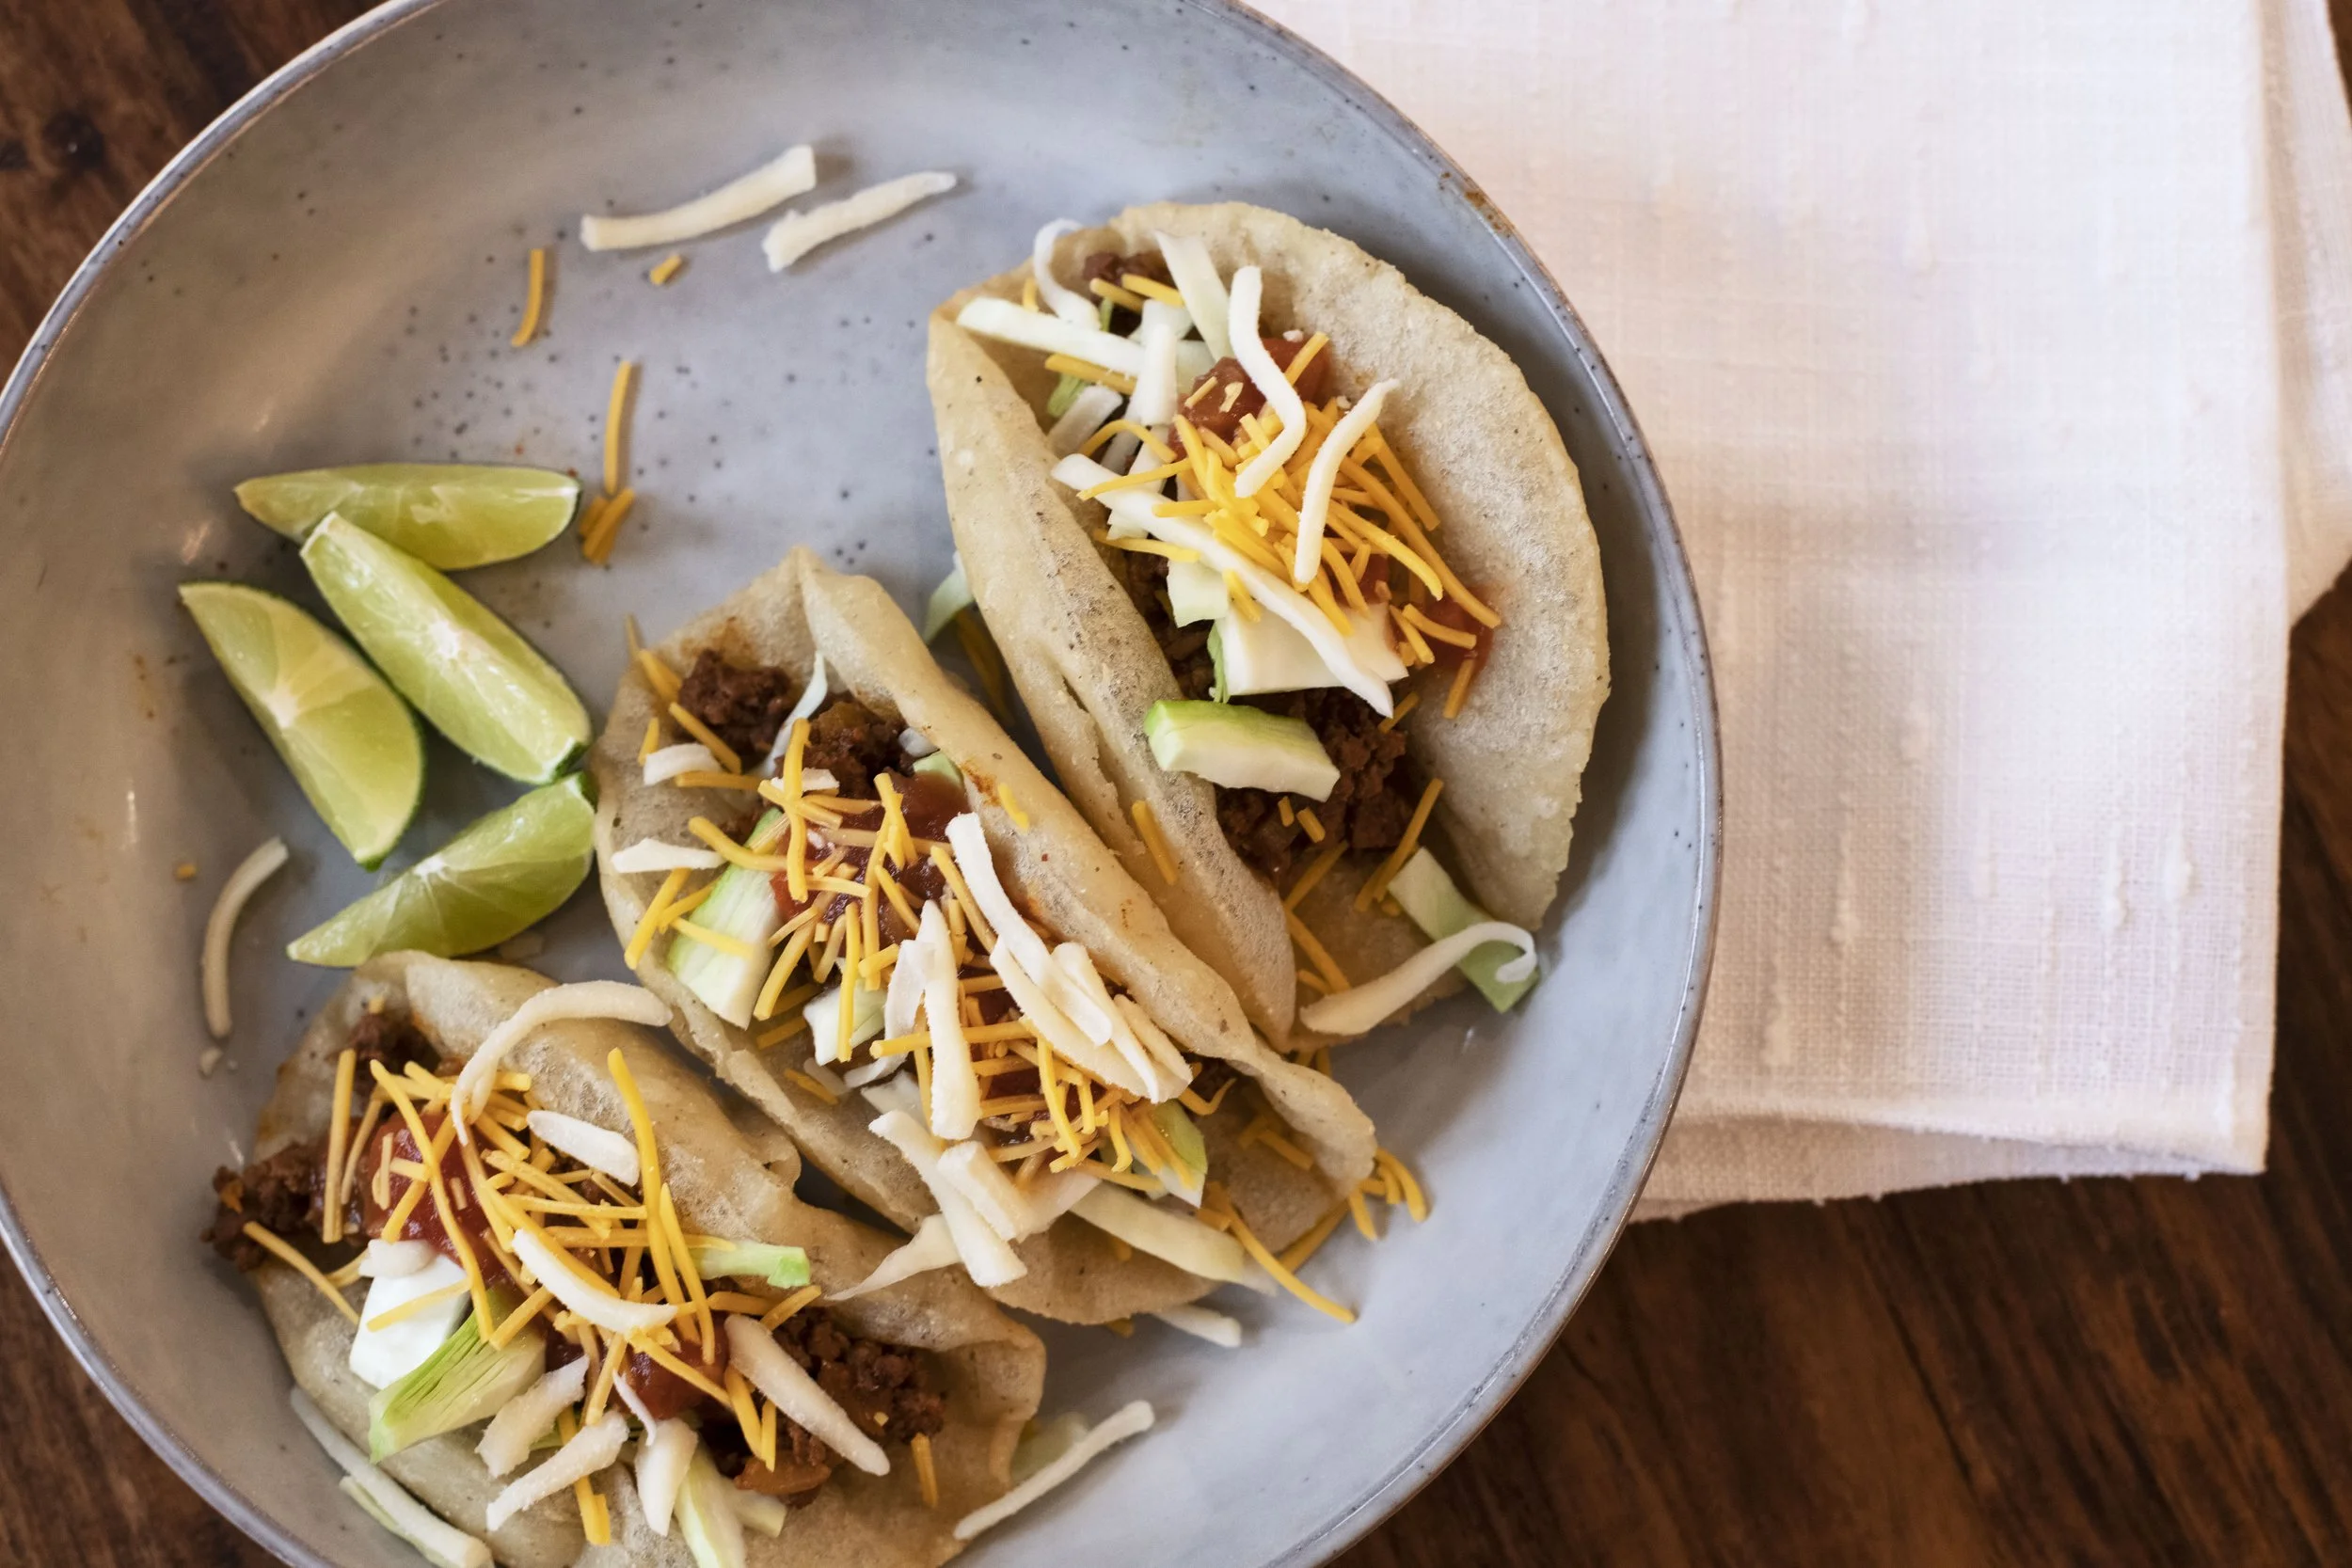
If you’re like me and not from Texas—and more specifically, San Antonio, Texas—there is a decent chance you have never even heard of a puffy taco. In many ways, it is like any other taco: a corn-based tortilla folded around a crumbly meat filling and topped with shredded cheese, crispy lettuce, and juicy tomato chunks. Where the similarities end, however, happens to be the same place they start: the tortilla.
JUMP TO RECIPE
What makes the puffy taco unique is the bloated, air puffed corn tortilla. The tortilla-making process starts with the simple mixing of masa harina flour and warm water. Masa harina is a corn kernel based flour where dried corn kernels are finely ground and then treated with an alkaline solution. The addition of the alkaline solution chemical treatment is where masa harina differs from regular corn meal, and this small step, which causes the dough to “stick” together, is necessary for creating corn tortillas.
Where the puffy tacos veers off from classifying as a regular corn tortilla is during the cooking process. The first steps in puffy taco shell creation include mixing the dough, rolling the mixture into golf-ball size portions, and then pressing the balls into thin discs. The actual cooking of the tortilla is where the magic happens. Typical corn tortilla taco shells fall into one of two categories: hard or soft. Hard taco shells are baked until the moisture is mostly removed and the shell has dried out. Sometimes they are deep fried for an even “crunchier” finish. Soft taco shells are cooked on a hot griddle for just a flash, at the most 60 seconds, and sometimes steamed a little to enhance the shell’s pliability. The puffy taco takes an entirely different route. Puffy taco shells are cooked in a deep pool of hot oil. Maintaining a constant temperature of 375 degrees Fahrenheit
Let’s Get Frying!
Choosing the Right Flour
The most important step for creating a puffy taco shell is buying the correct flour. Standard cornmeal or wheat-based flours will not work. You must buy masa harina.
Masa harina is different from other corn flours because it undergoes a process called nixtamalization. Dating back to early Mesoamerican cultures, this process involves soaking and cooking corn kernels in an alkaline solution. Historically, this solution was made from calcium hydroxide (sourced from raw limestone) or potassium hydroxide (produced from hardwood ash).
Modern calcium hydroxide, typically labeled on the bag as lime or cal, is a white, odorless powder used for food preservation and cooking. It is produced from limestone using a modernized version of the same ancient process. This lime activates the starches in the corn,
Batch Size Warning
Before getting started, I should point out that this recipe makes A LOT of shells. I ended up with almost forty taco shells by the end of the frying process. I was tired, speckled with splashes of grease, looked like I was wearing corn flour makeup, and my feet really hurt! If you aren’t looking to feed a small army, you can easily cut this recipe in half.
Mixing the Dough
To start, add four cups of the masa harina flour to a large mixing bowl. Blend in a teaspoon of salt. For mixing, I used my hands for most of this process because I figured they were going to be covered in dough often, but a wooden spoon works great too.
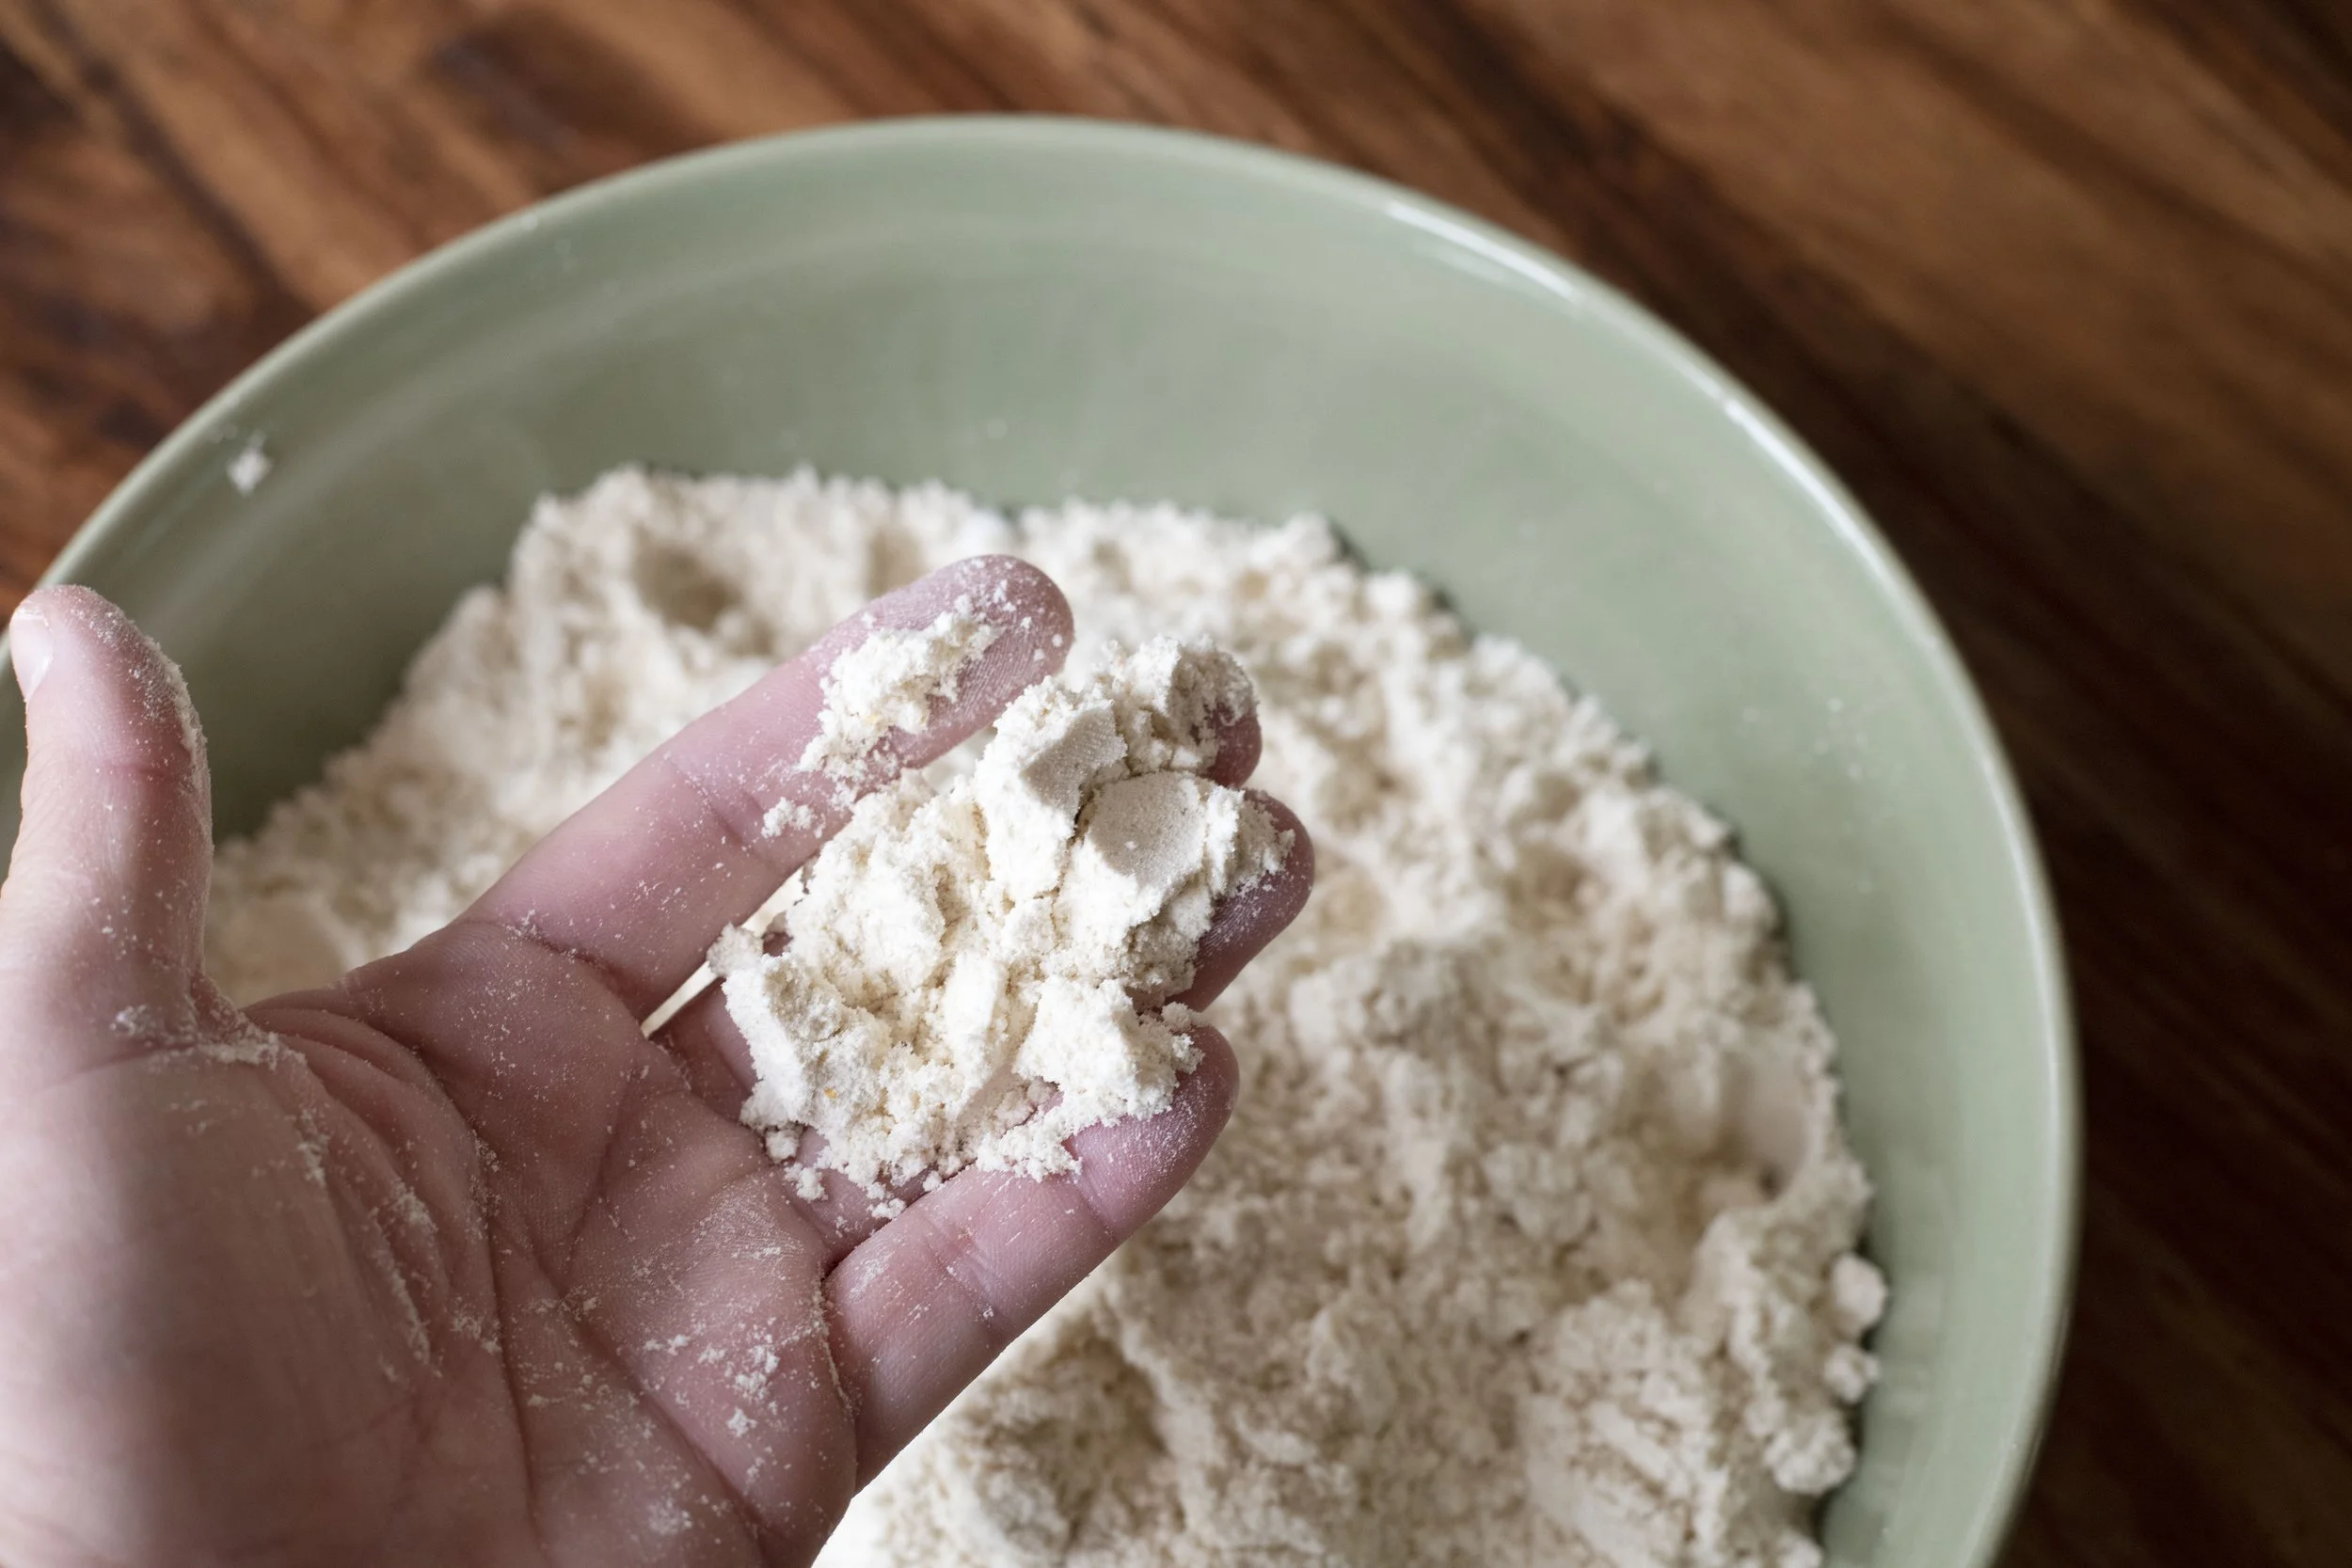
The recipe calls for three and a half cups of warm water. You might use less and you might end up needing a little more. It depends on the mood of the dough and other environmental factors. So basically, don’t dump the entire three and a half cups into the bowl all at once. Start slowly adding the water, maybe a half a cup or so, at a time and mix it in. Keep adding the water until the dough pulls together and resembles wet beach sand. For testing whether the dough was ready or not, I would roll a small amount into a ball and then press that ball into a flat disc. Once the edges of the disc didn’t crack, I knew the water to flour ratio was correct.
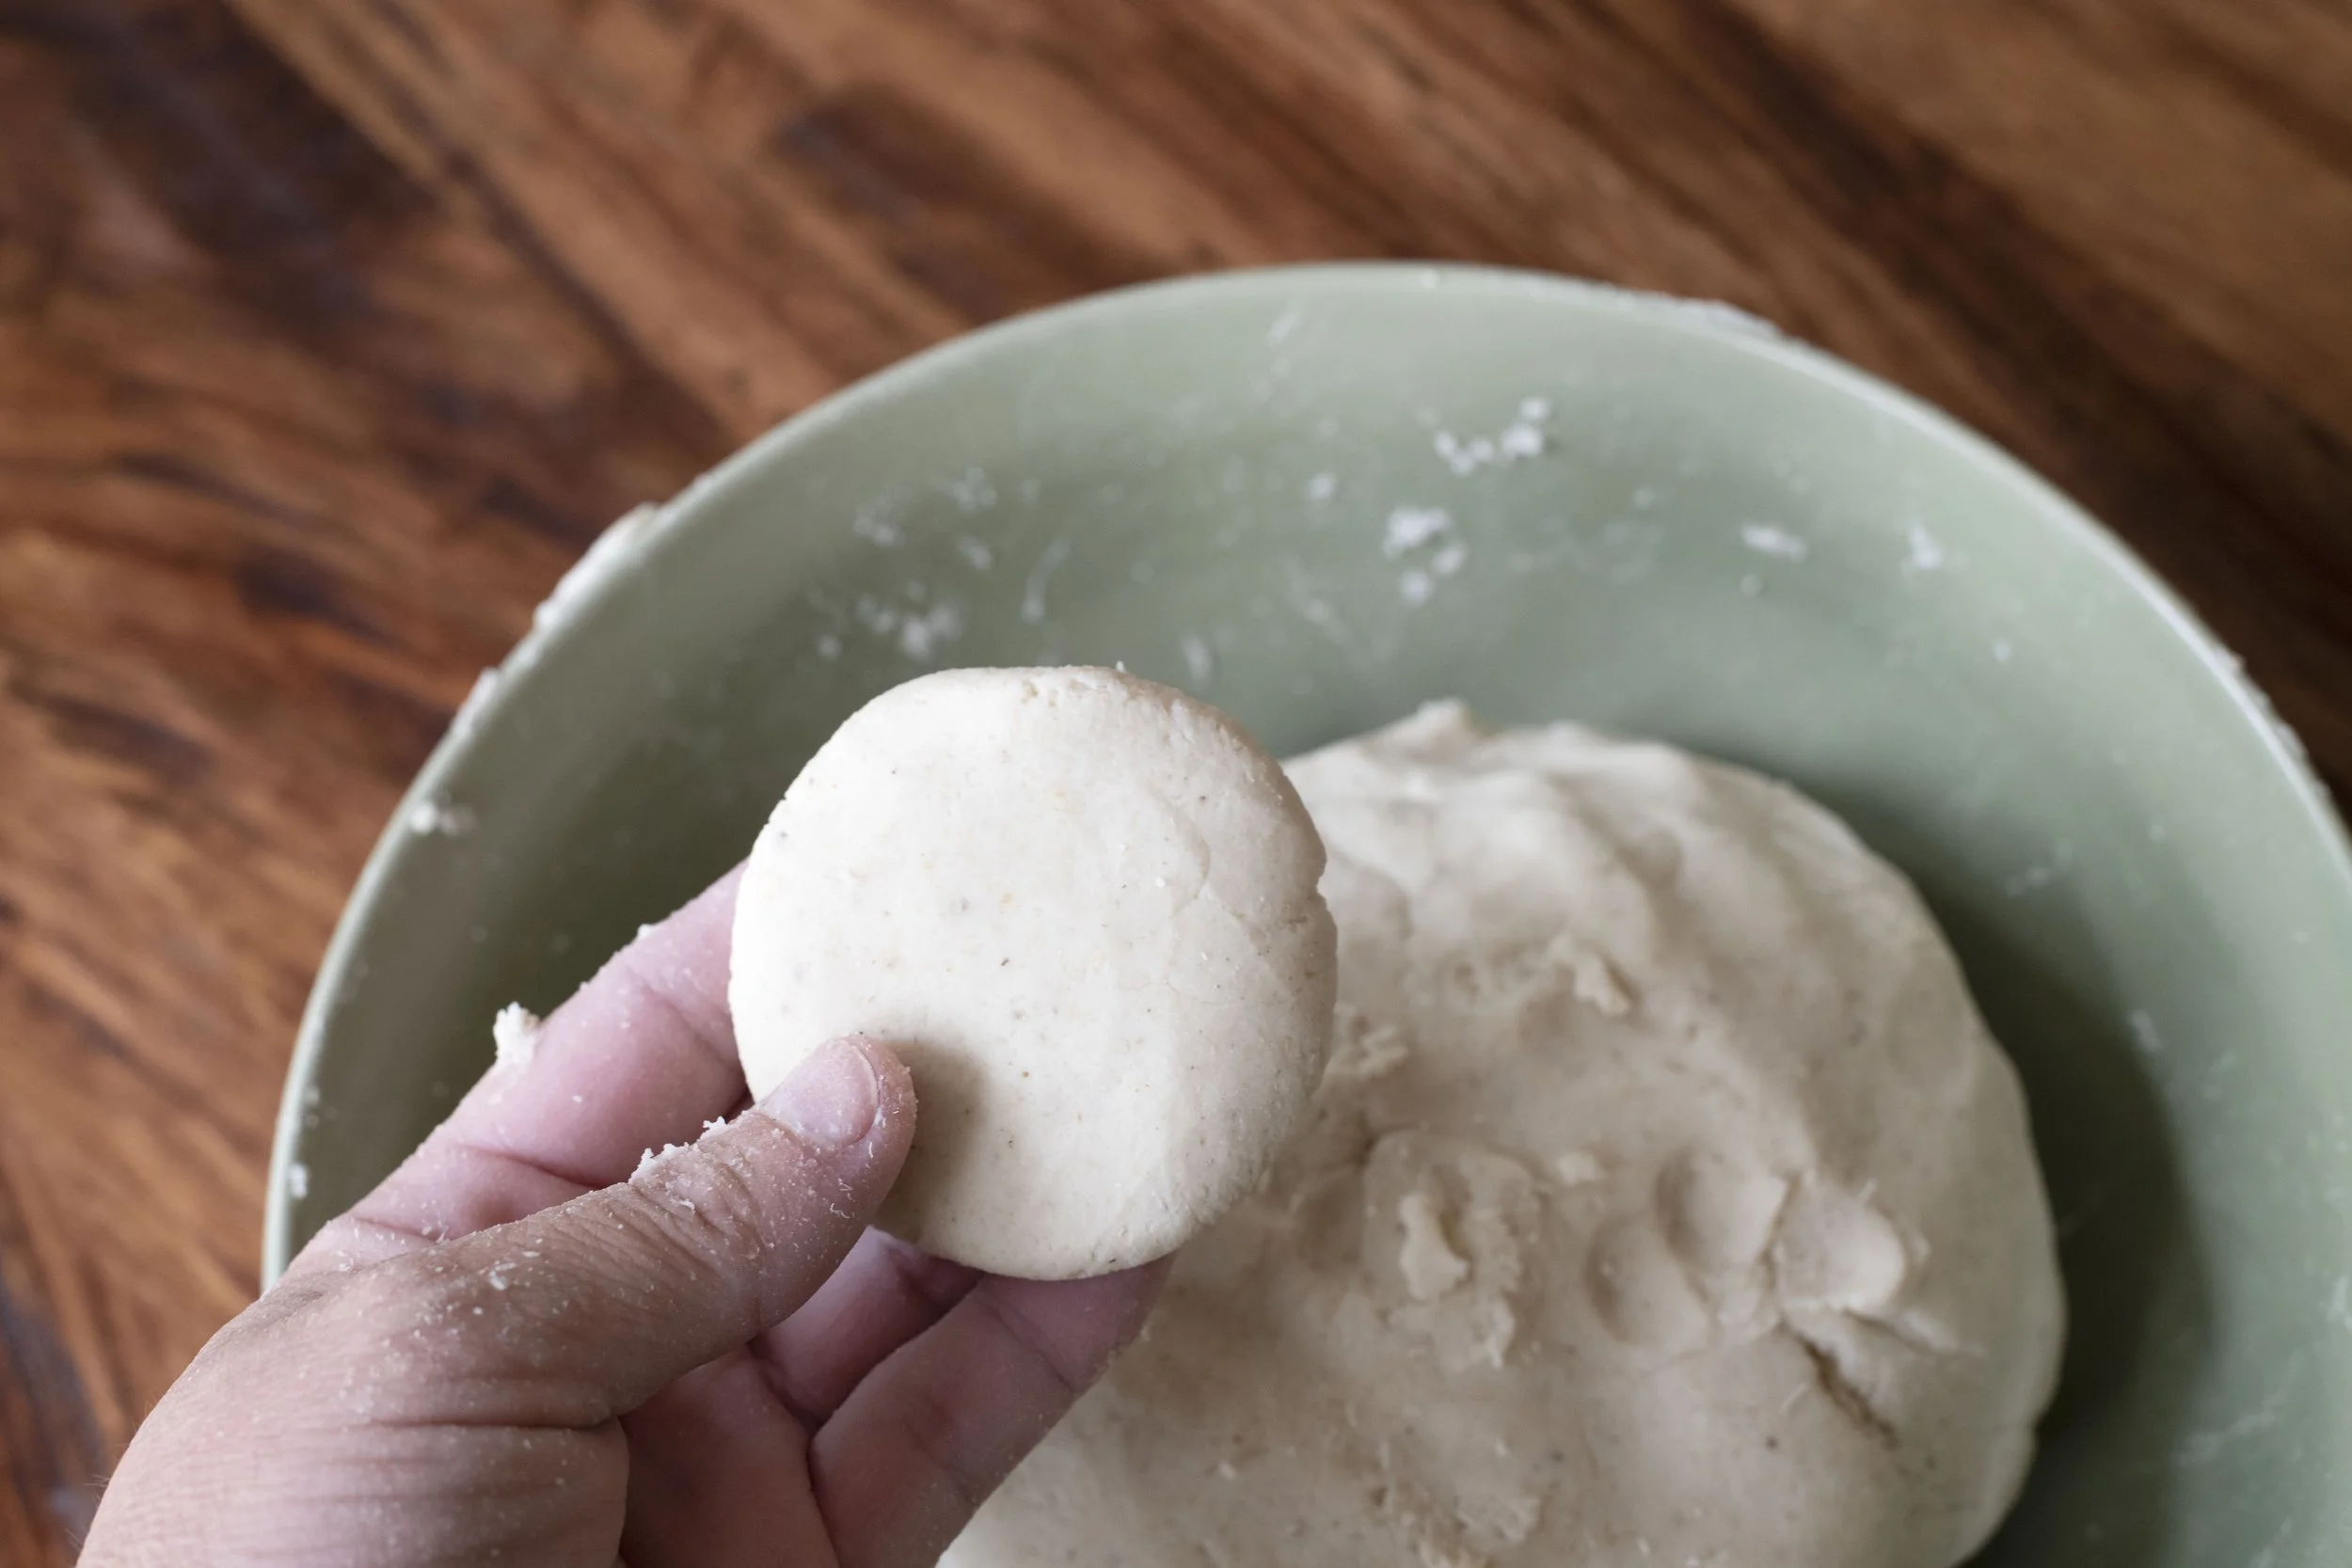
Cover the dough with a damp, not dripping wet, towel and let it rest for fifteen minutes.
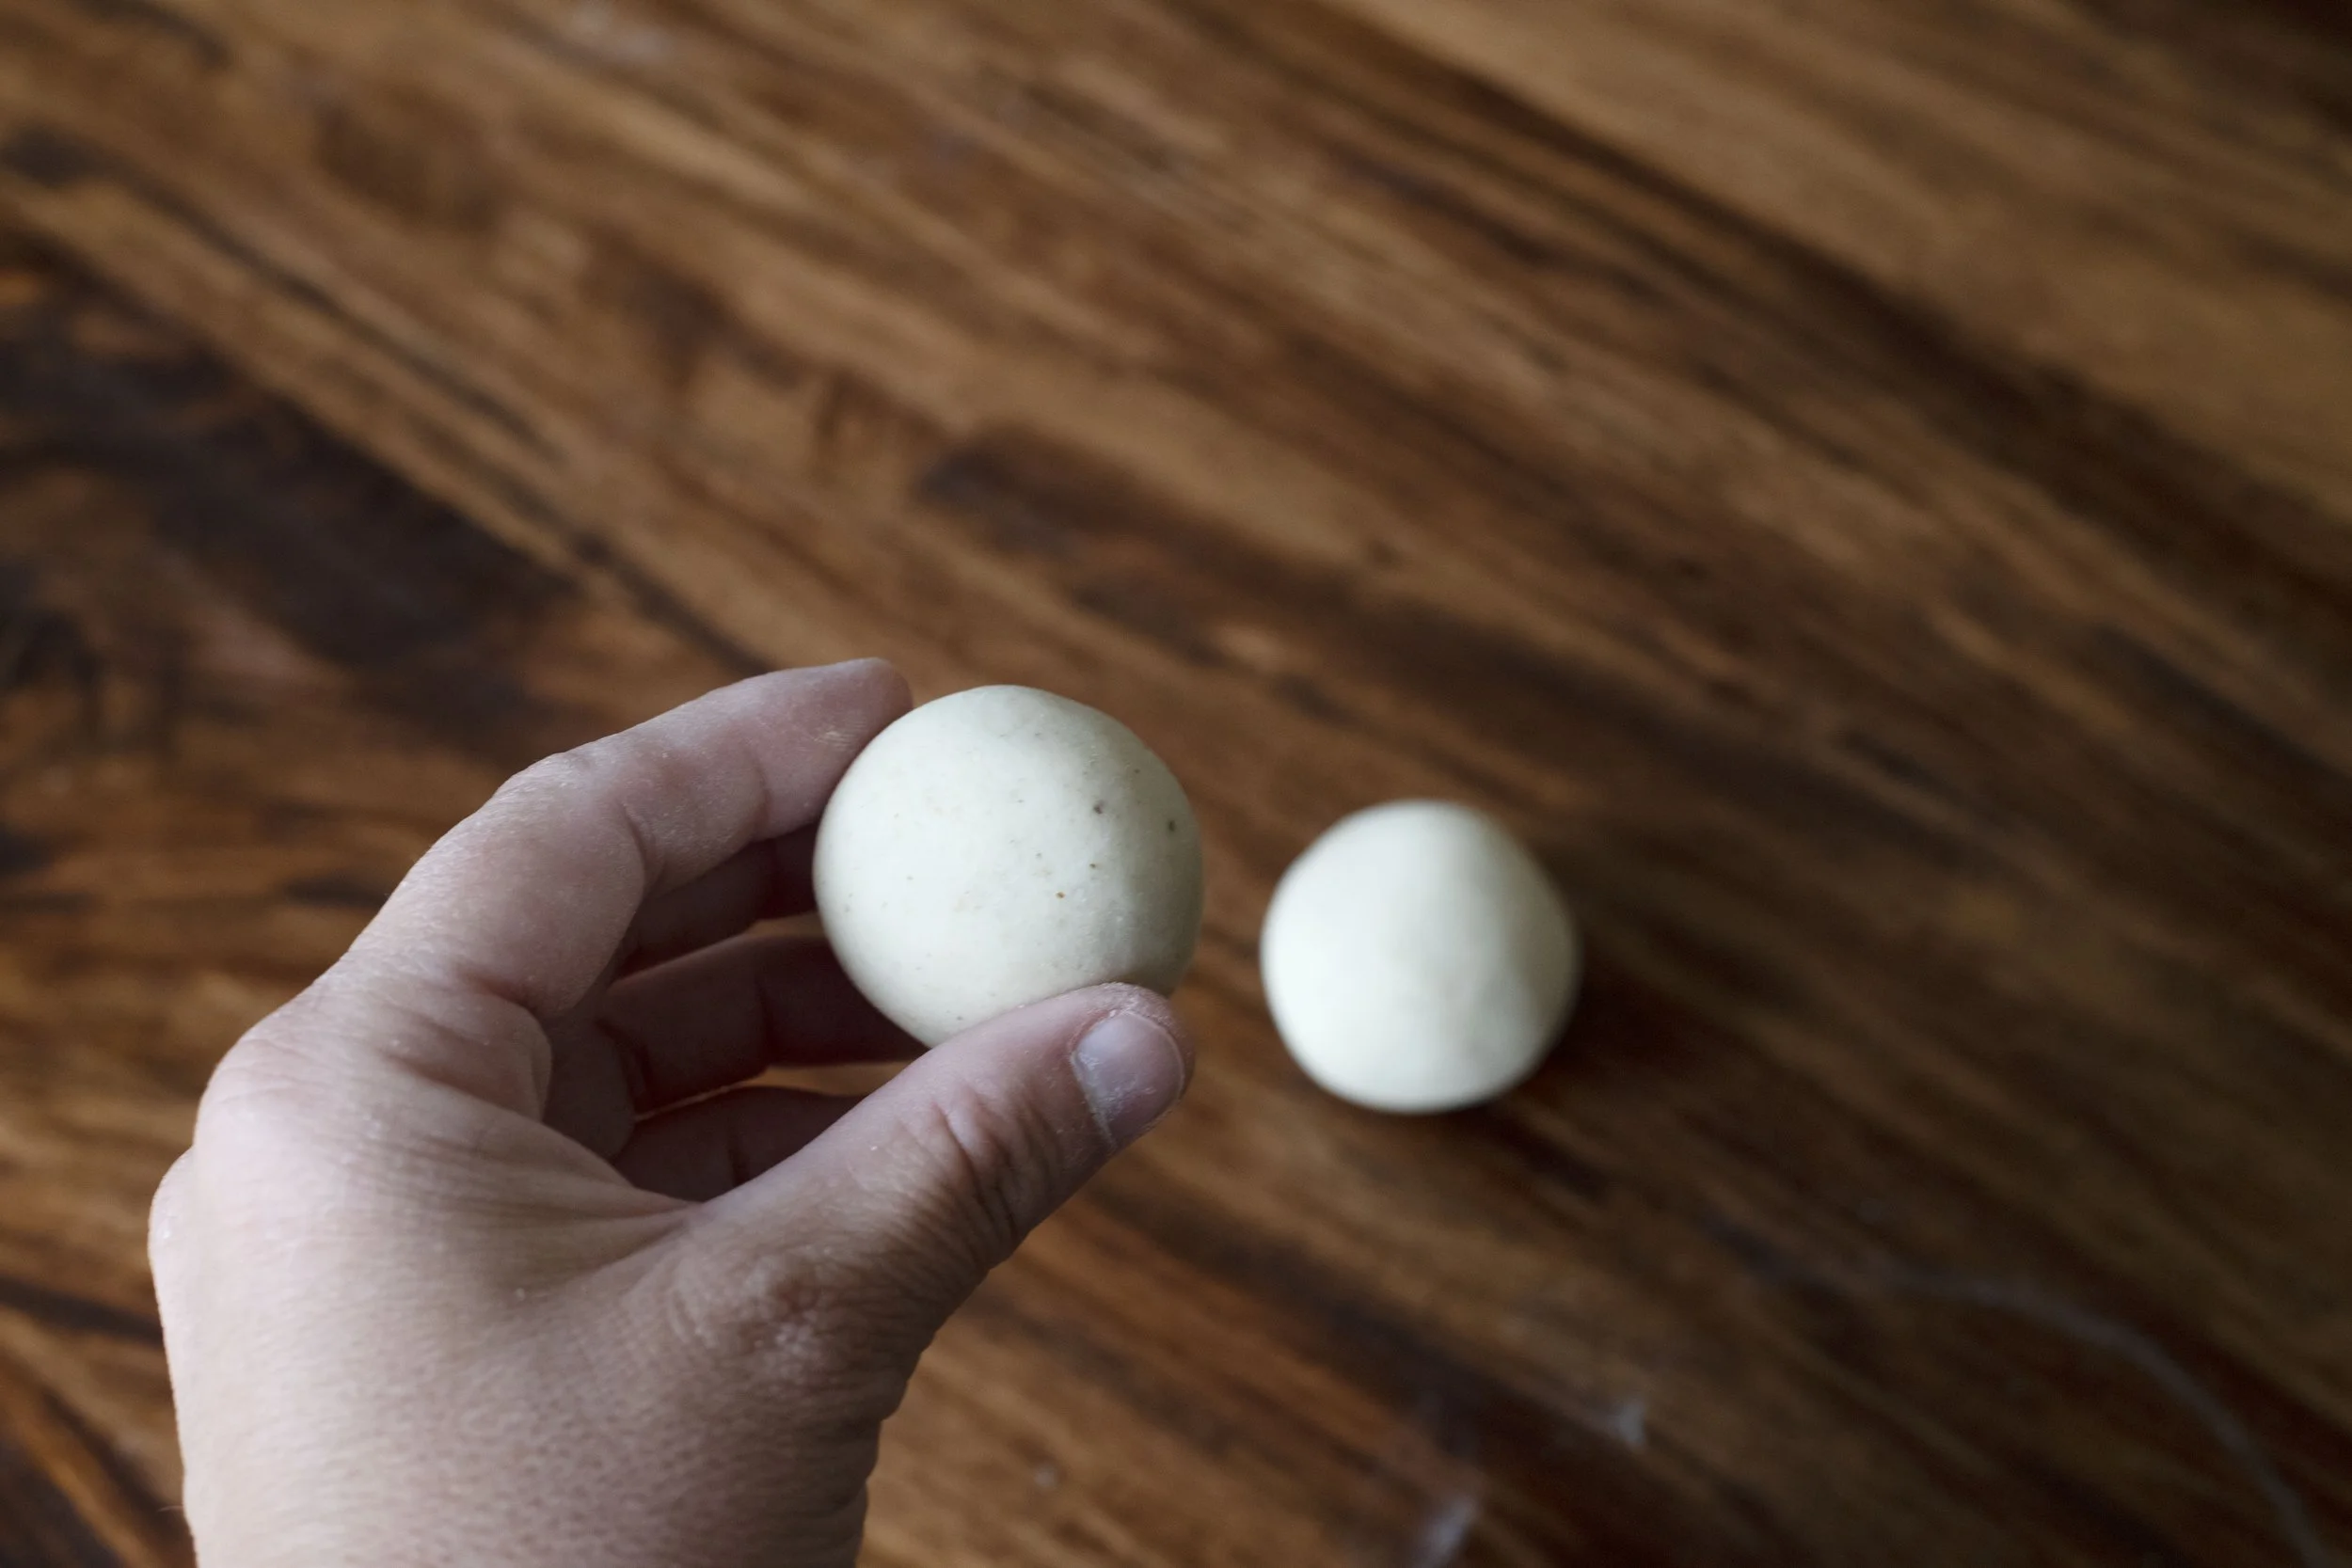
Once the dough has rested, it’s time to start rolling balls. I made my dough balls about the size of a golf ball. As you roll, place the balls back into the original bowl and under the damp towel to prevent them from drying out while you work.
Fryin’ Time
Once all the balls are ready, preheat a medium high-sided skillet filled with a high heat cooking oil over medium heat to 375 degrees fahrenheit. I like to use a cast-iron skillet for any deep frying I do because it maintains a consistent heat level. I just bought a simple and inexpensive one like this: Cast-Iorn Skillet
For the cooking oil, any oil with a high smoking point will work. The oil just needs to be able to handle high temperatures without breaking down, which results in a burnt taste of the food. High smoke point oils include: avocado, corn or vegetable, canola, or fats such as lard or beef tallow.
While the oil is heating, start pressing out the tortilla shells. A tortilla press would be ideal here. Line it with two pieces of parchment paper to prevent sticking, and then start pressing away. An example of a nice tortilla press can be found here: Tortilla Press
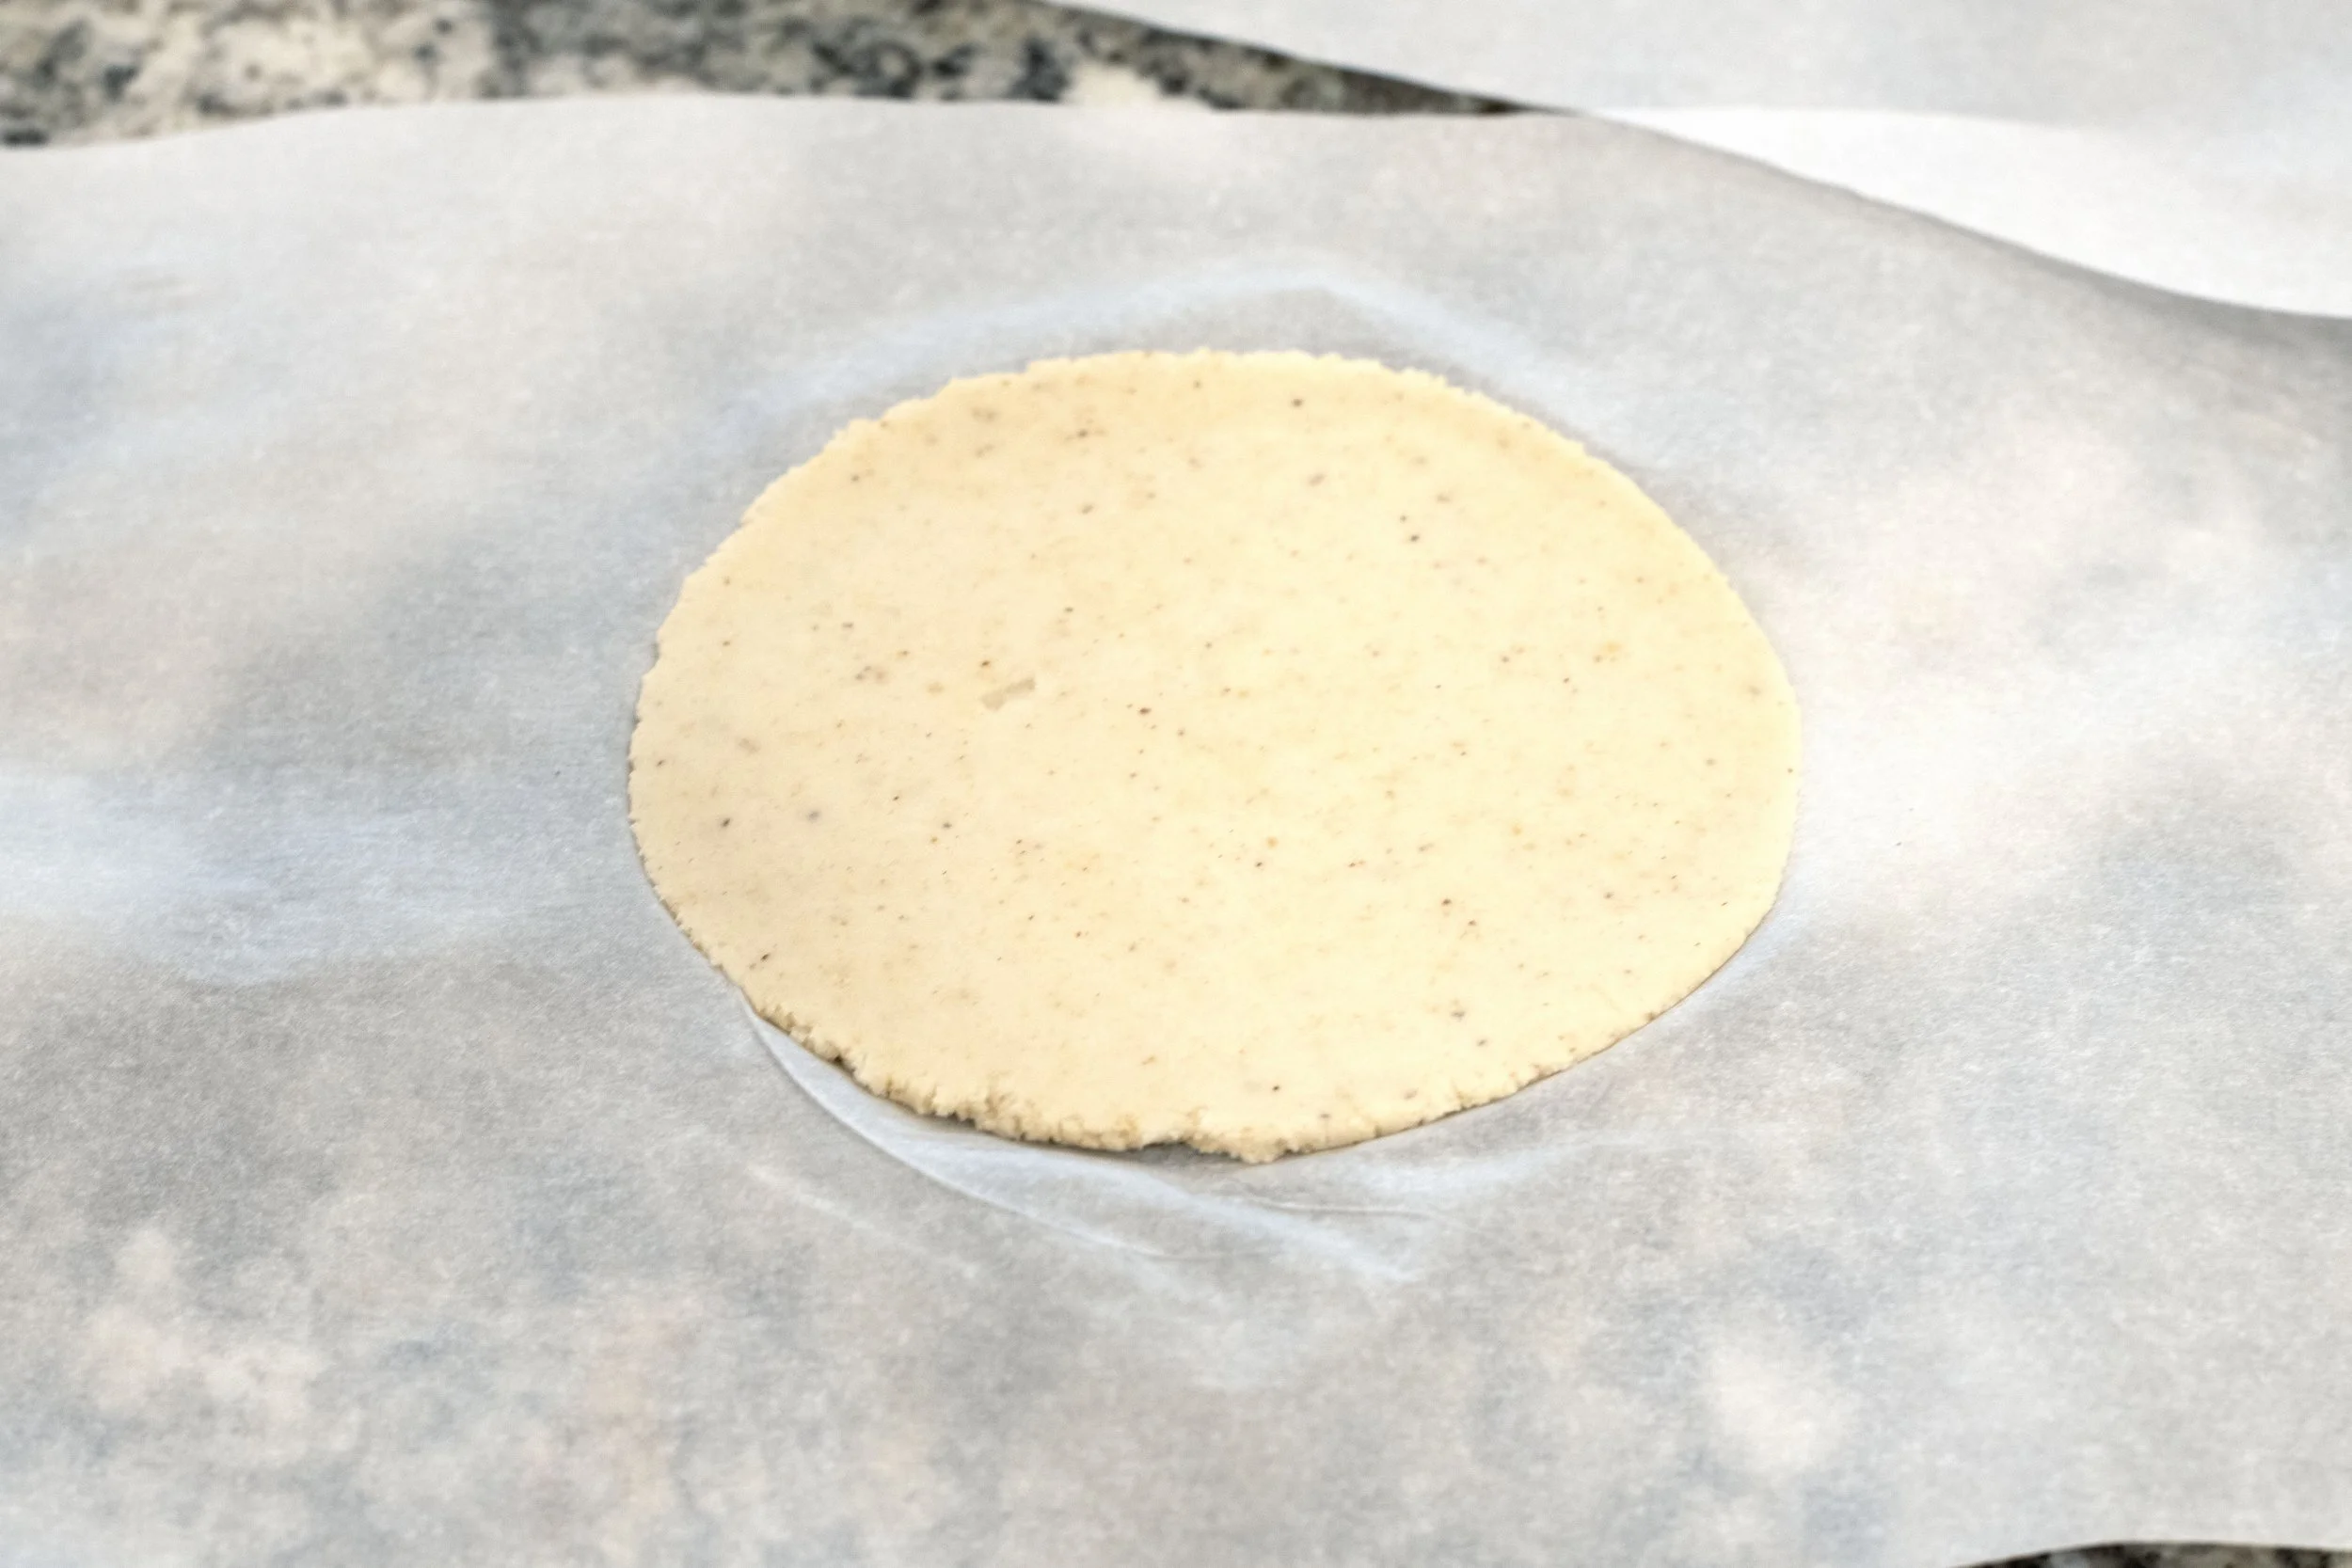
If you don’t have a press, a heavy bottom skillet, a flat pot lid, or a hamburger press will work. I just think your hands might end up a little tired after the fact, but it will get the job done.
To fry the tortillas, only add one raw shell to the oil at a time. This will keep the oil temperature consistently hot, resulting in an evenly cooked tortilla, and it’s also just really difficult to do more than one at a time.
Anyway, gently slide the raw shell into the hot oil. It should sink slightly. Allow it to fry for about five to ten seconds. In this time, the center should puff up and the shell should quickly float. Flip the shell at this point, and with a metal spatula, gently depress the center of the shell, creating a light fold for the taco filling. Hold the tortilla in the oil for about 45 to 60 seconds more, until the dough develops a light, golden look to it. Remove the shell and let it rest and drain with the fold facing down on a paper towel. Repeat with the remaining shells.
The Venison Taco Meat
I went with venison—specifically mule deer—for my taco meat, but whatever you have in the freezer will work: deer, elk, moose, bear, pronghorn, wild turkey, or even upland game like pheasant or chukar. I simply grind up any cut that isn’t tender enough for steaks. I don't supplement the meat with extra fat, which works perfectly fine for this recipe. Honestly, skipping the fat is mostly out of laziness; I just don't want to hunt down suitable pork or beef fat!
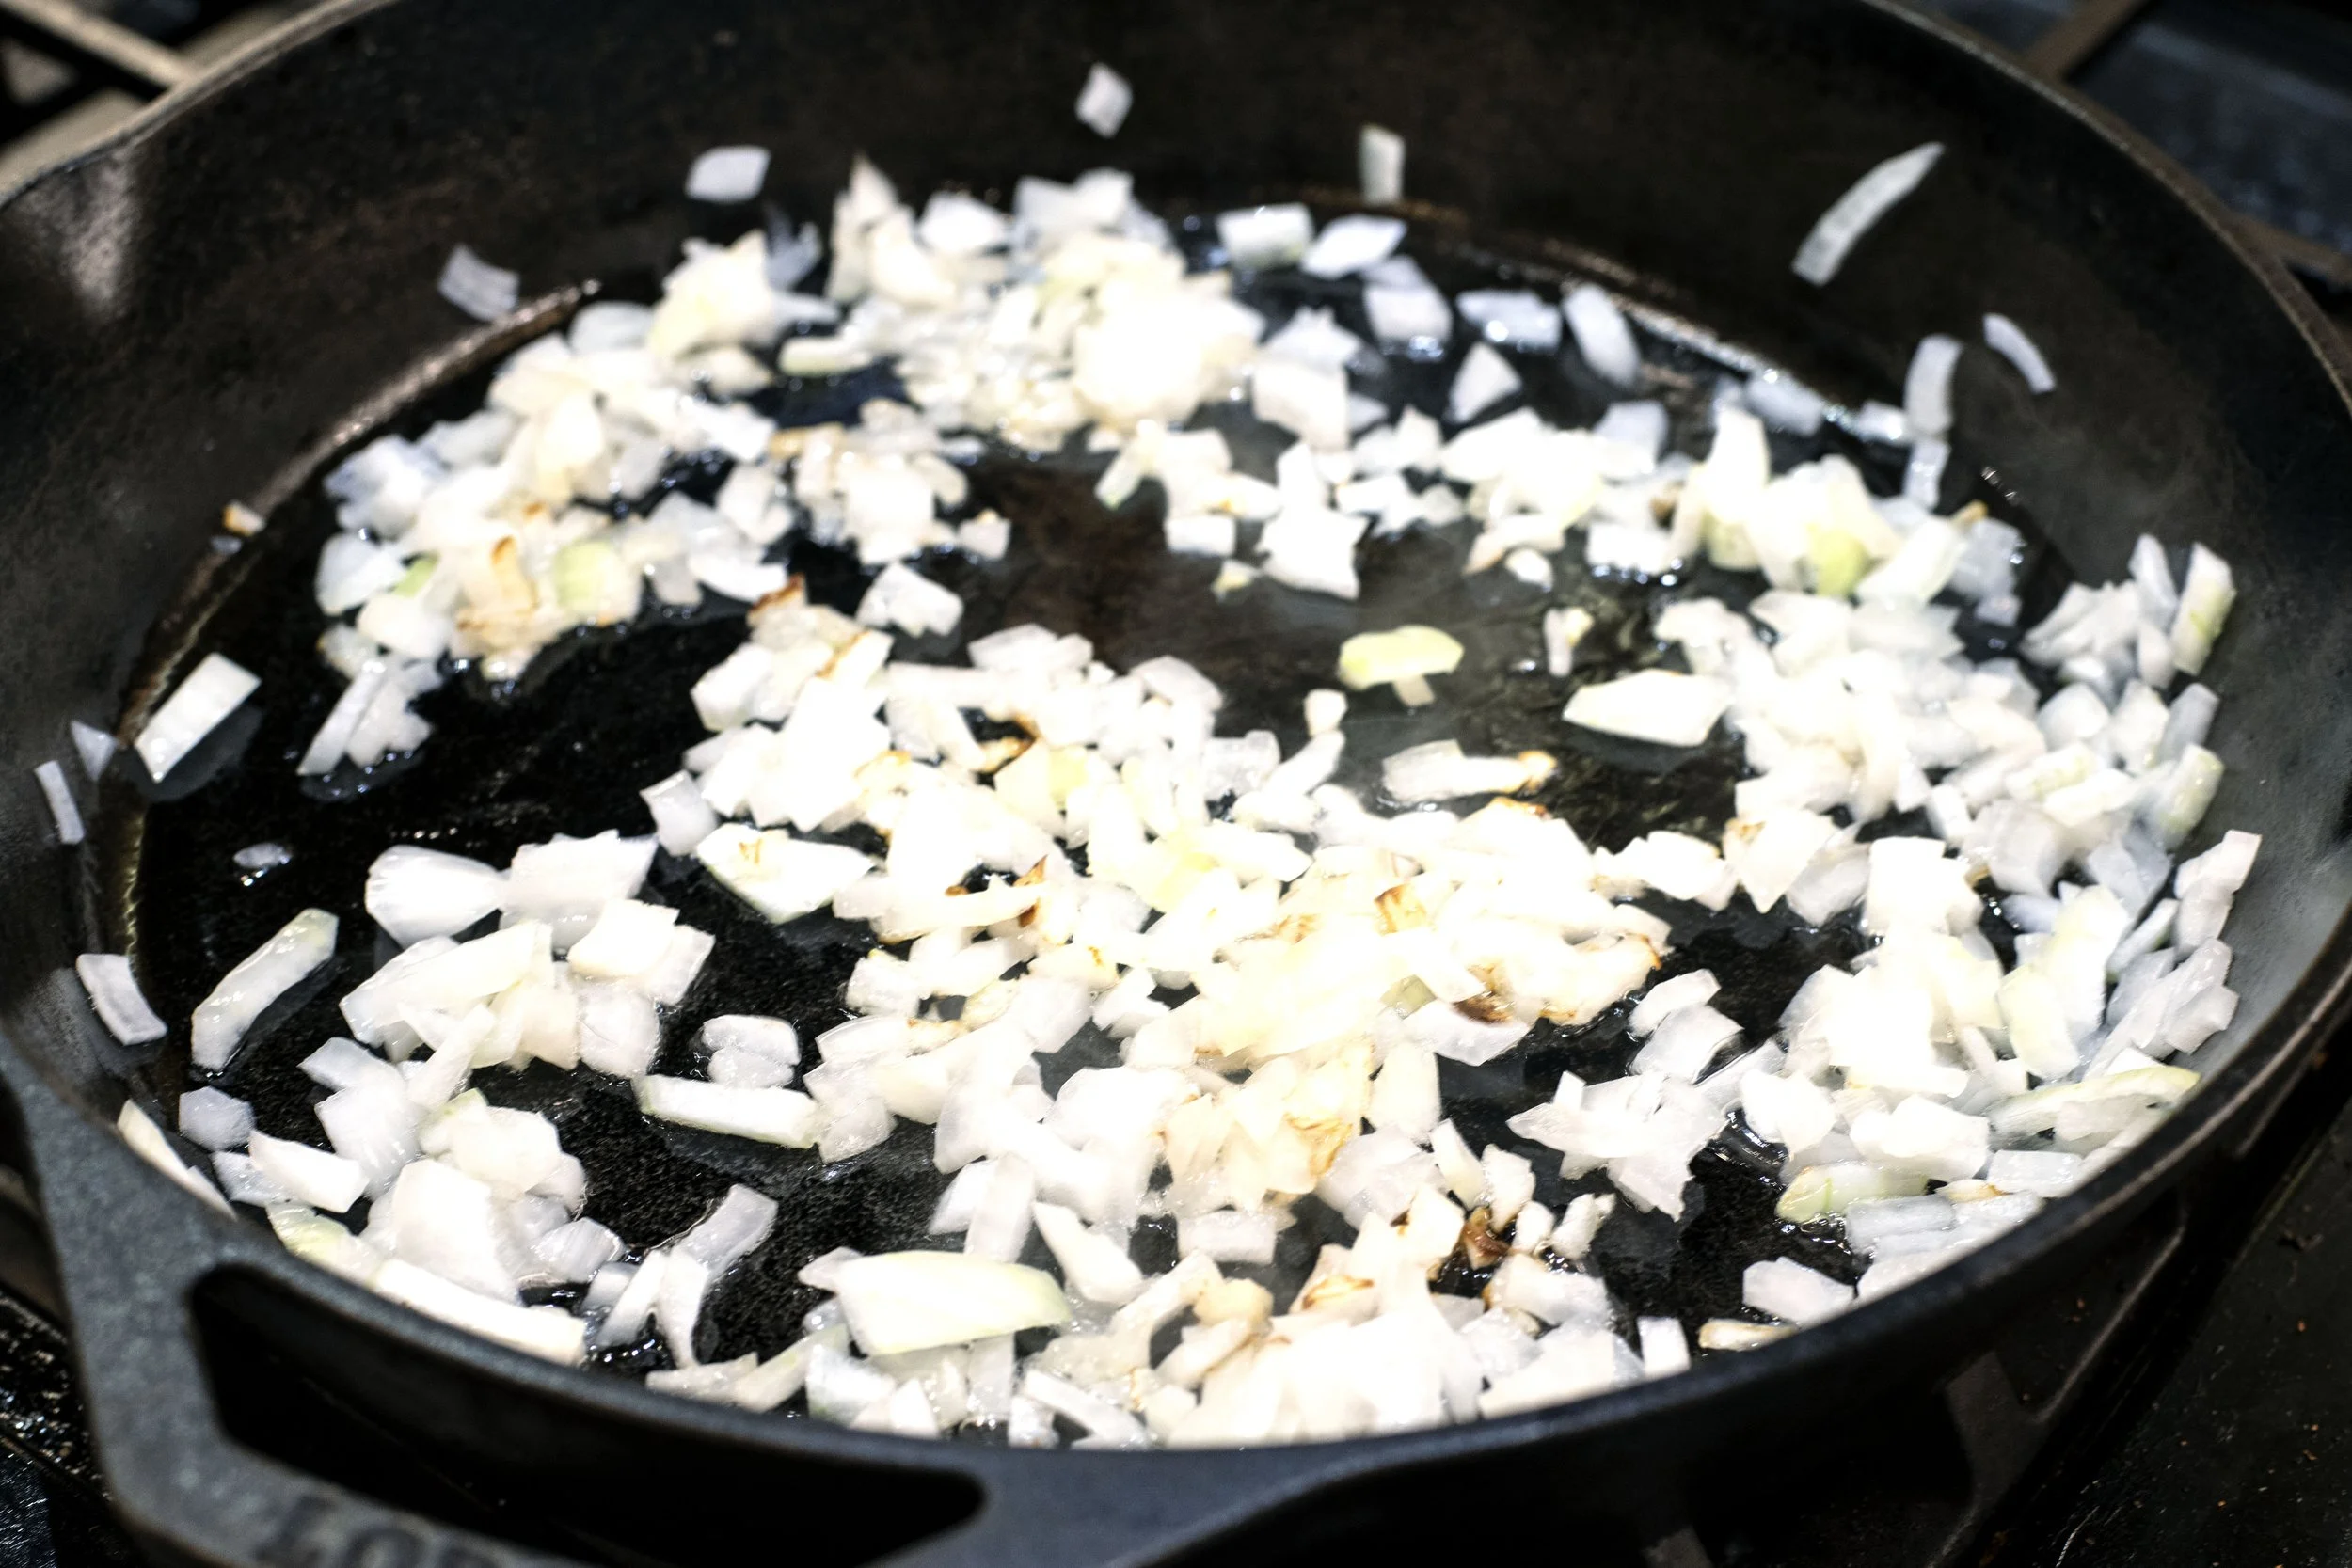
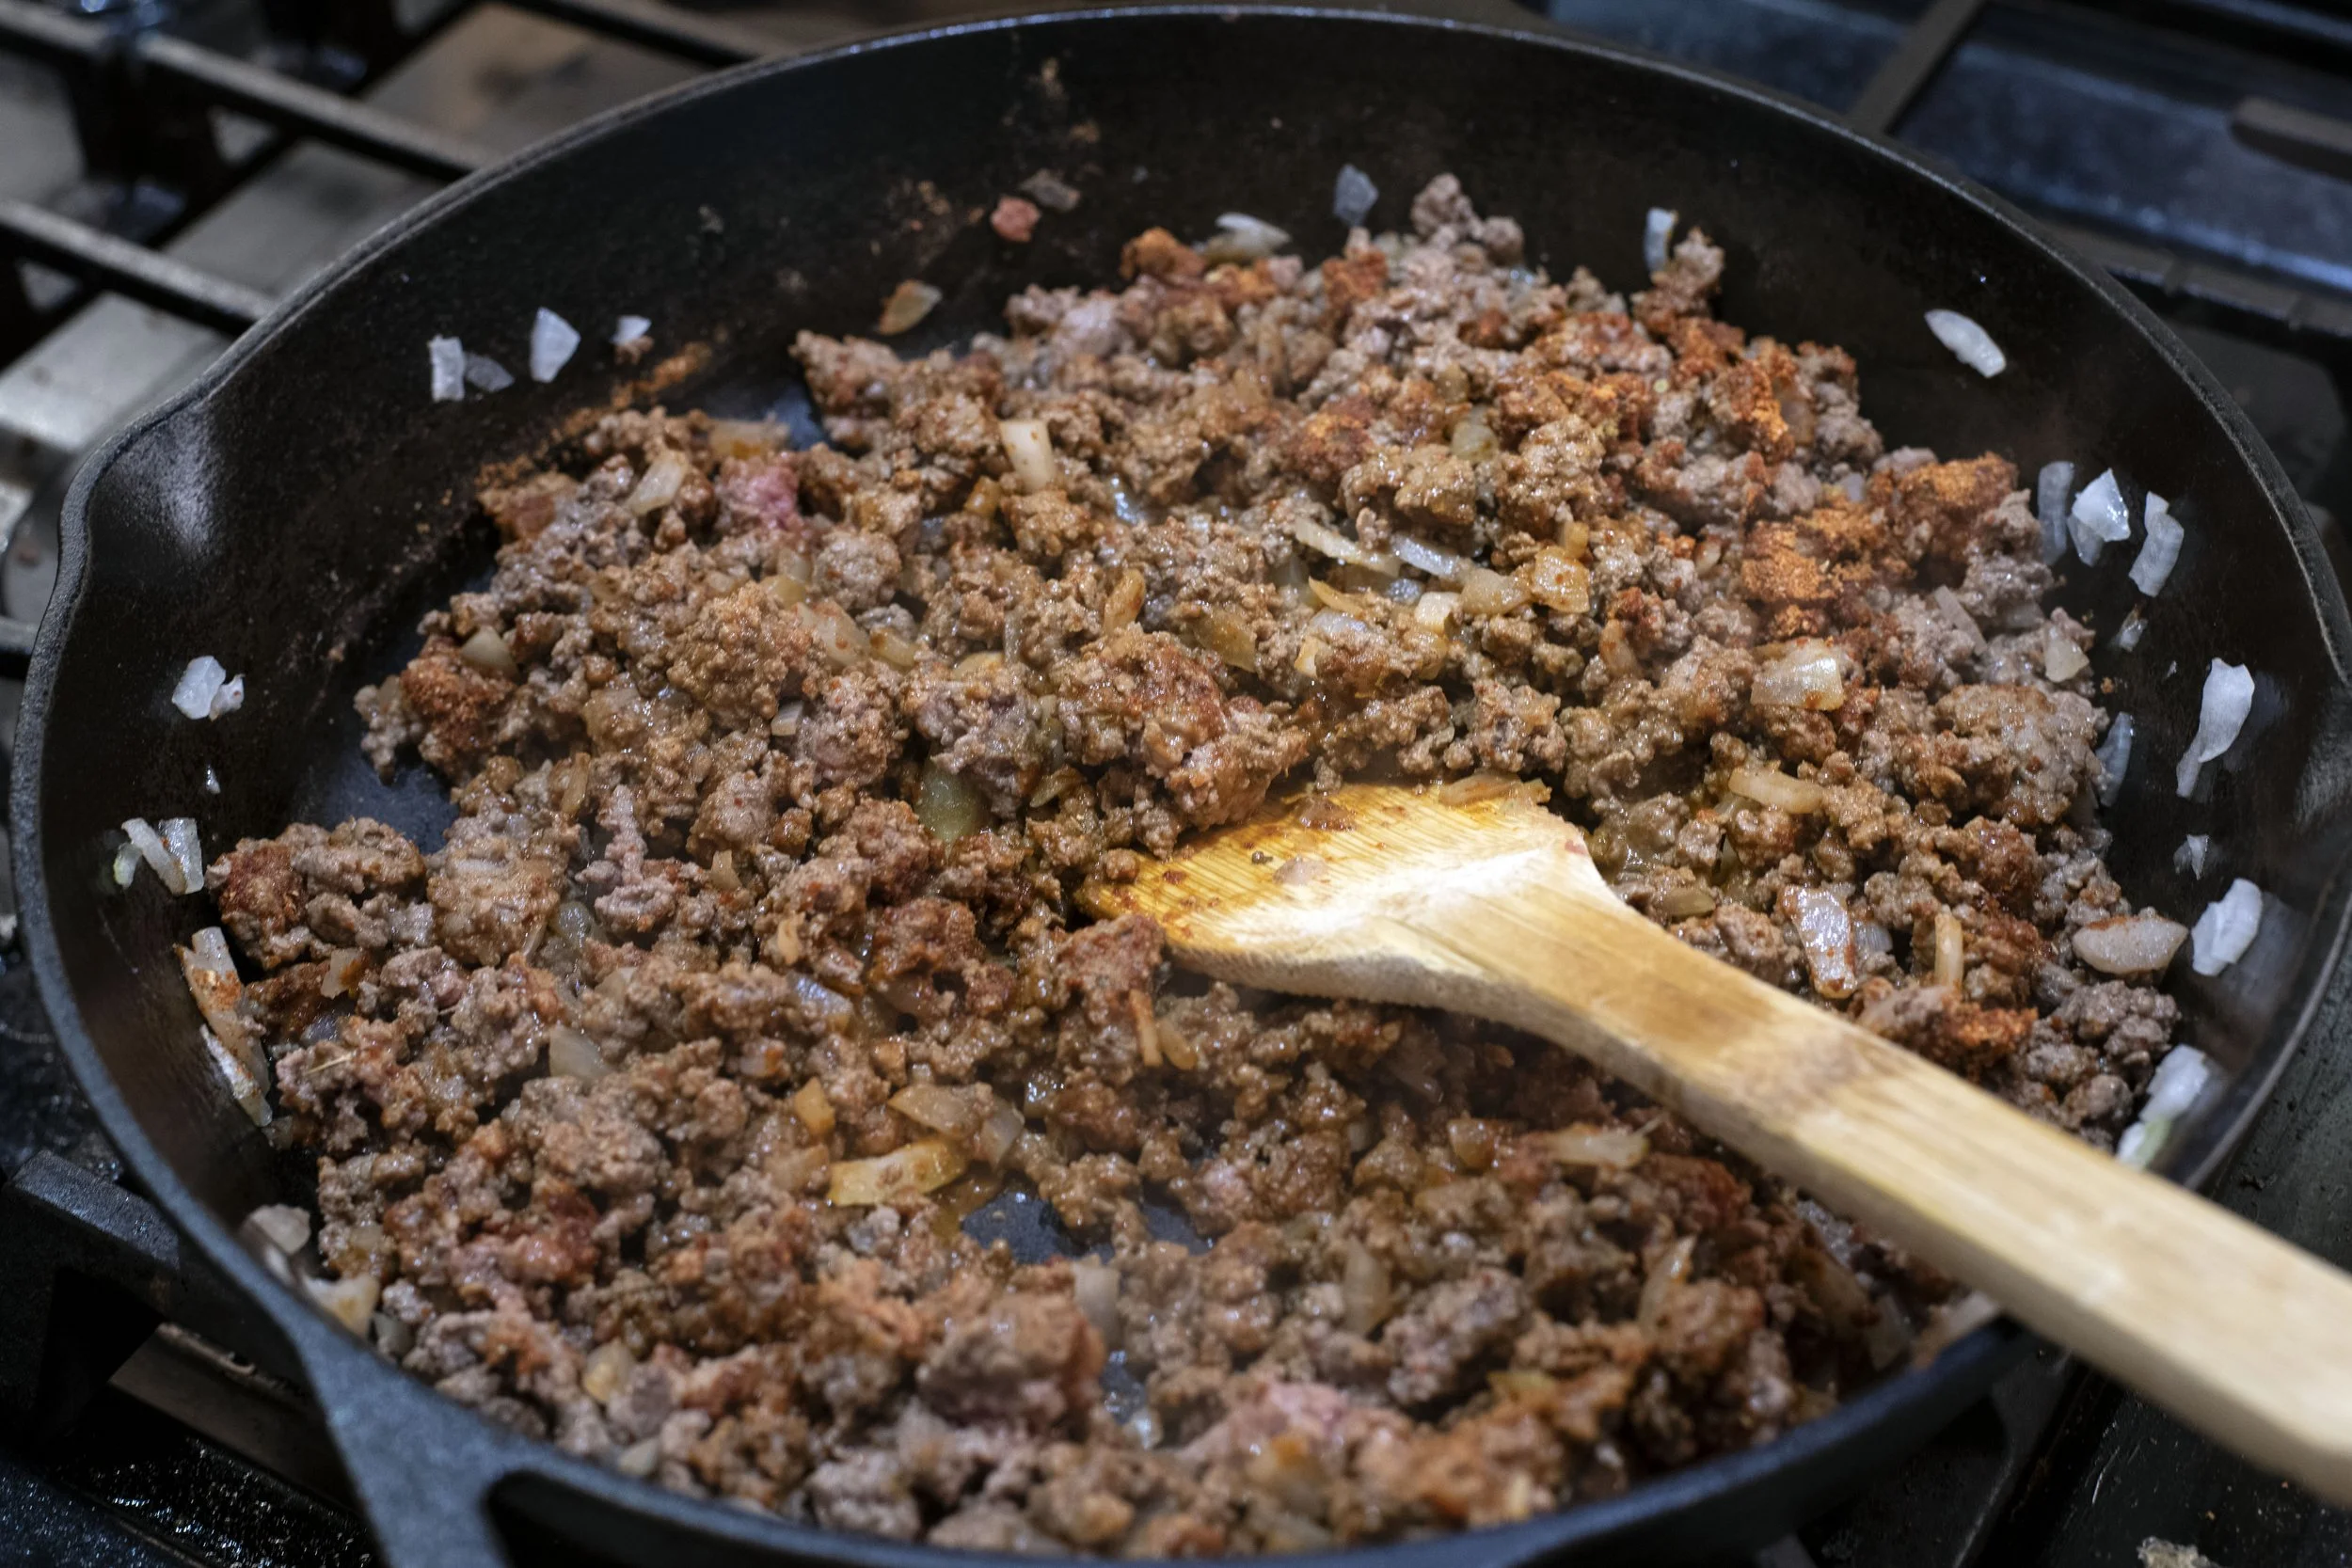
To start, add a tablespoon of cooking oil and the diced yellow onion to a large skillet. Once the onion softens—about three to five minutes—stir in the ground wild game. Let it brown for a few minutes, then add your seasonings. I used a very traditional taco seasoning mixture here. I wanted this recipe to focus more on the puffy taco shells than the filling, but however you prefer to season your taco meat will work wonderfully. Stir everything together, add a splash of tomato paste, and let the meat finish cooking for another five to seven minutes. Once the meat is cooked through, stir in a can of diced green chilis. I really enjoy the subtle kick of spice they bring to the dish.
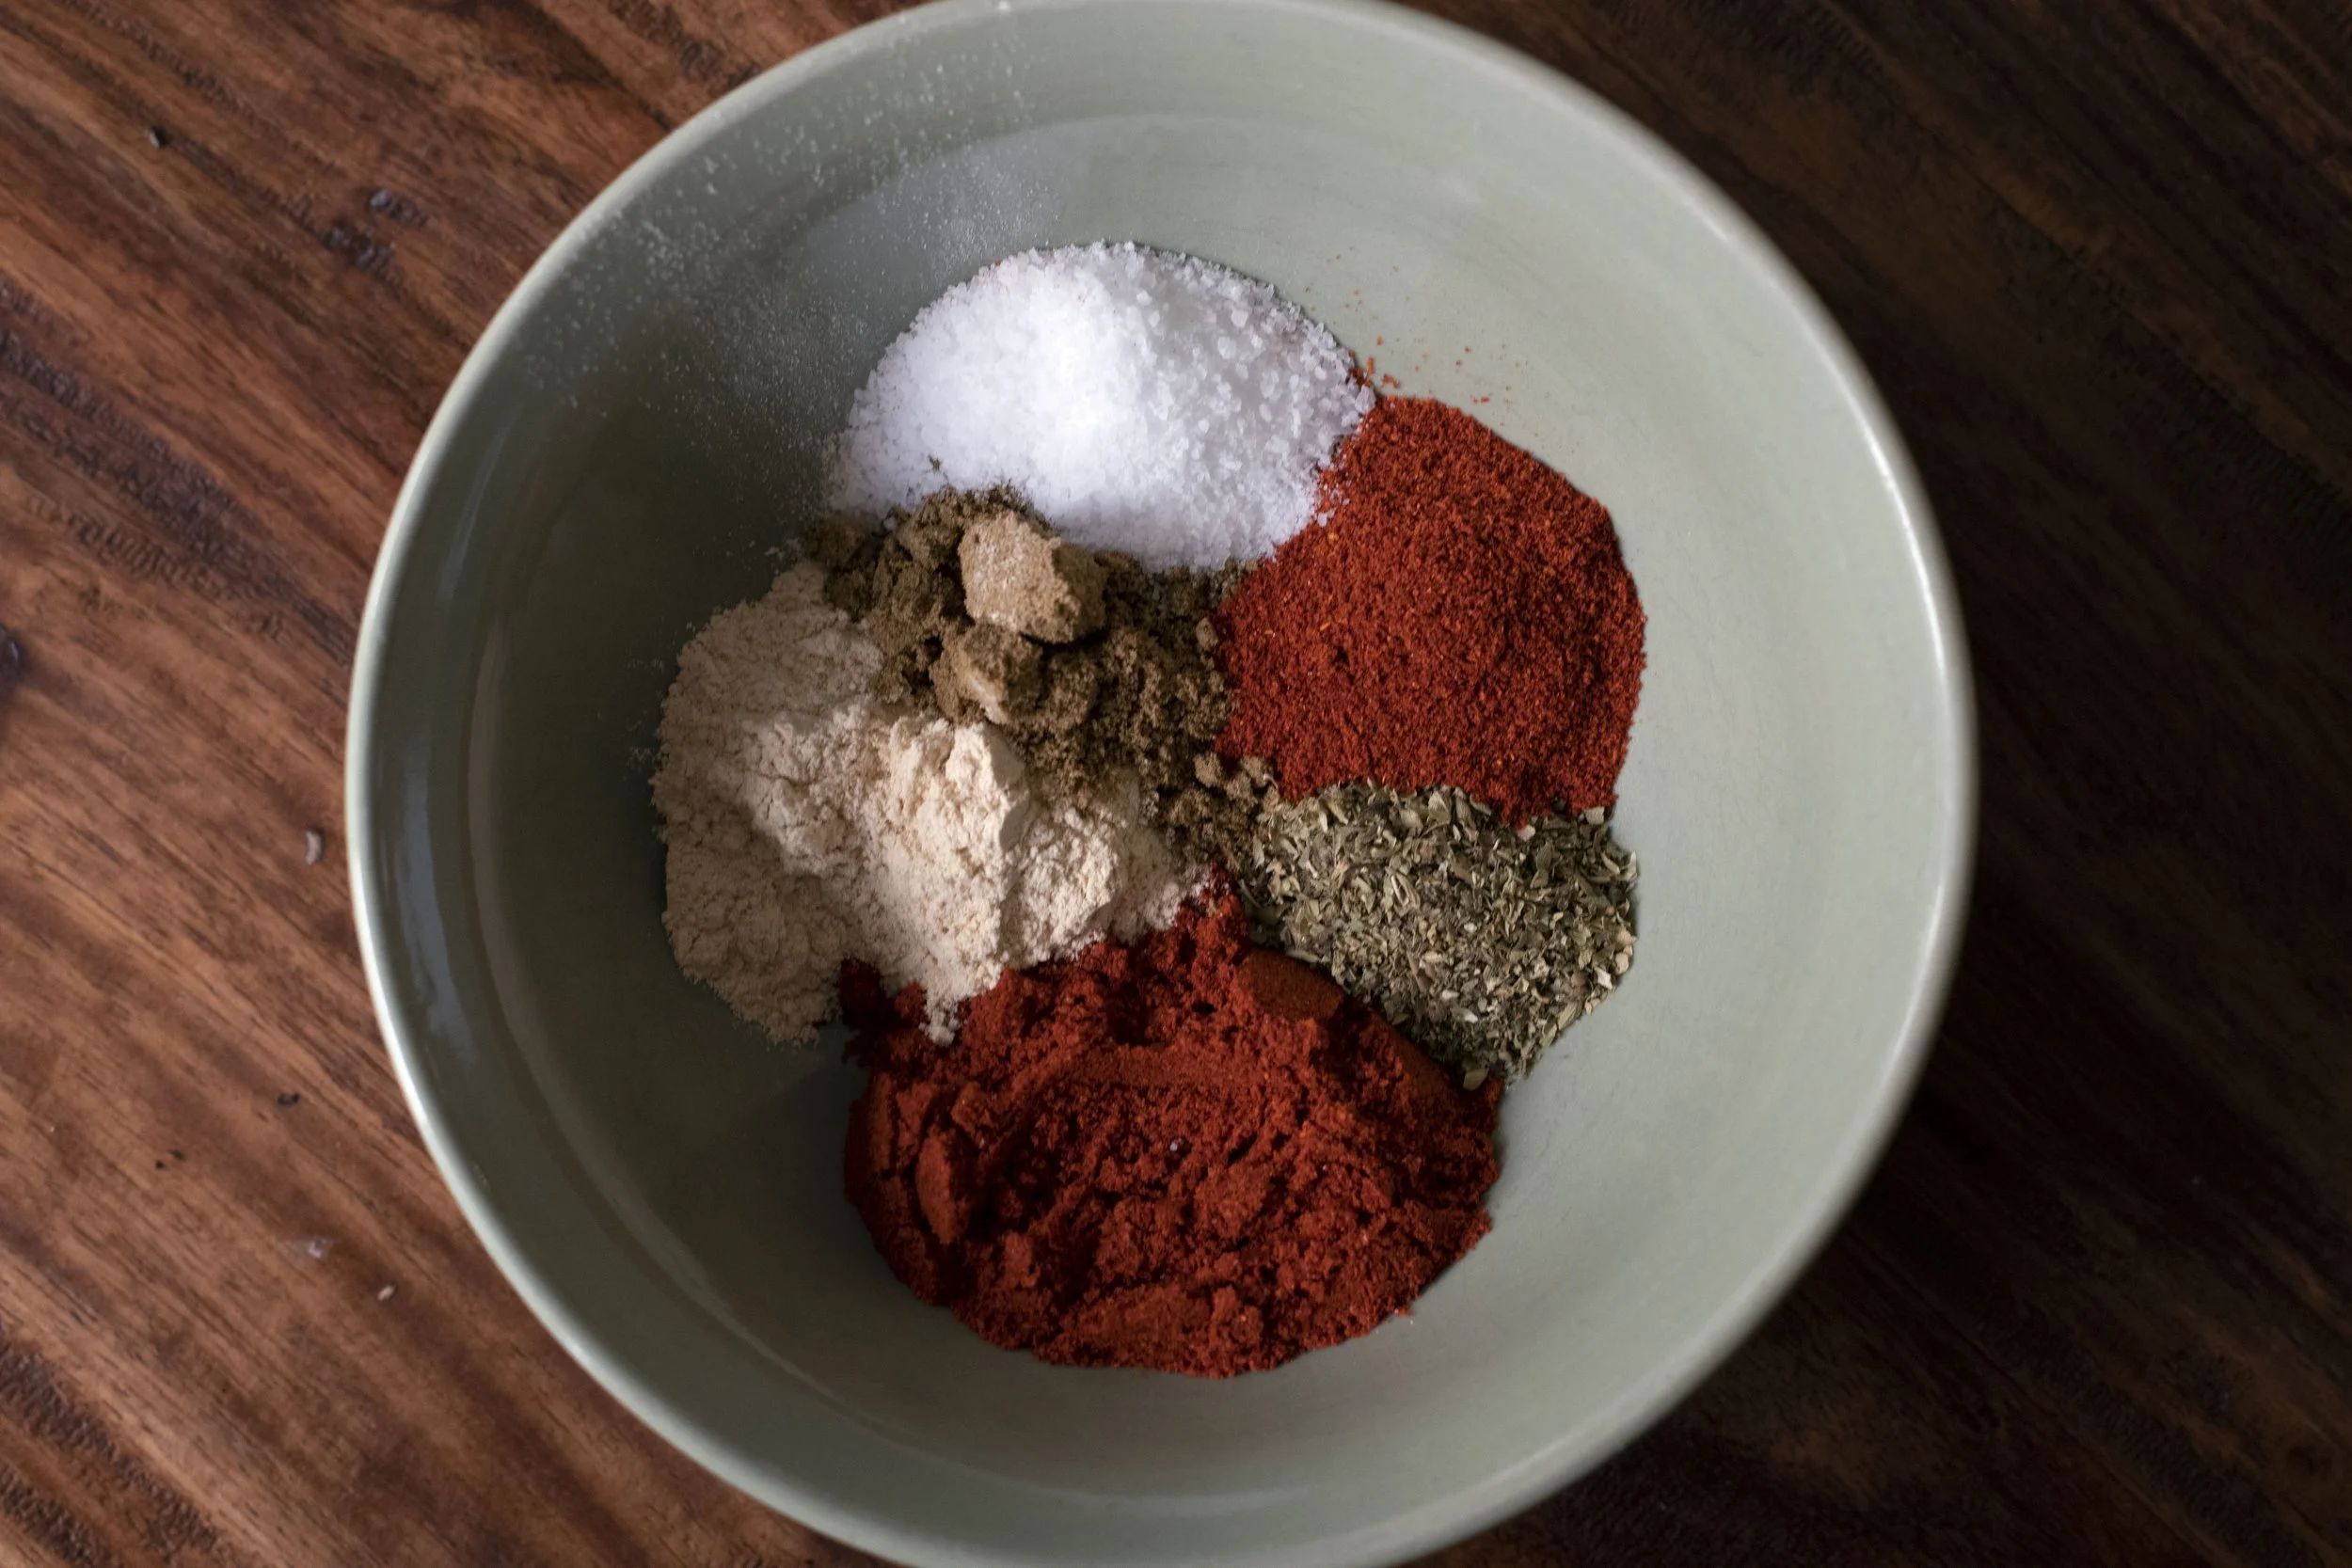
A very basic taco seasoning mix includes salt, garlic powder, paprika, oregano, cumin, and chili powder.
Plate it Up
Half the trick to a delicious taco is in the toppings! I stuck with pretty basic garnishments this evening since I was feeding a crowd and had already spent an hour making puffy taco shells. I didn’t know if I could spend more time chopping up too many diffferent options for the toppings.
I stuck with the basics: shredded cheddar cheese, diced tomatoes, shredded lettuce, some diced onions and avocado, and salsa. If you are looking for more variety, adding in some shredded cabbage or jicama is always a crowd pleaser at my house. I also like pico de gallo and guacamole if I feel like making a few small batches up. Diced jalapenos are never a mistake either.
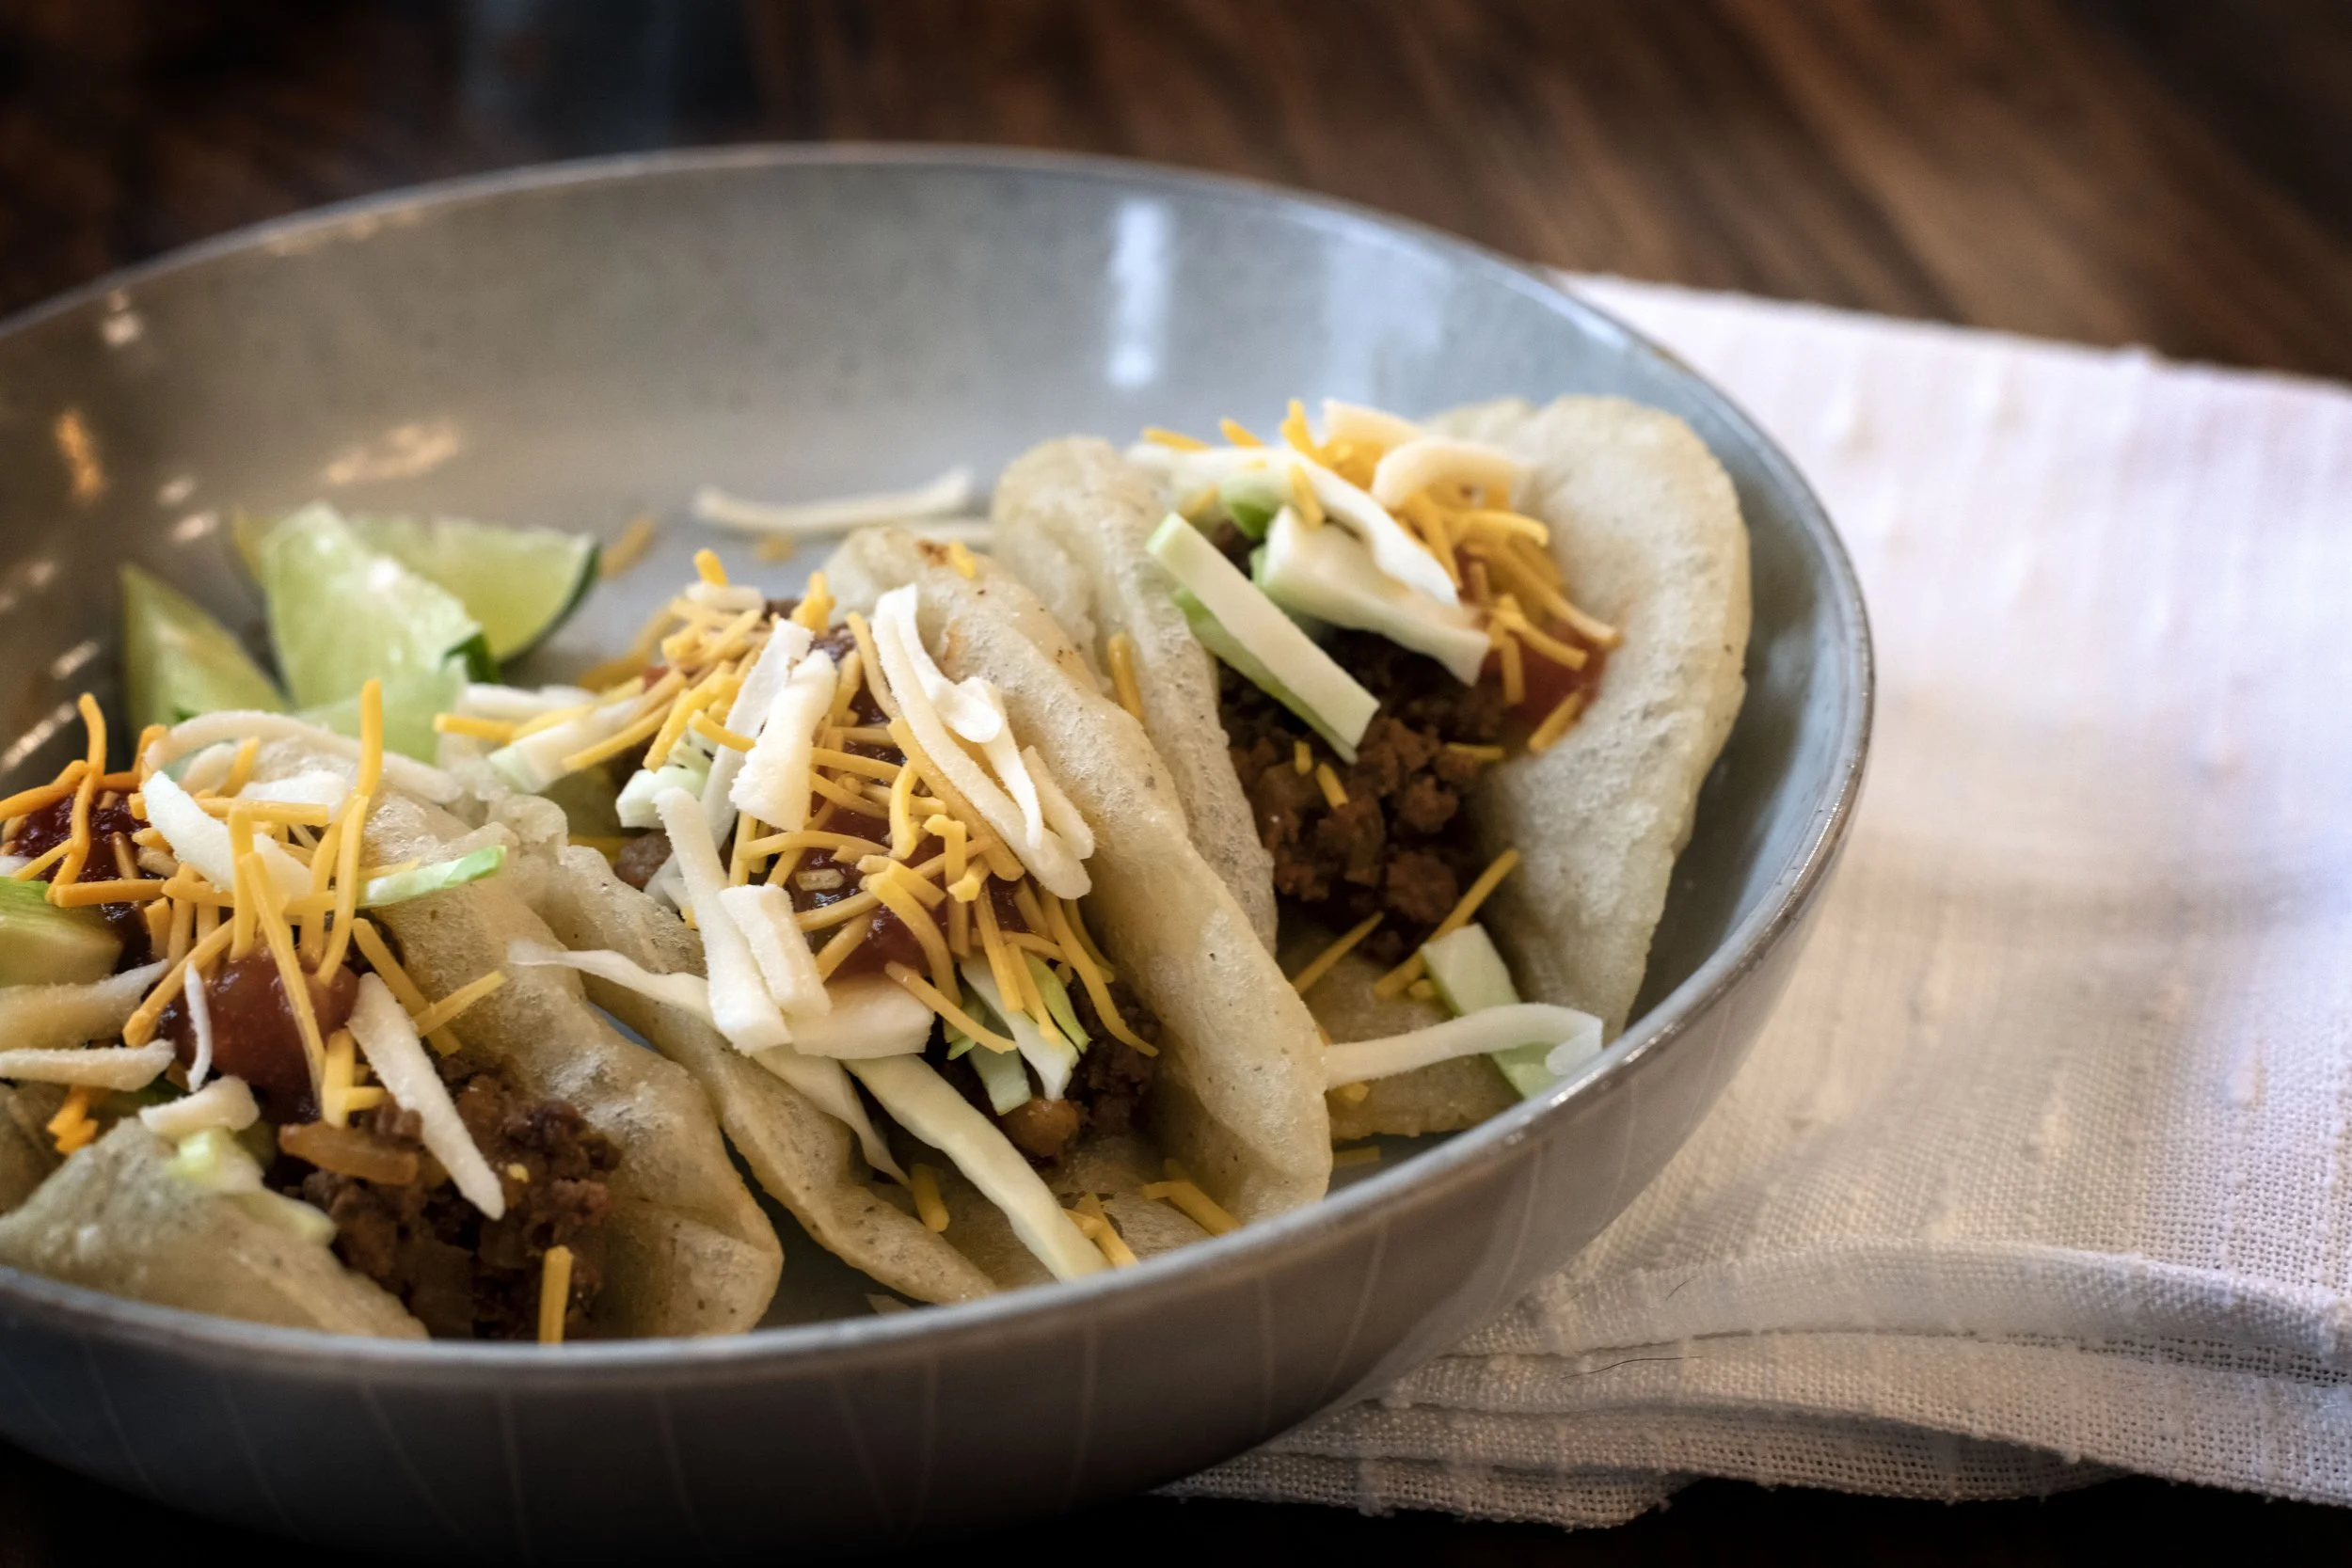
Enjoy and Happy Hunting!
????Frequently Asked Questions????
-
Yes! The corn kernels used in masa harina are soaked in slacked lime. This simple chemical process is what causes the dough to “stick” together and also results in a more pliable tortilla shell.
-
Basically anything in your freezer will work! You can substitute the ground deer for bear, moose, elk, pronghorn, wild turkey, upland game birds like grouse, pheasant, or chukar.
-
A soggy or greasy taco shell is the result of the oil not being hot enough or held to temperature while frying. Keep the oil between 375 and 400 fahrenheit while frying. If the oil drops after finishing a shell, allow it to return to temperature before adding another.
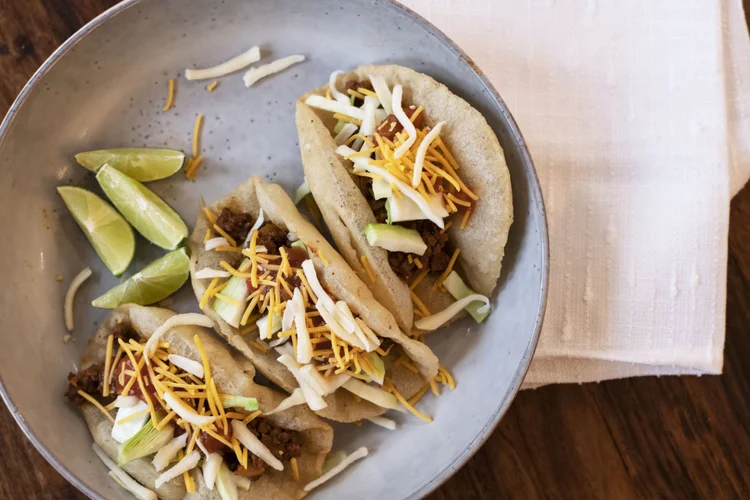
Tex-Mex Venison Puffy Tacos: Crisp & Savory
Bring San Antonio flavor home with this Tex-Mex venison puffy tacos recipe! Learn how to make crispy, puffed tortilla shells stuffed with seasoned wild game.
Ingredients
- Puffy Taco Tortilla Ingredients
- 4 cups masa harina
- 3 ½ cups warm water
- 1 teaspoon salt
- 2 - 3 cups of high heat cooking oil (amount depends on size of cooking pan)
- Venison Taco Meat
- 1 pound ground venison
- 1 medium onion, diced
- 1 tablespoon cooking oil (avocado, canola, olive, vegetable)
- 1 tablespoon chili powder
- 1 teaspoon cumin
- 1 teaspoon oregano
- 1 teaspoon paprika
- 1 teaspoon garlic powder
- 1 teaspoon salt
- 1 tablespoon tomato paste
- 1 (4 oz) can diced green chilis (drained)
- Garnish Suggestions: shredded cheese, diced tomatoes, shredded lettuce, diced avocado, diced onion, salsa, lime wedges
Instructions
- In a medium-sized bowl, mix together the 4 cups of masa harina flour and salt. Gradually pour in the warm water, using your hands or a wooden spoon to mix as you pour. Keep adding water until the dough holds together. It should not crack when formed into a small disc, but it also shouldn't be so wet that it sticks to your hands. The texture should be similar to wet sand. Cover the dough with a damp towel and let it rest for 15 minutes.
- While the dough is resting, add cooking oil to a heavy-bottomed pot or deep-sided cast-iron skillet. The amount of oil will vary based on the diameter of your cooking vessel, but it needs to be about three inches deep to properly fry the tortillas. Heat the oil over medium heat to 375°F.
- Divide the dough into golf-ball-sized portions and gently roll them in your hands until smooth. Using either a tortilla press or a heavy-bottomed skillet, press the balls into thin, flat discs about ⅛-inch thick. To make cleanup easier and prevent sticking, line the tortilla press with two pieces of parchment paper and press the dough ball between them.
- Once the oil is preheated, fry the tortillas one at a time. Adding more than one tortilla will drop the oil’s temperature, causing them to cook improperly. Gently slide a raw tortilla into the oil. Fry for about 5 to 10 seconds, or until the dough starts to lightly puff up and float. Flip the tortilla, and use a metal spatula to lightly press into the center, creating a fold and submerging the shell into the oil. Fry for an additional 45 to 60 seconds, or until the outside of the shell is lightly golden brown. Remove the tortilla from the oil and drain it on a paper towel.
- In a large skillet over medium heat, add one tablespoon of cooking oil. (I used avocado oil for this version, but olive, canola, or vegetable oil will work fine.) Add the diced onion to the warmed oil and sauté for three to five minutes. Add the ground venison to the onions. Use a spatula to break the meat up and let it cook for five minutes.
- Add the chili powder, cumin, oregano, paprika, garlic powder, and salt to the ground meat. Stir to ensure all the meat is evenly coated in the seasonings. Next, add the tablespoon of tomato paste, mix thoroughly, and let the meat cook for two to three more minutes. Finally, stir in the diced green chilis and let the meat finish cooking for an additional two to three minutes.
- To assemble, add a heaping scoop of the venison taco meat to a puffy taco shell. Garnish with your choice of toppings and enjoy!
Nutrition Facts
Calories
426Fat (grams)
33 gCarbs (grams)
24 gFiber (grams)
2 gProtein (grams)
11 gNutritional values are rough estimates based on standard ingredients and will vary depending on your specific cut of wild game, brands used, and actual serving sizes.