Taco Tuesday

Ultimate Instant Pot Huli Huli Javelina Tacos with Pineapple Cucumber Slaw

Working with wild game intimidates people for one reason: it’s unfamiliar. Unless you are a hunter, the opportunity to dine on a wild game meal is quite rare, and actually working with the meat is even more so. When someone is handed a piece of wild game, their opinions on what it will taste like are usually just the opinions of someone else. They are afraid it will taste “gamey,” be too tough, be mushy, be dried out, or be too pungent. The list goes on in every direction.

JUMP TO RECIPE

Javelina is one of these meats, and people love to share their opinions on eating. Based on talking to a handful of people in a restaurant the night before my hunt, I deduced javelina was going to be tough, dry, have a coarse somewhat-gritty texture, and taste like skunk. Not taste like skunk meat, which I don’t know what that tastes like, but it was going to be like scraping roadkill off the pavement and sticking a forkful of eau de skunk in my mouth. 

I wondered if it was even a good idea to try and harvest a javelina. I wasn’t particularly interested in putting a skunk aroma in my mouth. I was intimidated by the incredibly unfamiliar terrain I was heading into.

As I laced my boots up the next morning, I reminded myself the majority of those opinions were unfounded and most likely formed by someone who did not properly handle their harvest during the cleaning and processing steps. The key to quality wild game, upland game, or fish lies in the handling of the meat after the actual harvest. Javelina are no exception to this rule.    

The “skunk” flavor people experience in javelina comes from a scent gland located on the rear of the animal. When field dressing the animal, take extra care to not disturb the gland. Otherwise, proper handling of the meat includes keeping it clean, cool, and dry throughout the entire field dressing process. Following those simple, but very important tips, eliminates most people’s complaints when it comes to eating wild game.

The next step to creating a great javelina dish is utilizing the meat's typically labeled “faults” as its strengths. Because javelina is a lean meat, it can easily dry out when cooked improperly. For this reason, I highly suggest a low-and-slow cooking method. [1]

Contrary to what I was told, proper field handling ensured the meat was not skunky at all. It was actually very mild and even a little bit sweet. It fits perfectly into dishes where the seasonings take advantage of a mild meat profile while enhancing that subtle sweetness. For my harvest, Huli Huli style tacos resulted in a perfect union of seasoning and meat flavor.

So, let’s explore this recipe!

Pressure Cooking the huli huli javelina meat

Javelina is often compared to pork, but I don’t really like to describe it that way. It doesn’t taste much like pork, and since it is such a lean protein, it completely lacks the fatty texture most often associated with pig. While I don’t consider it similar to pork, I do like to mimic the slow-cooking process of pulled pork when preparing javelina. When slow-cooked, it shreds beautifully and absorbs cooking liquids incredibly well.

I didn't actually use a slow cooker for these Huli Huli style tacos. Instead, I used a pressure cooker, which accomplishes the same goals as a slow cooker but in a quarter of the time. I also like having the ability to multitask a dish with a single appliance. The pressure cooker can braise the javelina meat, reduce and thicken the cooking liquid into a silky sauce, and then keep everything warm while you work on other aspects of the meal. There are a lot of great pressure cookers on the market, but one of my personal favorites is the Cuisinart Pressure Cooker.

THe Huli Huli Cooking Liquid

Fresh pineapple juice in a jar next to a breville juicer

Huli Huli is a popular Hawaiian barbeque dish. It is a sweet, savory, and smoky sauce typically served on grilled chicken. While I didn’t use the traditional grilling technique for these tacos, I borrowed the flavor-profile of the teriyaki-style sauce. Since javelina is a mild meat with subtle hints of sweetness, it goes well with a bold sauce like the Huli Huli. 

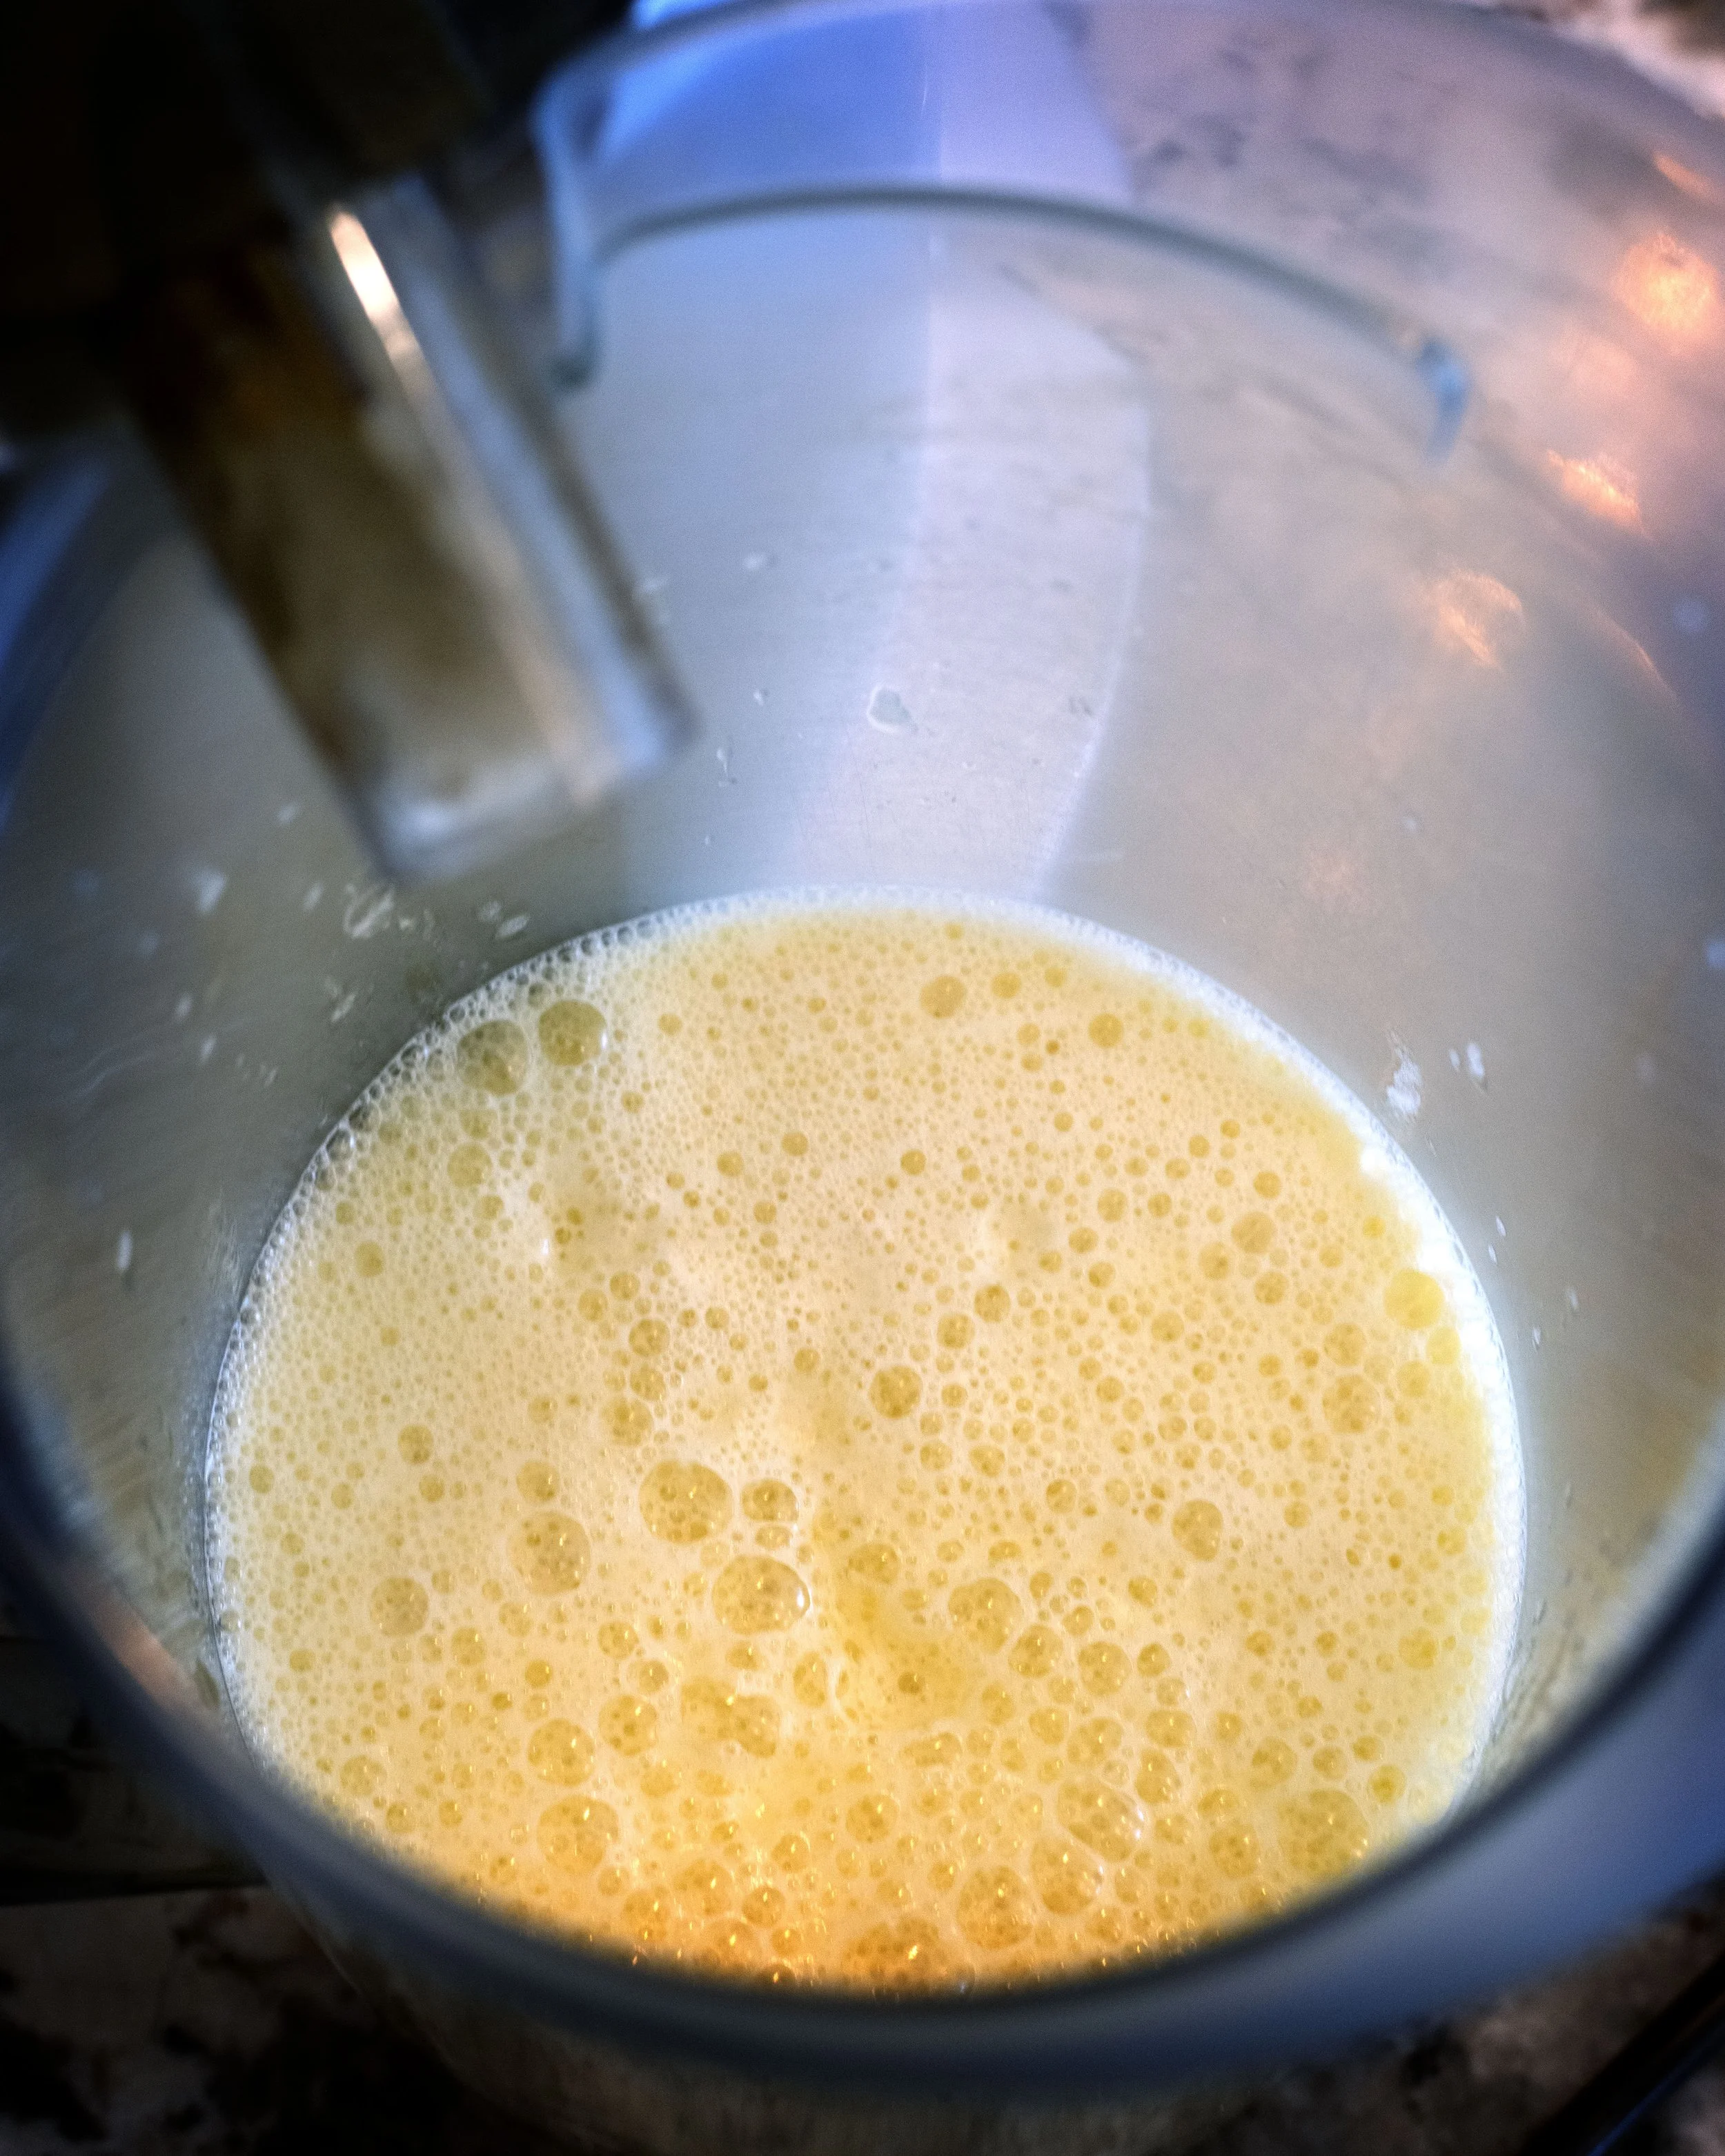
The sauce also aids in meat tenderizing from the natural acids found in the pineapple juice. For this recipe, I bought a pineapple and juiced it myself. You could use bottled juice and it would work just as well, but buying a whole pineapple also allowed me to use the leftover fruit for the chunks in the pineapple cucumber slaw. If you are looking for a juicer, I like the Breville Juicer.

Pressure Cooking Instructions

Prep the meat: I used a chunk of neck meat for this recipe. A tougher cut is preferred for this recipe because you should be saving your more tender cuts for steaks. Make sure to clean up any excess fat or connective tissues from the meat. Season the chunk with salt and pepper and to the pressure cooker. 

  1. Build the cooking liquid: pour a cup of pineapple juice, quarter cup each of ketchup and soy sauce, and two tablespoons of brown sugar into the cooker. Grate two inches of the fresh ginger piece over the top. Stir everything together and lock the lid.

  1. Build the pressure: Verify that the pressure release valve is securely set to the "sealing" position.

  2. Cook: Set the cooker to high pressure for 75 minutes.

  3. Release pressure: Once the timer goes off, allow the machine to naturally release its pressure for 15 minutes before manually opening the venting valve.

  4. Shred: After the cooker has fully depressurized, carefully open the lid and transfer the meat to a cutting board. Use two forks to shred the javelina into bite-sized pieces, then set them aside.

  5. Thicken the sauce: Turn the pressure cooker to saute function. Remove a quarter cup of the liquid from the pot and in a small bowl whisk it together with the corn starch. Once all the lumps have been removed from the corn starch slurry, return it to the pot with the rest of the cooking liquid. Stir and bring the mixture to a light boil. Add in one tablespoon of the honey and the tamarind. Stir and thicken the liquid.

  6. Return the shredded javelina to the pot. Toss thoroughly to coat the meat in the sauce. Switch the cooker to "Keep Warm" while you prepare the slaw.

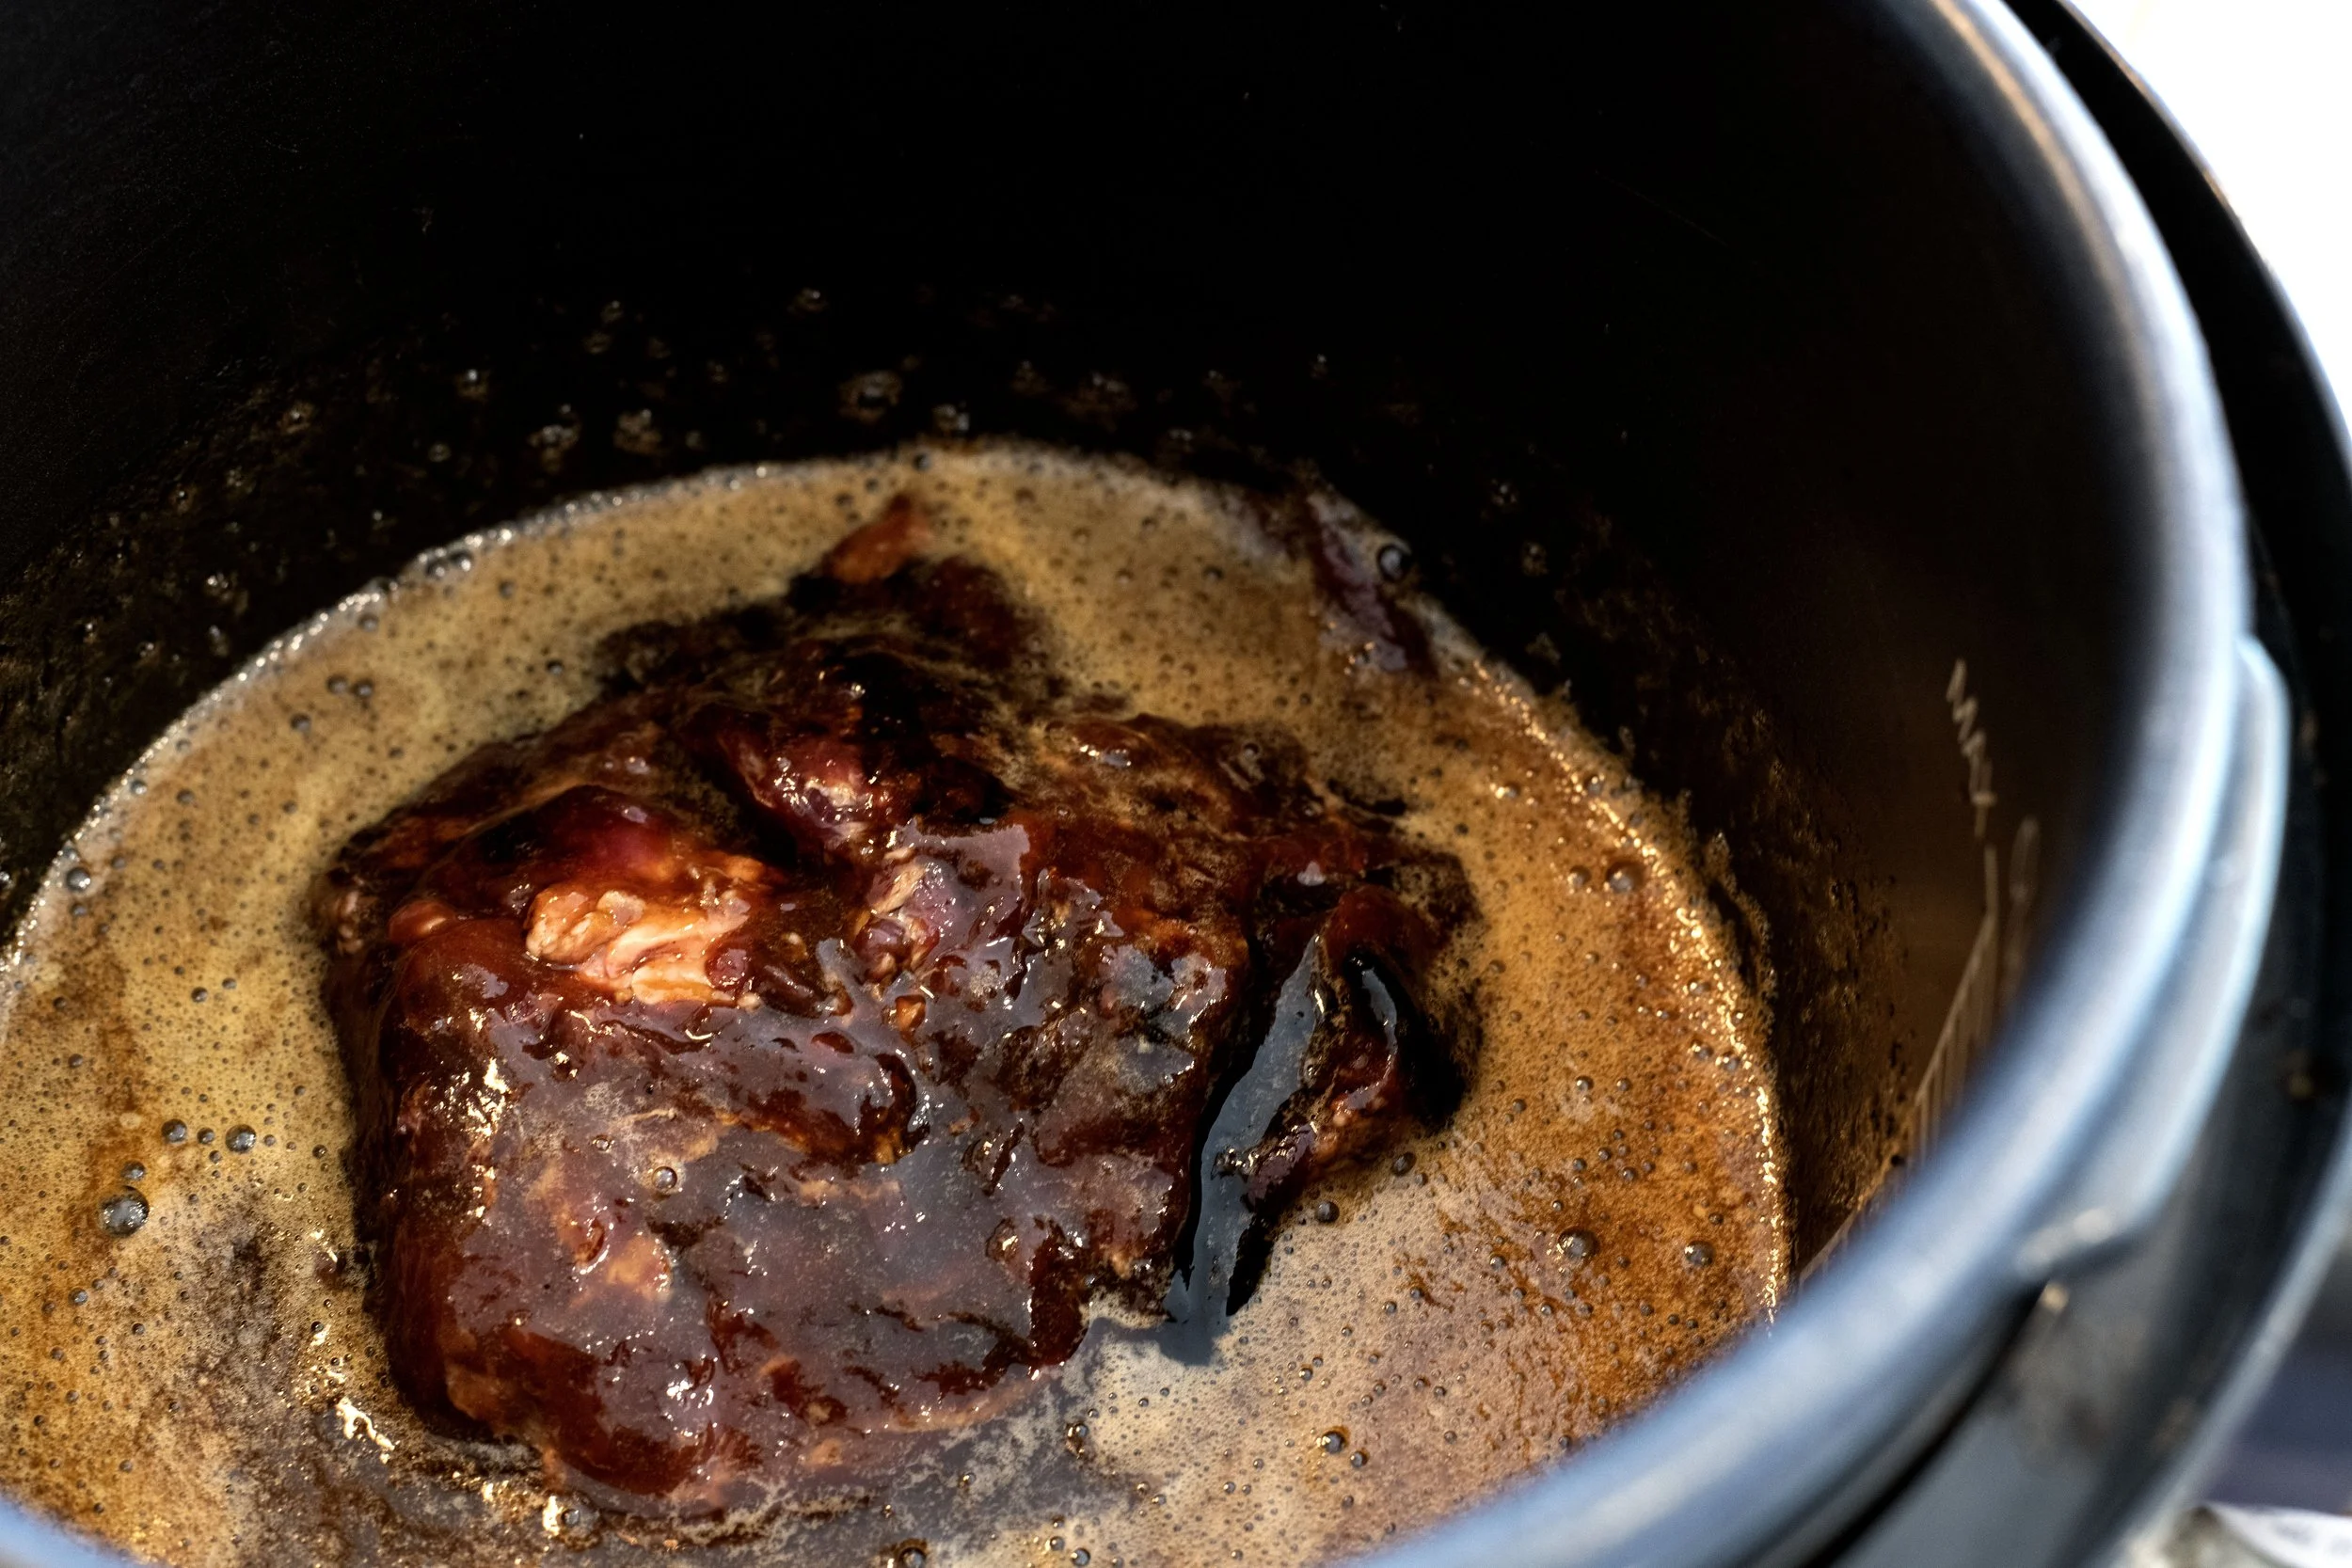
Javelina meat sit in a pressure cooker surrounded by braising liquid

Making the Pineapple Cucmber Slaw

I think toppings really make the taco, and this pineapple cucumber slaw definitely pulls this entire recipe together. The saw is fresh, flavorful, and accentuates the tangy sweet profile of the Huli Huli javelina meat. 

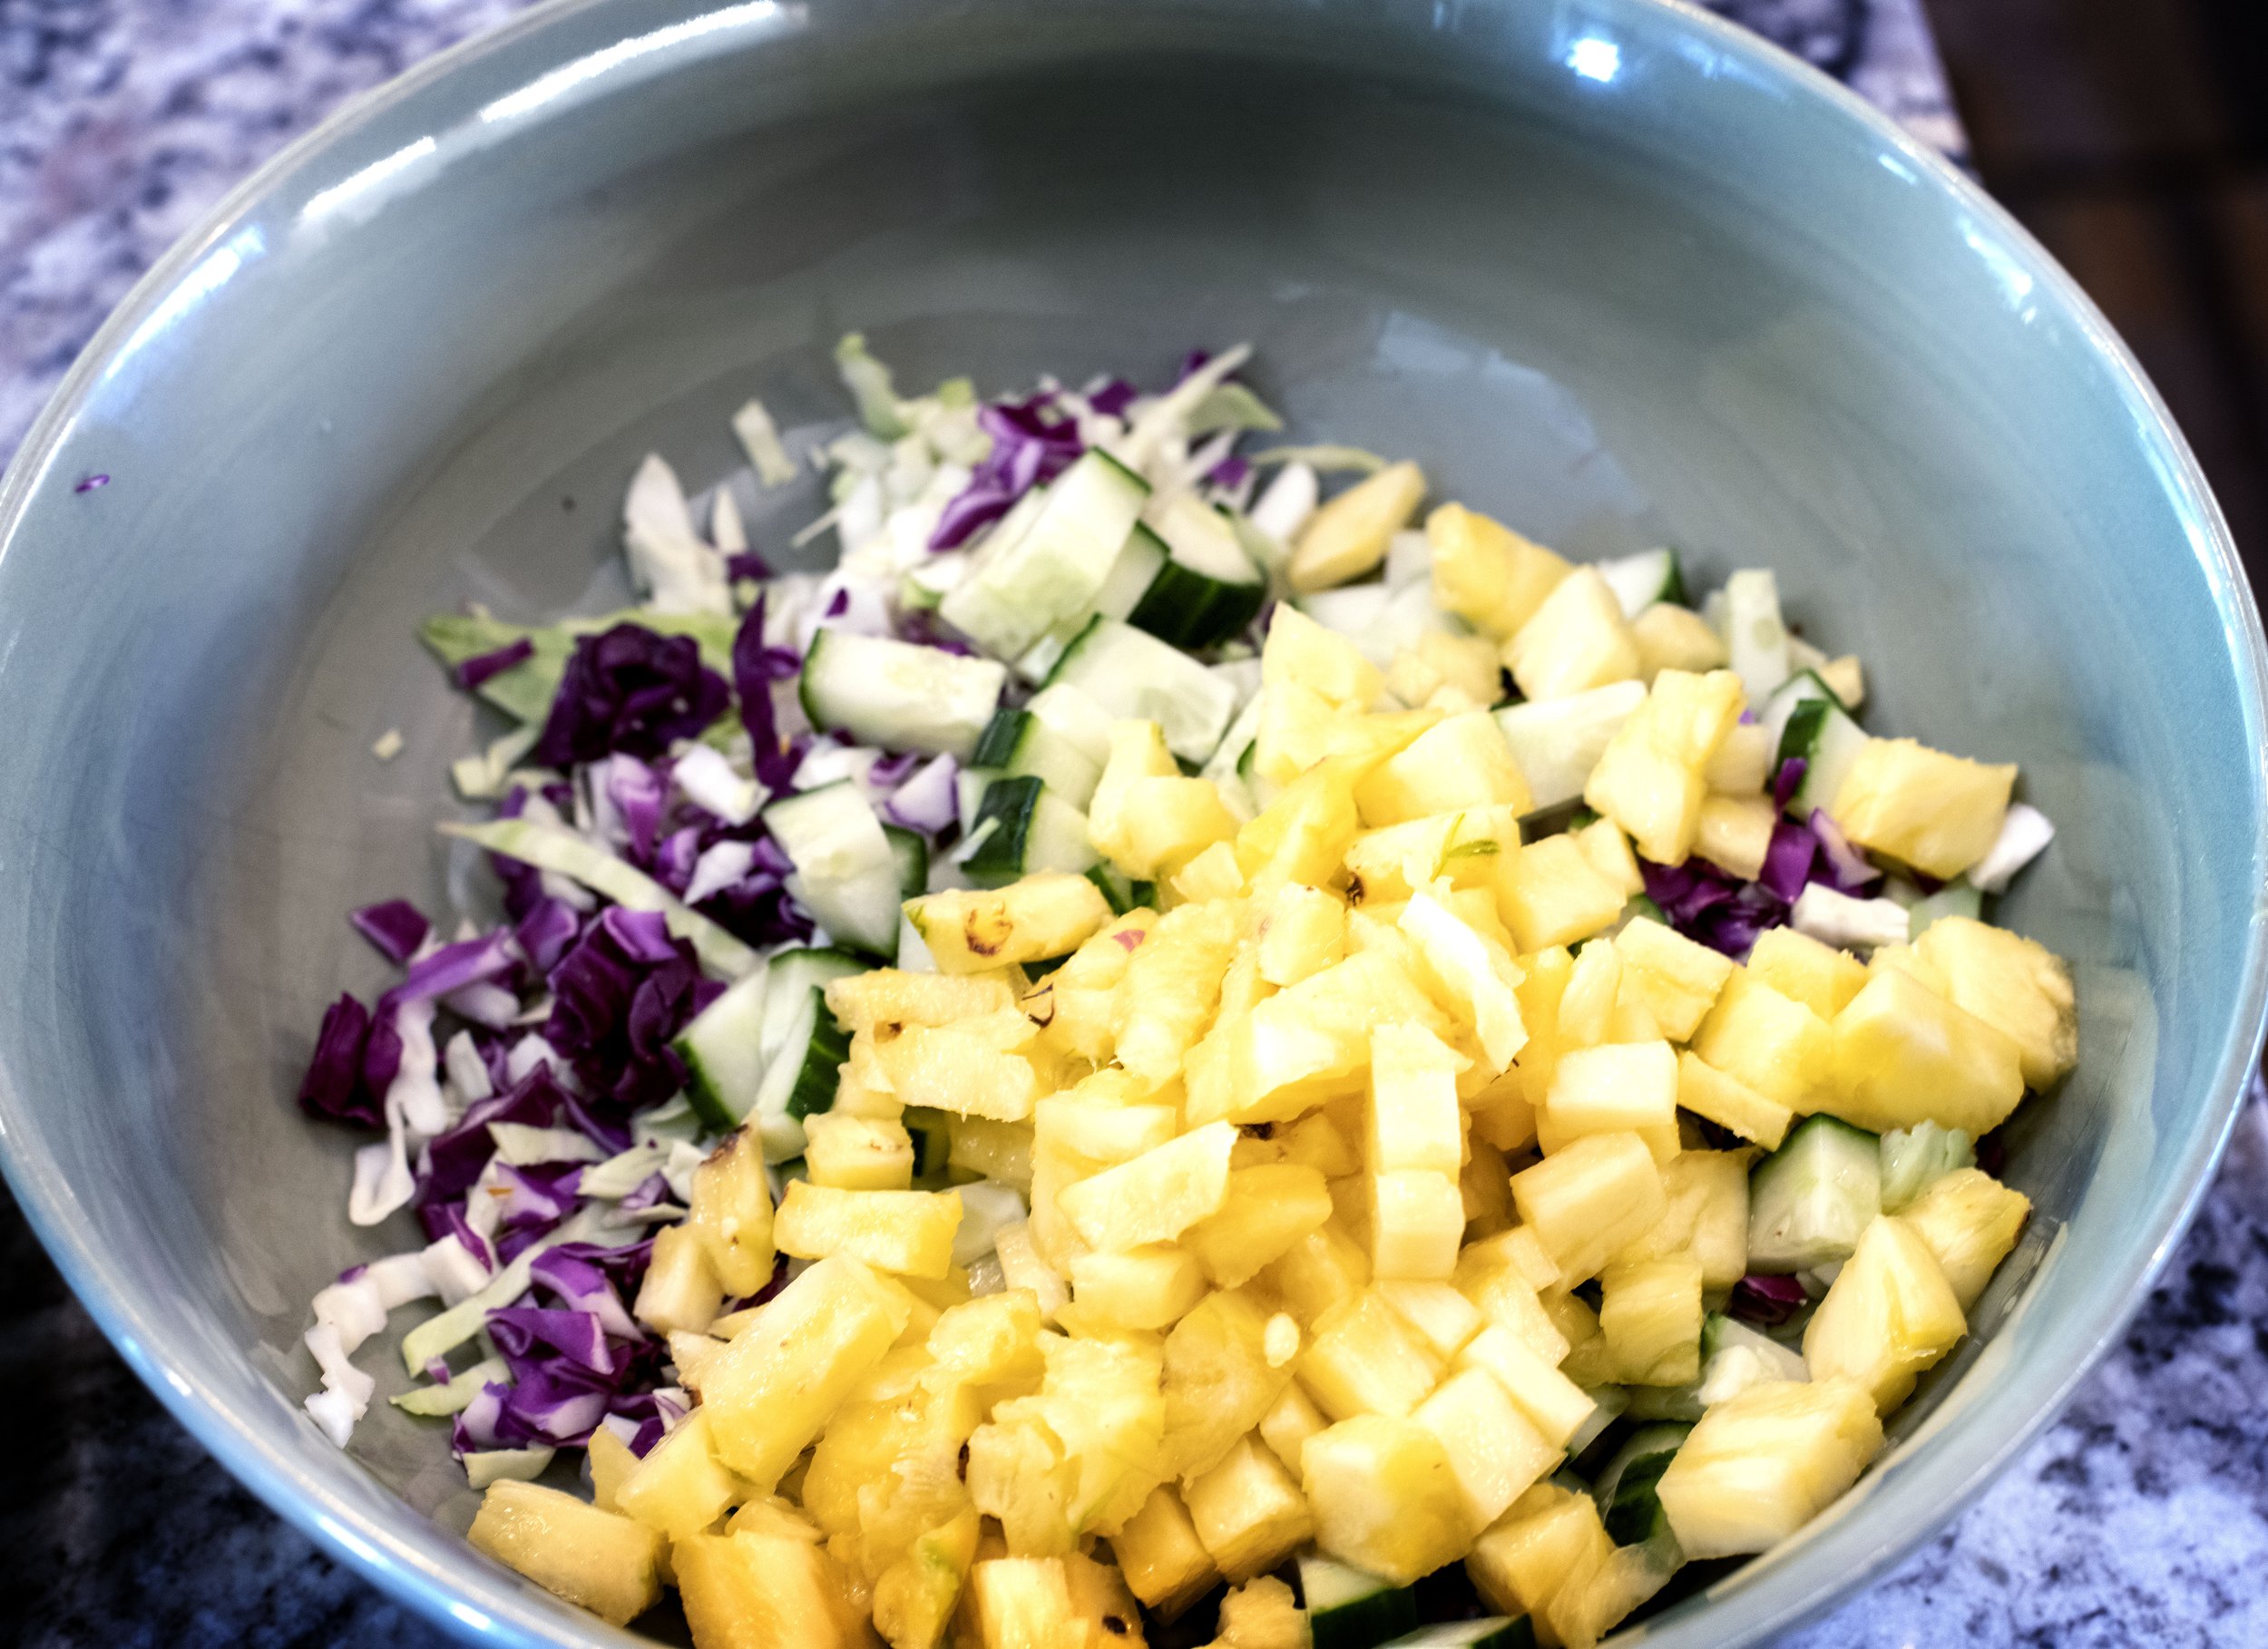
Bowl with shredded green and purple cabbage, pineapple tidbits, and diced cucumber

To start the slaw, shred up a couple cups of green and purple cabbage. The color contrast of the different cabbages make a feast for the eyes! Also dice up the fresh pineapple into tidbits and the cucumber into bite-size pieces. Mix all the ingredients together in a medium size bowl.

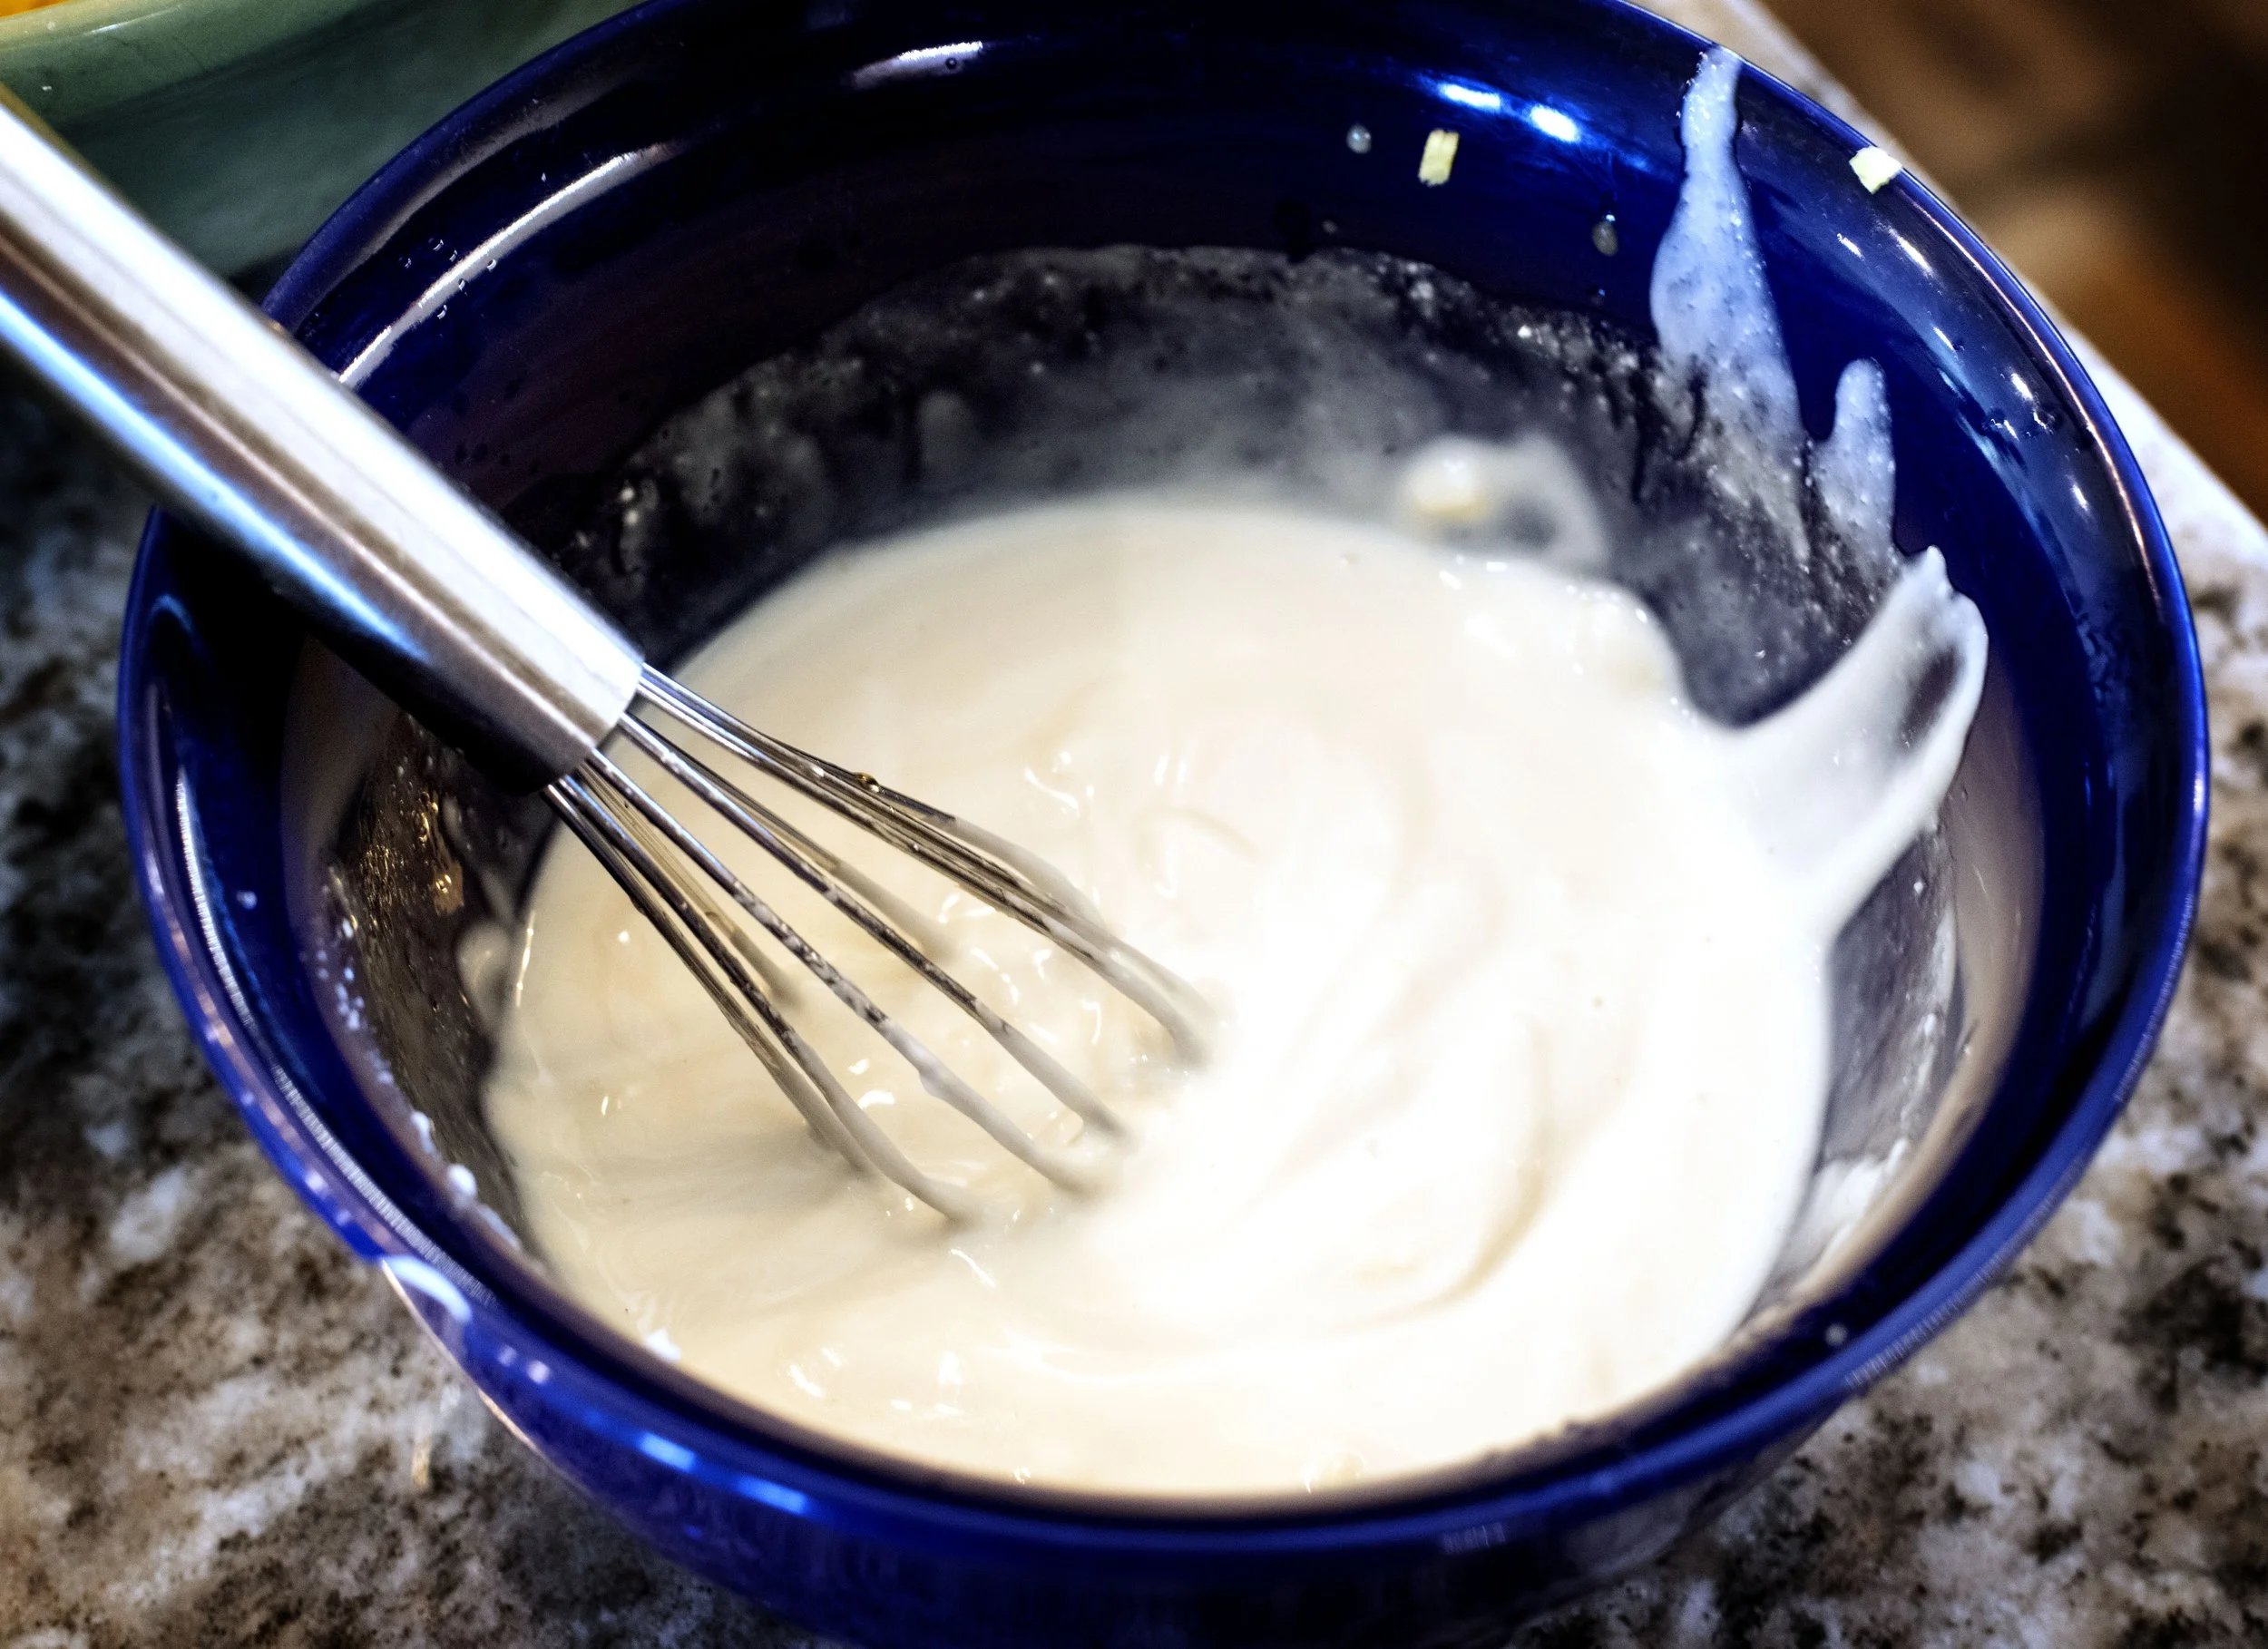
To make the sauce for the slaw, add a half cup of plain Greek yogurt to a small bowl. Whisk in some rice wine vinegar, coconut aminos, and a little sesame seed oil. Be cautious with the amount of sesame seed oil you use, it is a potent ingredient!

Silky and creamy yogurt based sauce for slaw

Add the rest of the fresh grated ginger, about an inch piece, and the other tablespoon of honey to the sauce. Squeeze the juice of half a lime over the top and thoroughly whisk until the sauce is smooth and creamy.

Mix the sauce in with the pineapple cucumber slaw until everything is evenly coated. The topping is ready to go!

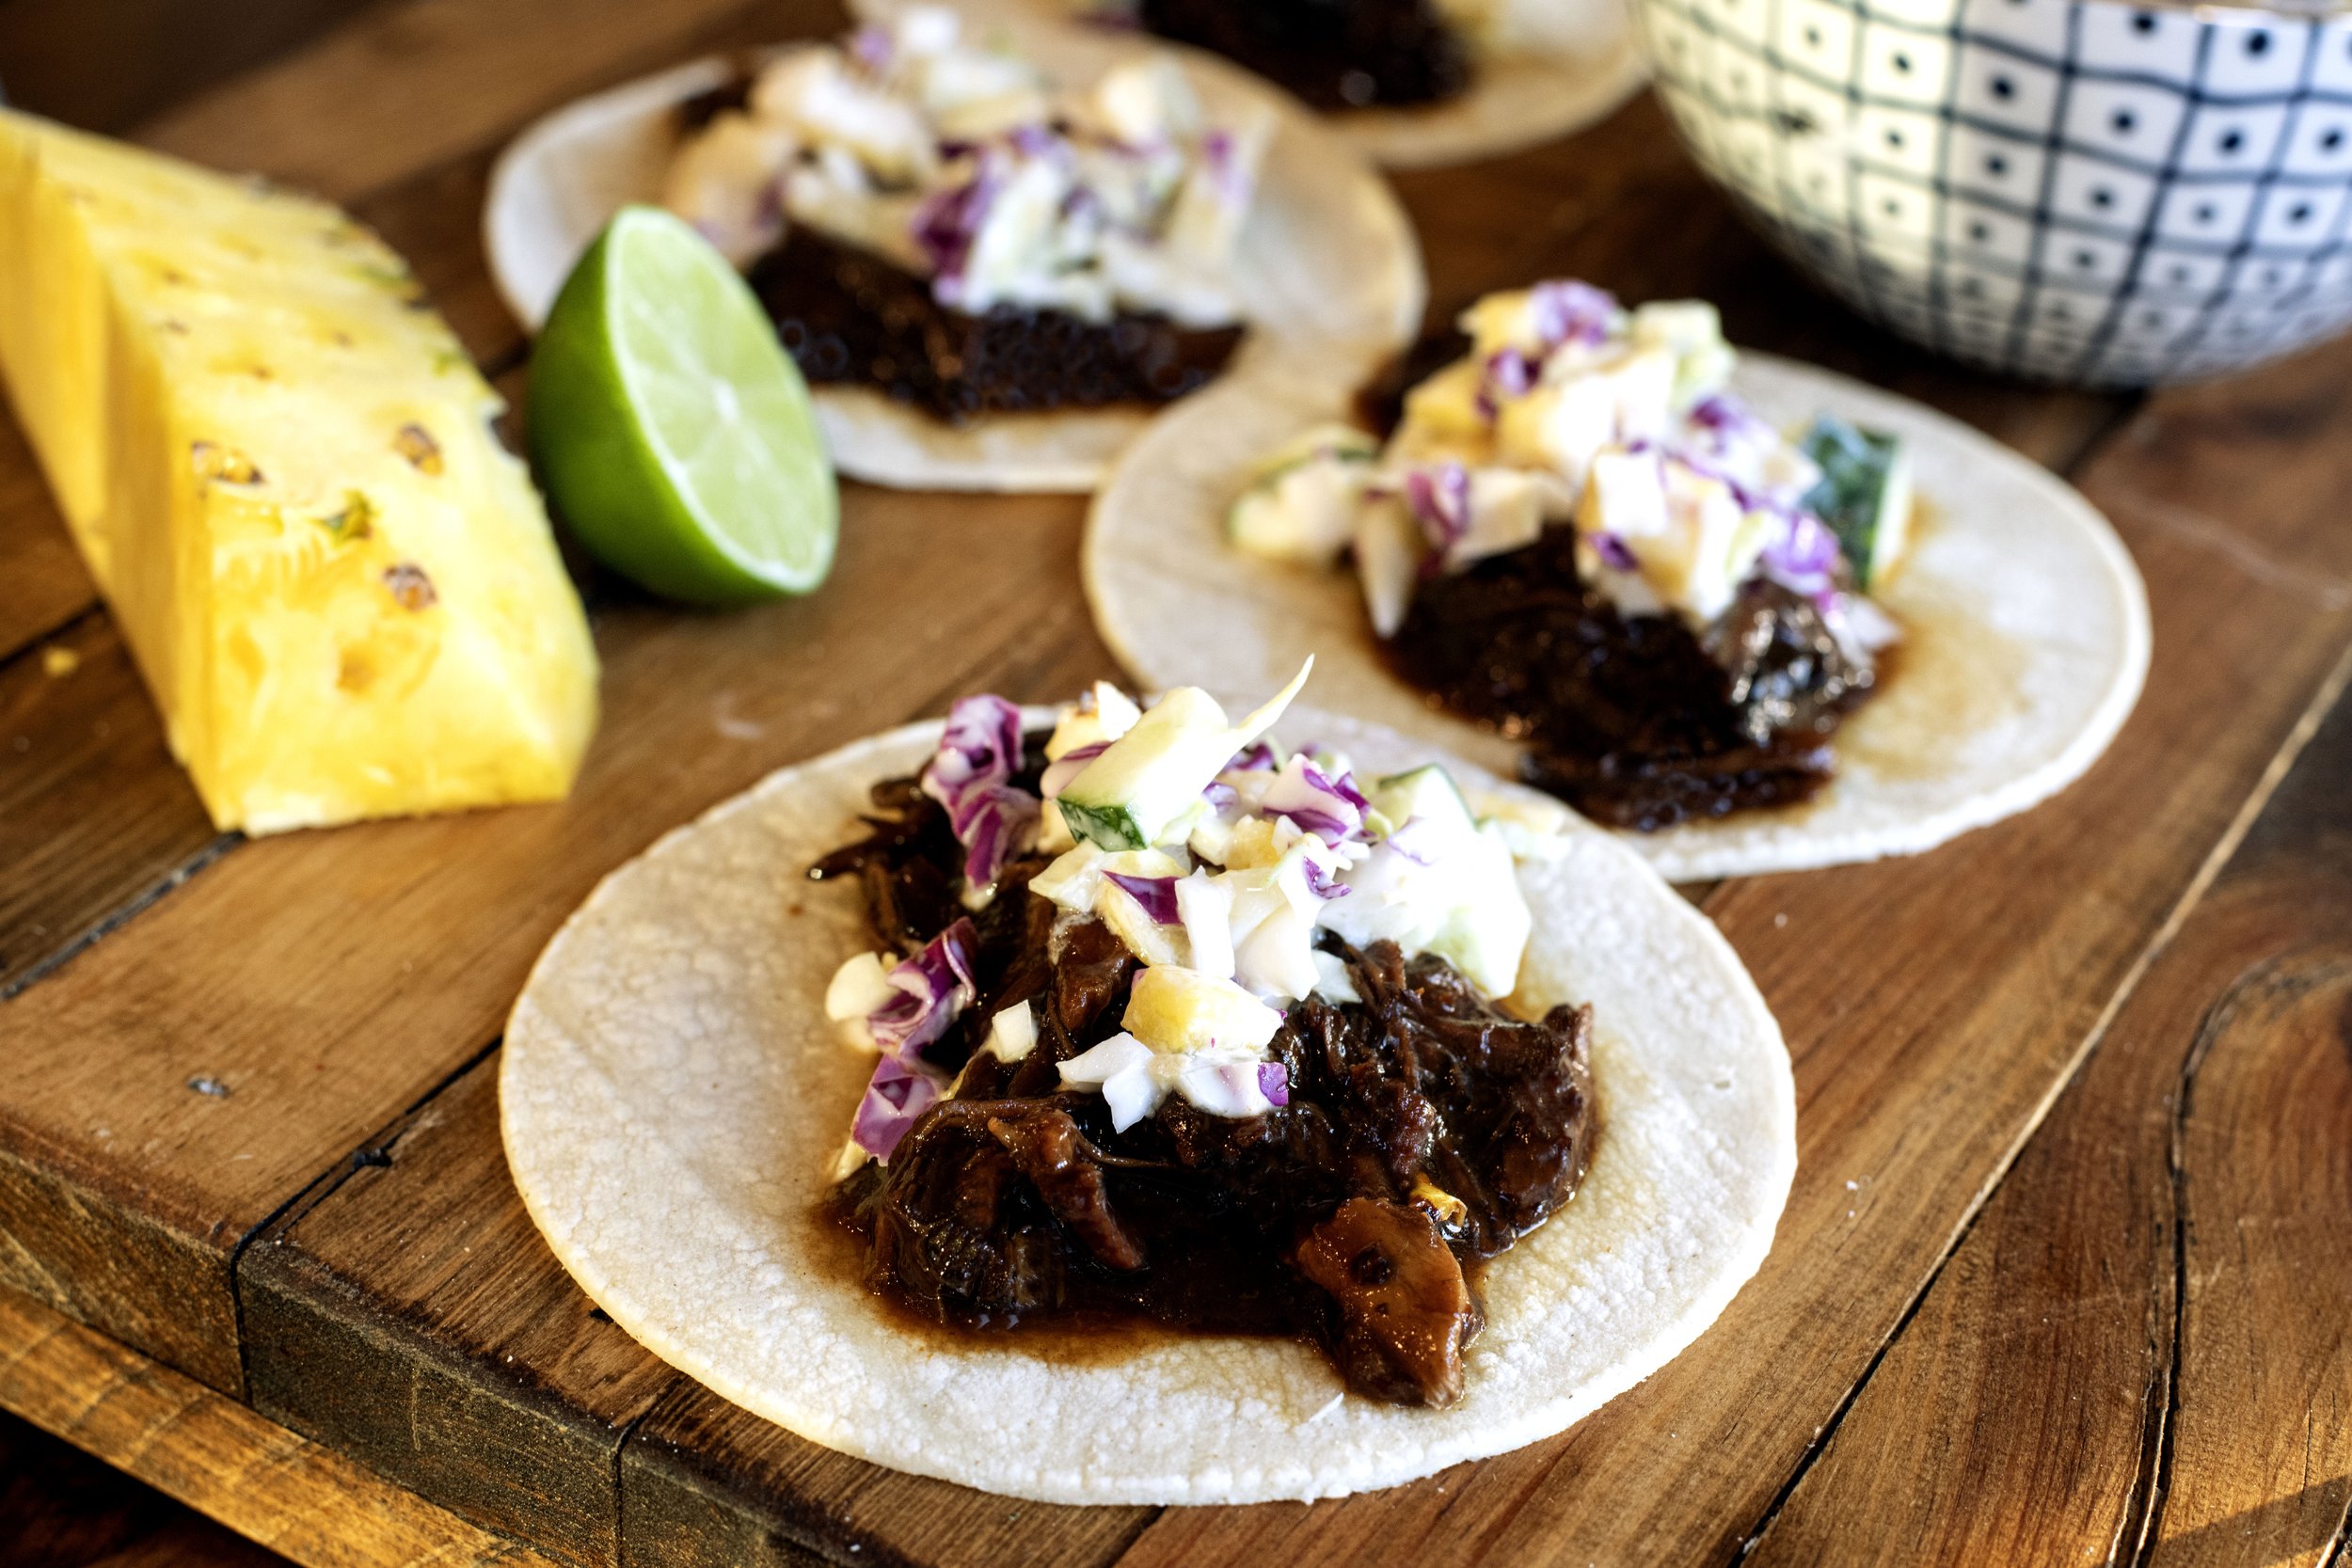
Plate up the Huli Huli Javelina Tacos

All that’s left to do is plate up the tacos and eat! I used corn tortillas for my tacos; however, you could use flour, and as I have said in the past, I will only slightly judge you. I personally feel flour tortillas are reserved for a burrito-style item and corn for a taco, but that is not a hard-set rule and even I break it.

Anyway, in a small skillet, heat a judge a touch of oil over medium heat. The tortillas just need warmed and softened really at this point. Cook them in the lightly oiled pan for about thirty seconds per side. Nothing too crazy here!

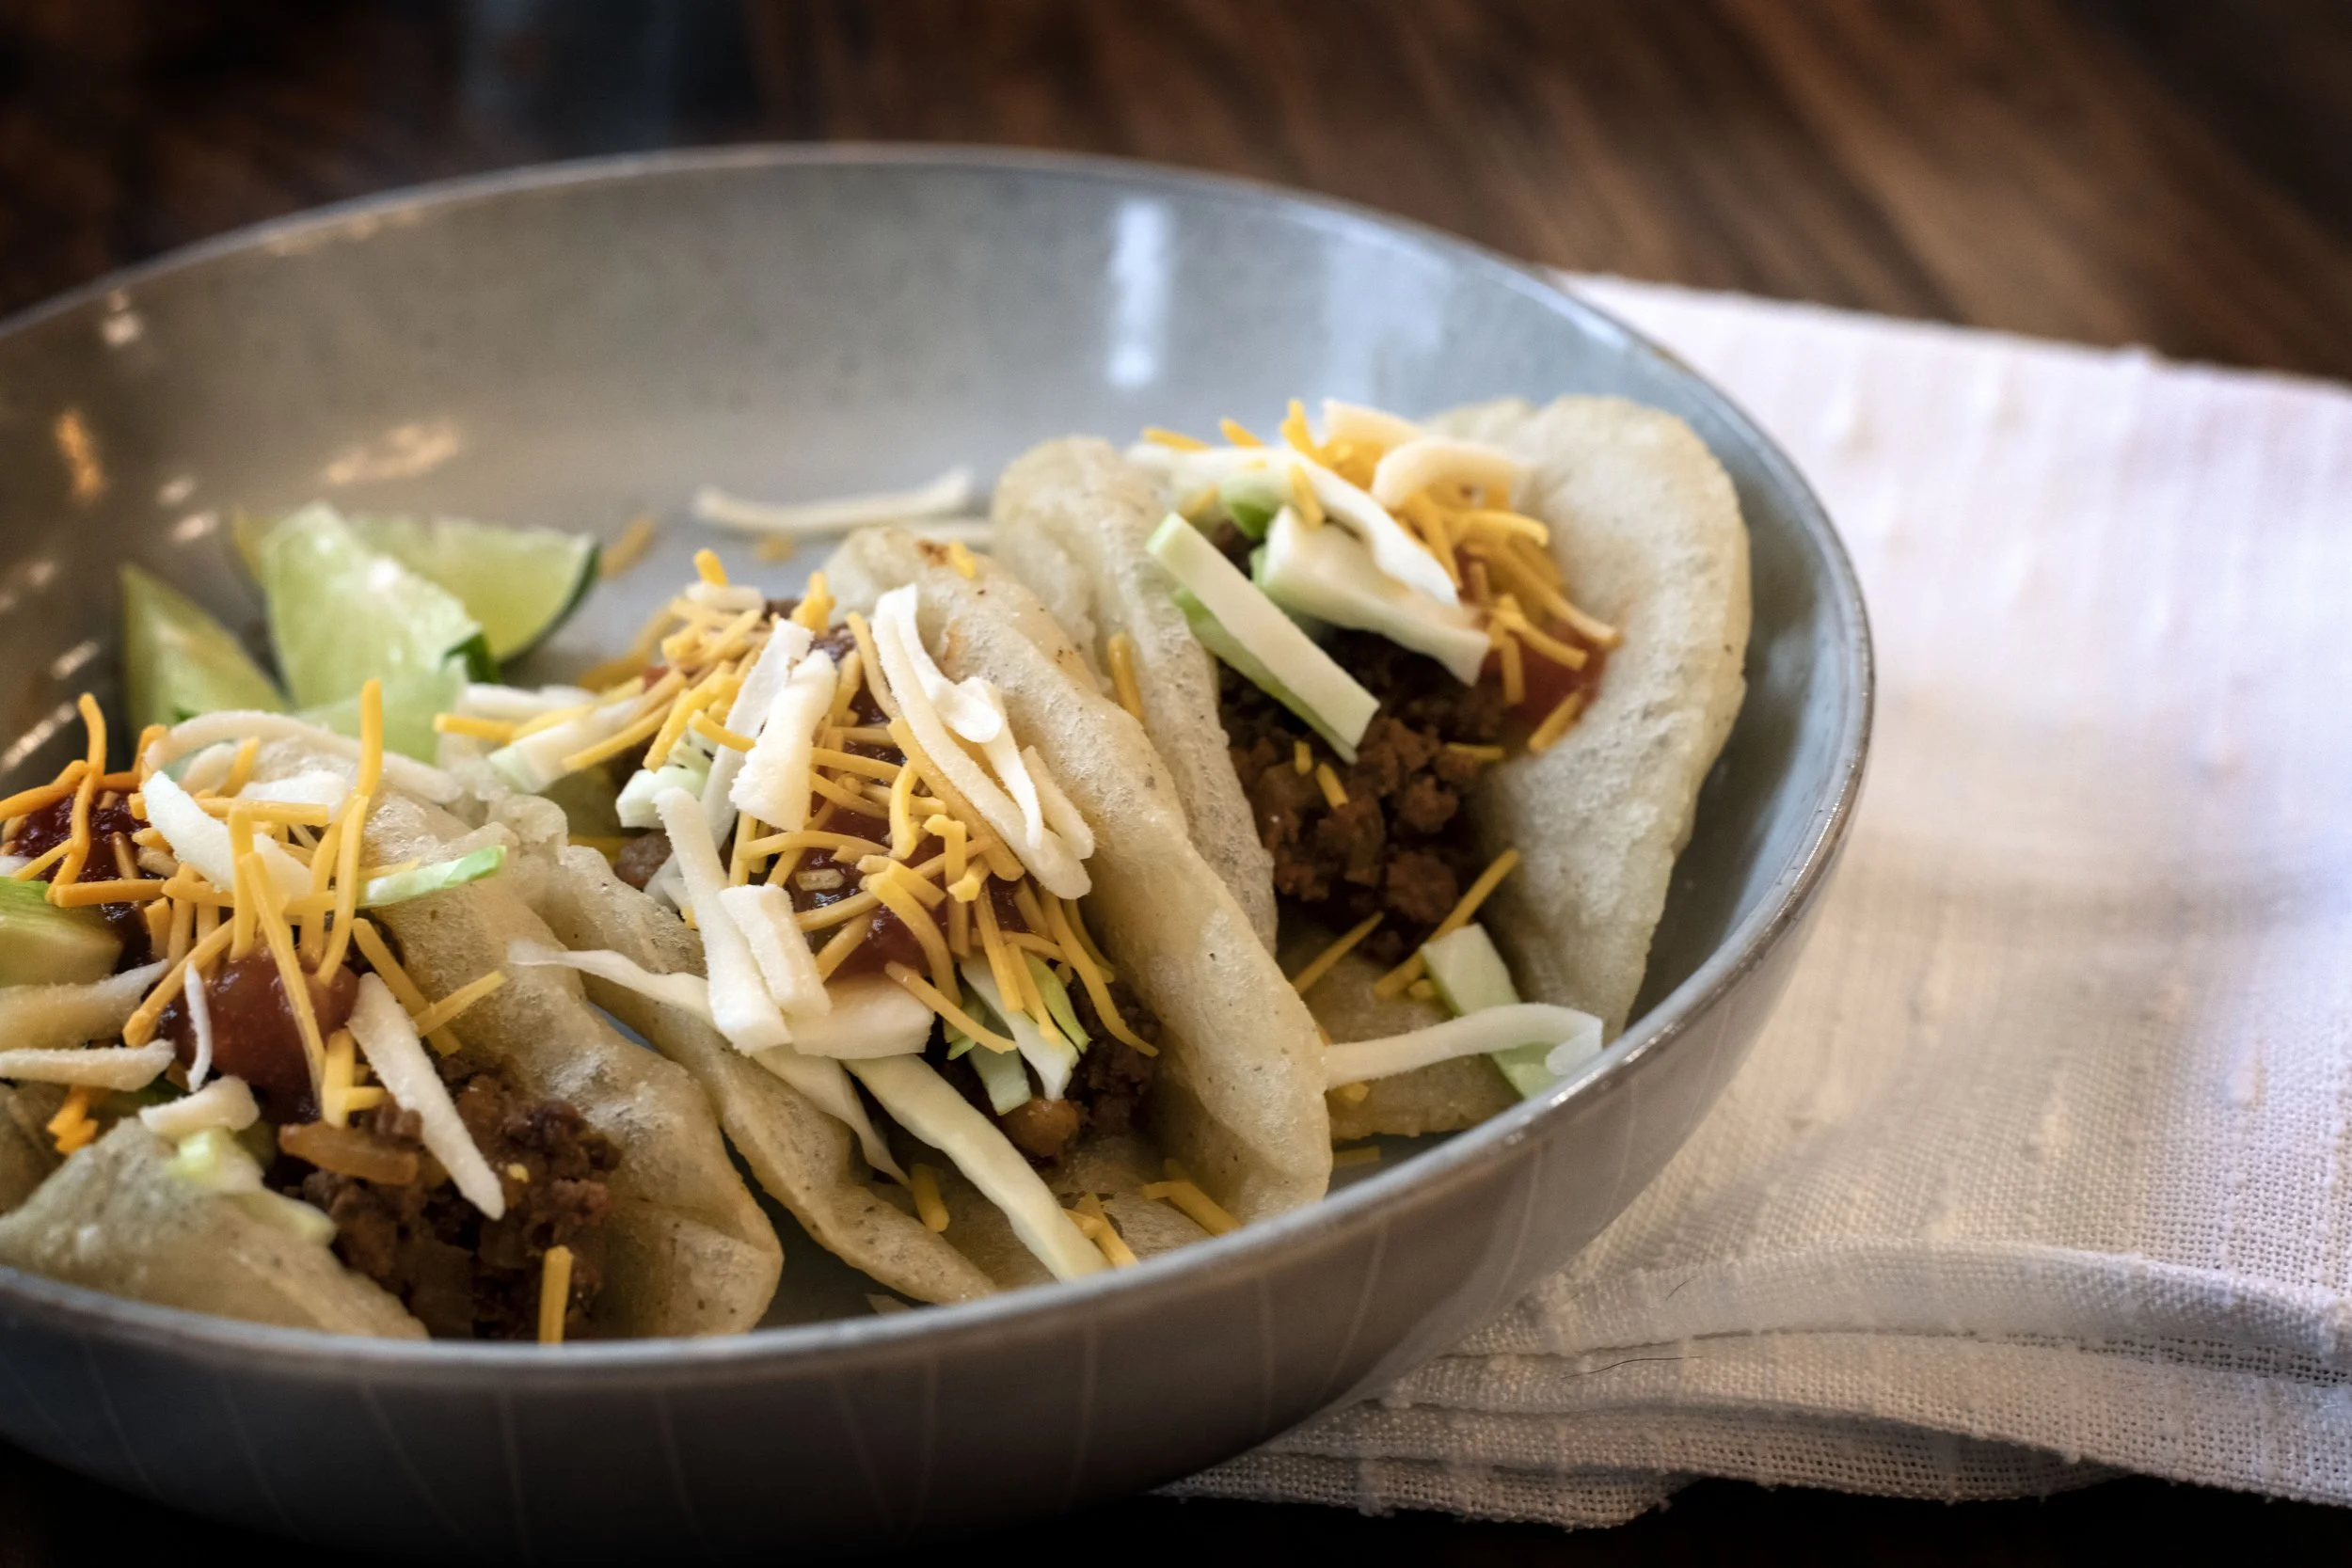
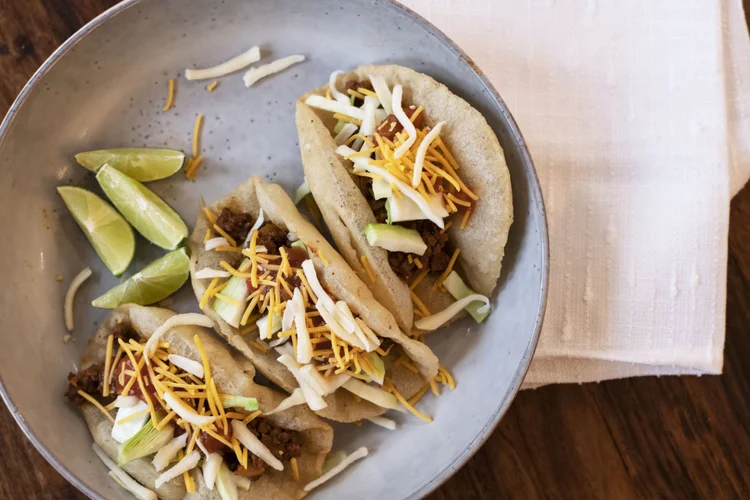
Top the warm tortilla with a generous scoop of the Huli Huli javelina and a spoonful of the pineapple cucumber slaw. I think this dish is a great blend of flavors. The javelina meat is tangy and sweet from the pineapple and tamarind. The slaw is refreshing and really jumps out against the warmth of the javelina meat. It’s just a beautiful taco!

Happy Hunting!

Yield: 6-8
Author: a 12 Gauge Girl
Ultimate Instant Pot Huli Huli Javelina Tacos with Pineapple Cucumber Slaw

Ultimate Instant Pot Huli Huli Javelina Tacos with Pineapple Cucumber Slaw

Prep time: 30 MinCook time: 1 H & 15 MTotal time: 1 H & 45 M

Learn how to cook tender, shreddable wild game with this easy Instant Pot Huli Huli Javelina Tacos recipe. Topped with a fresh pineapple cucumber slaw!

Ingredients

  • 2 pounds javelina meat - tougher cut (I used the neck)
  • 1 cup fresh pineapple juice (juiced by you or bottled will work)
  • ¼ cup ketchup
  • 2 tablespoons brown sugar
  • ¼ cup soy sauce
  • 3 inch piece fresh ginger, grated (2 inches for the cooking liquid and one inch for the slaw)
  • 1 tablespoon corn starch
  • 2 teaspoons tamarind paste
  • 2 tablespoons honey (1 tablespoon for cooking liquid and 1 tablespoon for the slaw)
  • 2 cups shredded green and purple cabbage
  • 1 cup pineapple chunks (I used a fresh pineapple for the juice and chunks, could also use canned pineapple tidbits
  • 1 cucumber, diced
  • ½ cup greek yogurt
  • 2 tablespoons rice wine vinegar
  • 1 tablespoon coconut aminos
  • 1 teaspoon sesame seed oil
  • Juice of half a lime
  • Corn tortillas

Instructions

  1. Prepare the Huli Huli Javelina Meat
  2. Prepare the javelina meat for the pressure cooker by cleaning up any excess fat or connective tissue. Basically, if it looks yucky it goes. Place meat in 6-quart pressure cooker.
  3. Add the cup of fresh pineapple juice to the cooker. I juiced a fresh pineapple, reserving a quarter of the fruit for chopping into the tidbits for the pineapple cucumber slaw. Bottled pineapple juice will work as well.
  4. Finish the pressure cooker cooking juices by adding the ketchup, brown sugar, and soy sauce. Grate in about two inches from the three inch piece of fresh ginger, reserving the last inch for the slaw.
  5. Set the pressure cooker to “high pressure” for 75 minutes. Ensure the venting valve is set to “sealing” or closed. Lock the lid on and press start.
  6. Let javelina cook for the 75 minutes. When timer notifies cooking time has finished, let the cooker naturally release for 15 minutes then move the venting valve to “release” to remove any remaining steam or pressure.
  7. Remove the meat from the pot and shred it into bite-sized pieces using two forks. Set aside.
  8. Make the Huli Huli Sauce
  9. Turn the pressure cooker to saute function. Remove a quarter cup of the liquid from the pot and in a small bowl whisk it together with the corn starch. Once all the lumps have been removed from the corn starch slurry, return it to the pot with the rest of the cooking liquid. Stir and bring the mixture to a light boil. Add in one tablespoon of the honey and the tamarind. Stir and thicken the liquid.
  10. Return the shredded javelina to the pot. Toss thoroughly to coat the meat in the sauce. Switch the cooker to "Keep Warm" while you prepare the slaw
  11. Prepare the Pineapple Cucumber Slaw
  12. Shred half a head of green cabbage and half a head of purple cabbage, resulting in about two cups of cabbage. Add to a medium size bowl.
  13. Dice cucumber into bite size pieces. Prepare the pineapple chunks by either dicing up from the reserved pineapple used to make the juice for the sauce or by draining a can of pineapple tidbits. Mix together with the shredded cabbage and cucumber pieces.
  14. In a smaller bowl, mix up the slaw dressing by combining the plain Greek yogurt, rice wine vinegar, coconut aminos, sesame seed oil, one tablespoon of honey, remaining inch of fresh grated ginger, and juice from half a lime.
  15. Once slaw dressing is mixed, add to the shredded cabbage mixture and toss until everything is evenly coated.
  16. To Plate
  17. Warm corn tortillas in a dry skillet (or with a small splash of cooking oil) until soft and pliable, about thirty seconds per side.
  18. Place generous scoop of huli huli javelina on warm tortilla. Top with a spoonful of pineapple cucumber slaw.
  19. Serve immediately with fresh lime wedges.
  20. Enjoy!

Nutrition Facts

Calories

328

Fat (grams)

5 g

Carbs (grams)

34 g

Fiber (grams)

2 g

Protein (grams)

36 g

 Nutritional values are rough estimates based on standard ingredients and will vary depending on your specific cut of wild game, brands used, and actual serving sizes.
Did you make this recipe?
Tag @a12gaugegirl on instagram and hashtag it #huntingandcooking
 

???? Frequently Asked Questions ????

Pheasant Shakshuka Breakfast Tacos: Wild Game Morning Recipe

From the first time those warm, vibrant, and comforting spices of shakshuka hit my tastebuds I was a fan. I was vacationing at a bed and breakfast in Santa Fe, New Mexico. I’m not a big fan of bed and breakfasts, I tend to shy away from dining with strangers and that is basically the goal of a bed and breakfast. The timidness I quickly develop with the introduction of unknowns also carries into unfamiliar foods. And I don’t know if there is much more foreign a breakfast experience than a spaghetti-looking egg dish for breakfast.

JUMP TO RECIPE

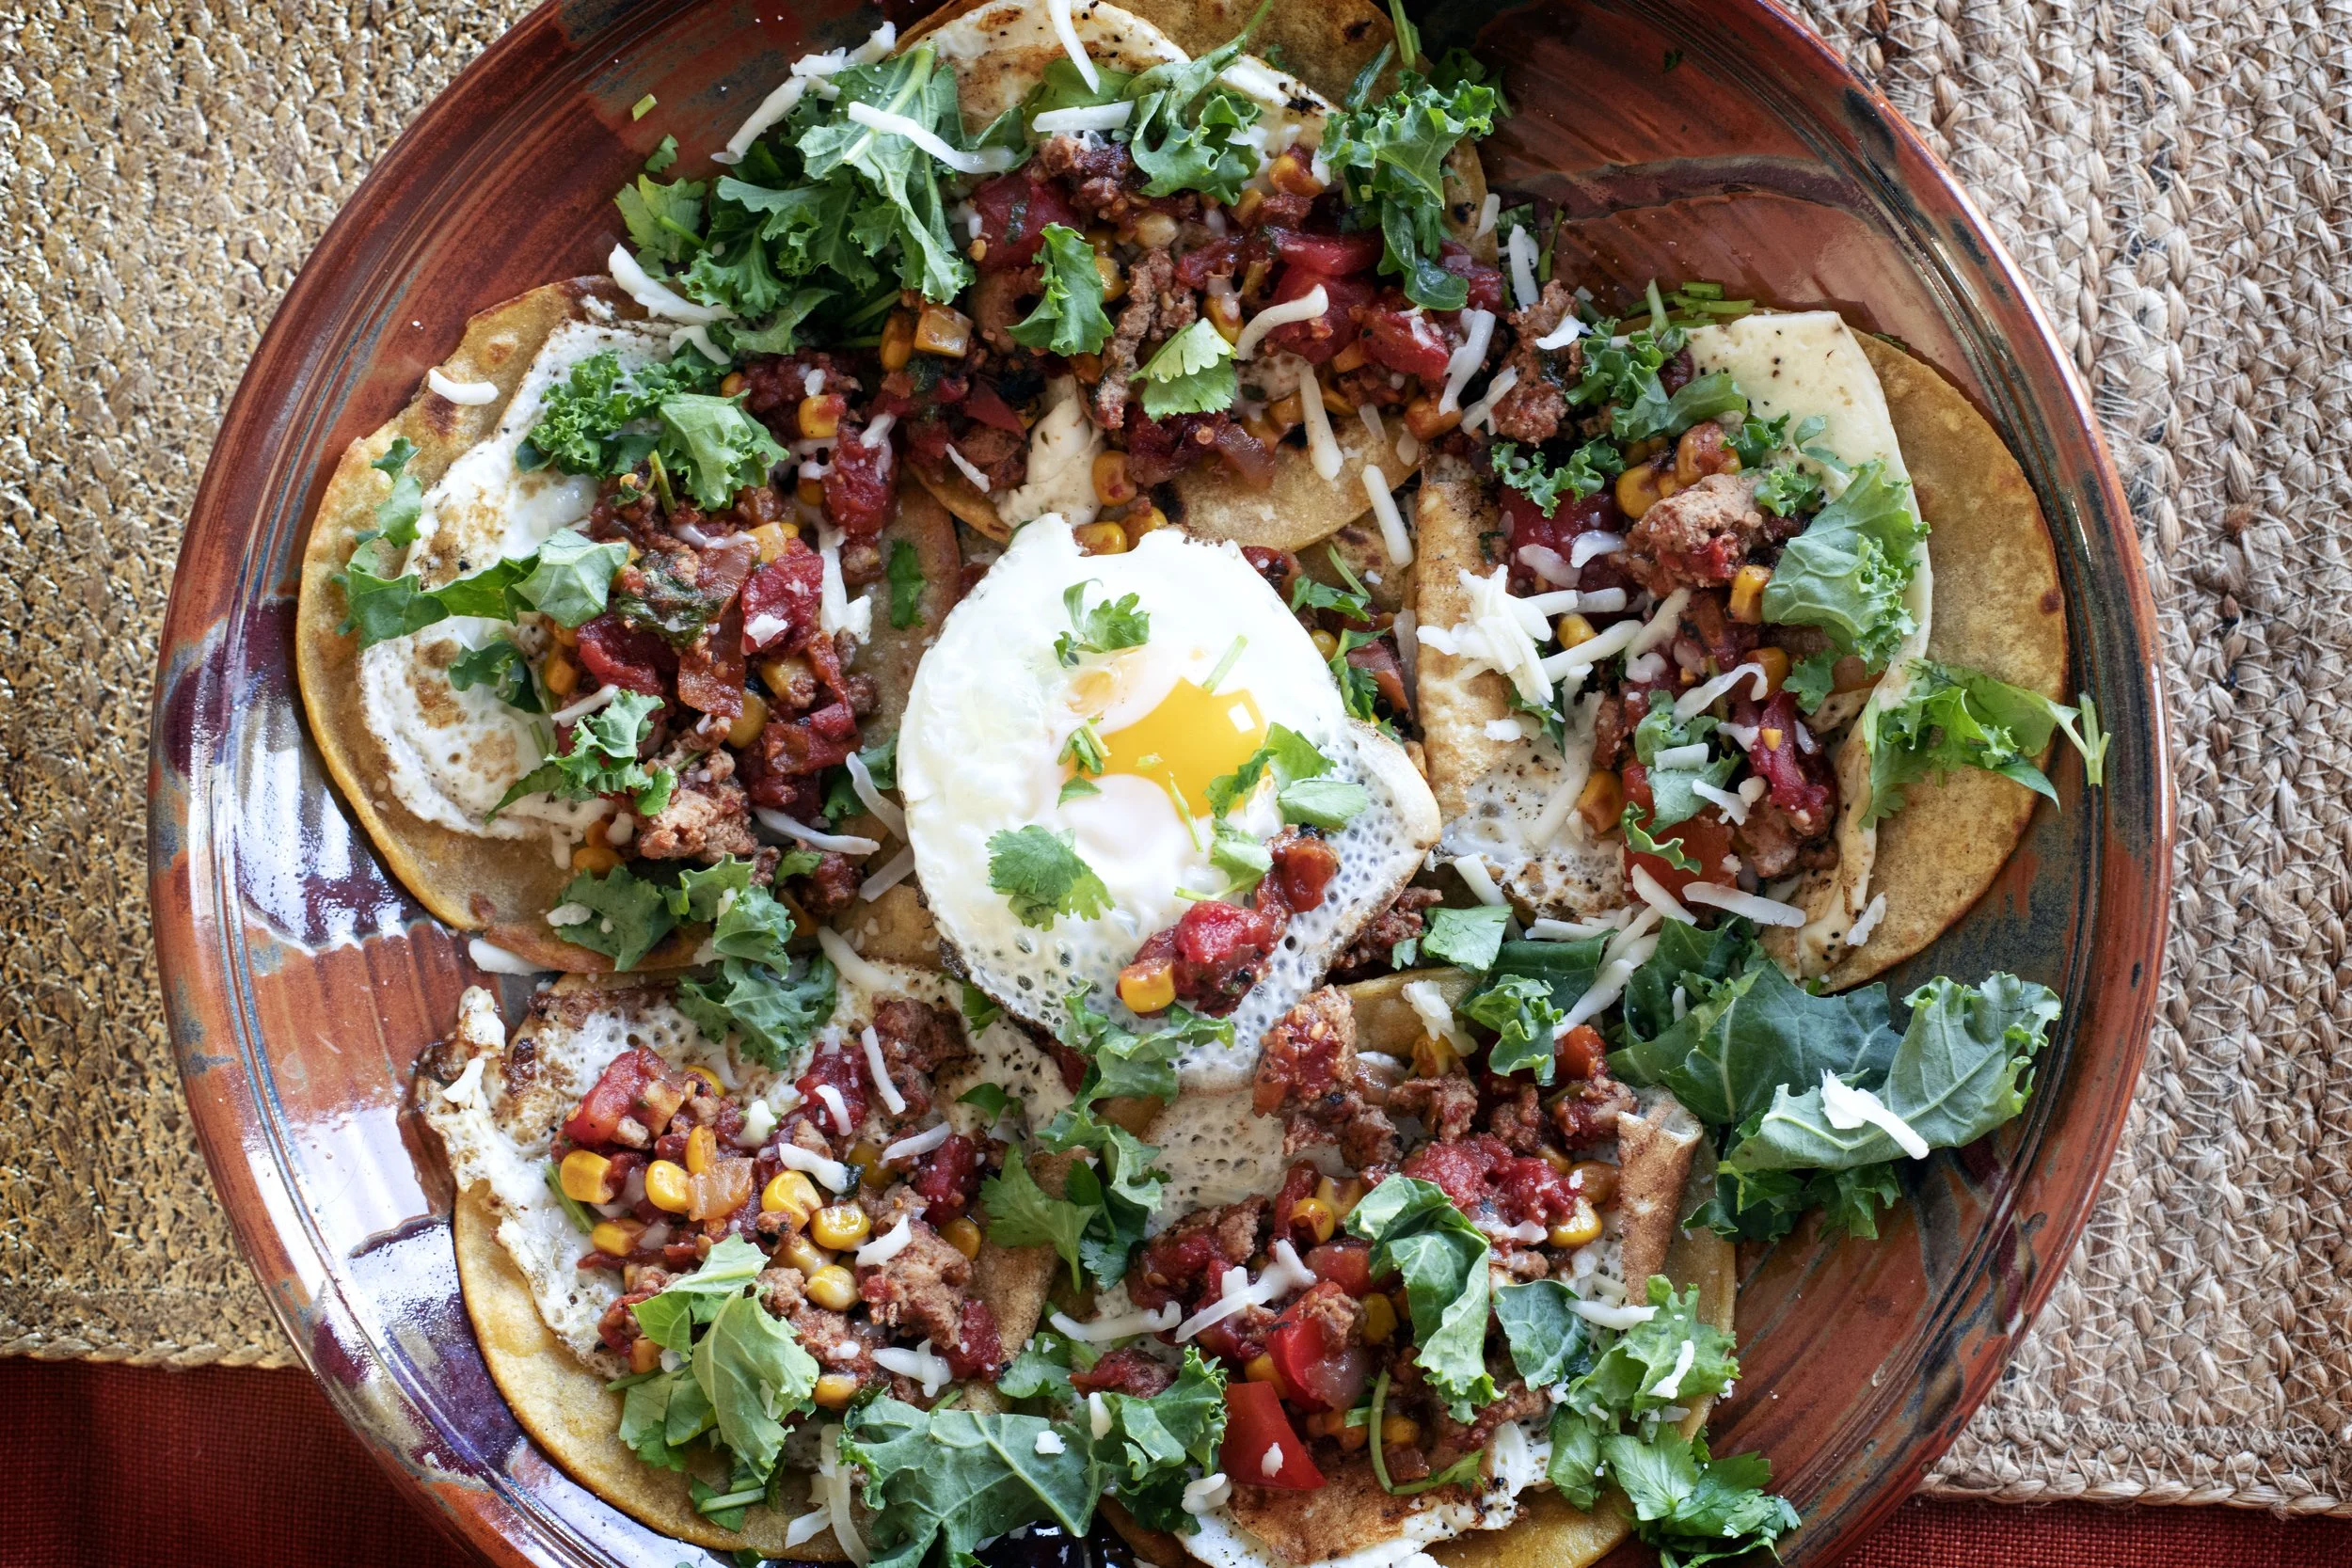
plate of shakahuka breakfast tacos with yellow corn tortillas, fried eggs, aromatic tomato stew, and homemade pheasant sausage

Don’t get me wrong, I do enjoy trying new things. I just find I am highly critical of the experience, and default to negative expectations. Even though my expectations tend to be proved wrong, my baseline mindset seems to rest at critical and negative. So, when the bed and breakfast host placed a large, heavy cast-iron skillet in the center of the table, steam still rising from the stewed tomatoes and bright, vibrant yellow yolks bathing in the crimson liquid, I was very skeptical.

 And of course, as always, those negative expectations evaporated with each bite. I was quickly convinced tomato stew should be nominated for inclusion on the list of breakfast staples. I also started thinking about how I could incorporate the comfy, roasted, rich egg dish into other recipes. I have been tossing the idea around on how to do just that for a few years, and I finally landed on this Pheasant Shakshuka Breakfast Taco. 

Making Ground Pheasant Sausage

Traditionally, shakshuka is a vegetarian dish, filled with tomatoes, peppers, onions, spices, and poached eggs; however, adding meat to the dish is easy and introduces another layer of flavor to the dish. I sat in front of my freezer for quite awhile debating protein choices and ultimately landed on pheasant this time around, but I think lots of other meats would work as well.

I always mix up my own sausage when working with wild game. I like to be in charge of the spices, the added fats, and the overall finished product. Making your own breakfast sausage is very easy. Start with selecting your protein, in this case pheasant, and running it through a meat grinder. I have this user-friendly electric meat grinder at home and use it anytime I want to make sausage, burger, or other ground meat varieties: Electric Meat Grinder

I didn’t add any fat to this sausage. I have gotten used to very lean meat and don’t miss the addition of a fat source; however, incorporating a fat can increase moisture, create a more pleasant textured meat, and enhance flavor. If you are interested in adding fat, I suggest using pork fat. 

First, decide the percentage of fat you want in your final product. So, if you want  20% fat content in your sausage, weigh out 3 ounces of pork fat and 13 ounces of pheasant, and you will end up with a one pound batch of ground sausage. Run both through the meat grinder, add them to a mixing bowl, sprinkle in your seasonings of choice, and thoroughly incorporate everything by hand. If you opt out of a fat source like I did, add a tablespoon or two of cold water to help bind the ingredients together

Creating the Pheasant Shakshuka Base for the Taco

The secret to a great shakshuka is the flavorful tomato stew that the other ingredients reside in. One key tip for amping up the flavor is to do all the cooking in a single, large, heavy cast-iron skillet. I like to use this one: Lodge Cast Iron Skillet

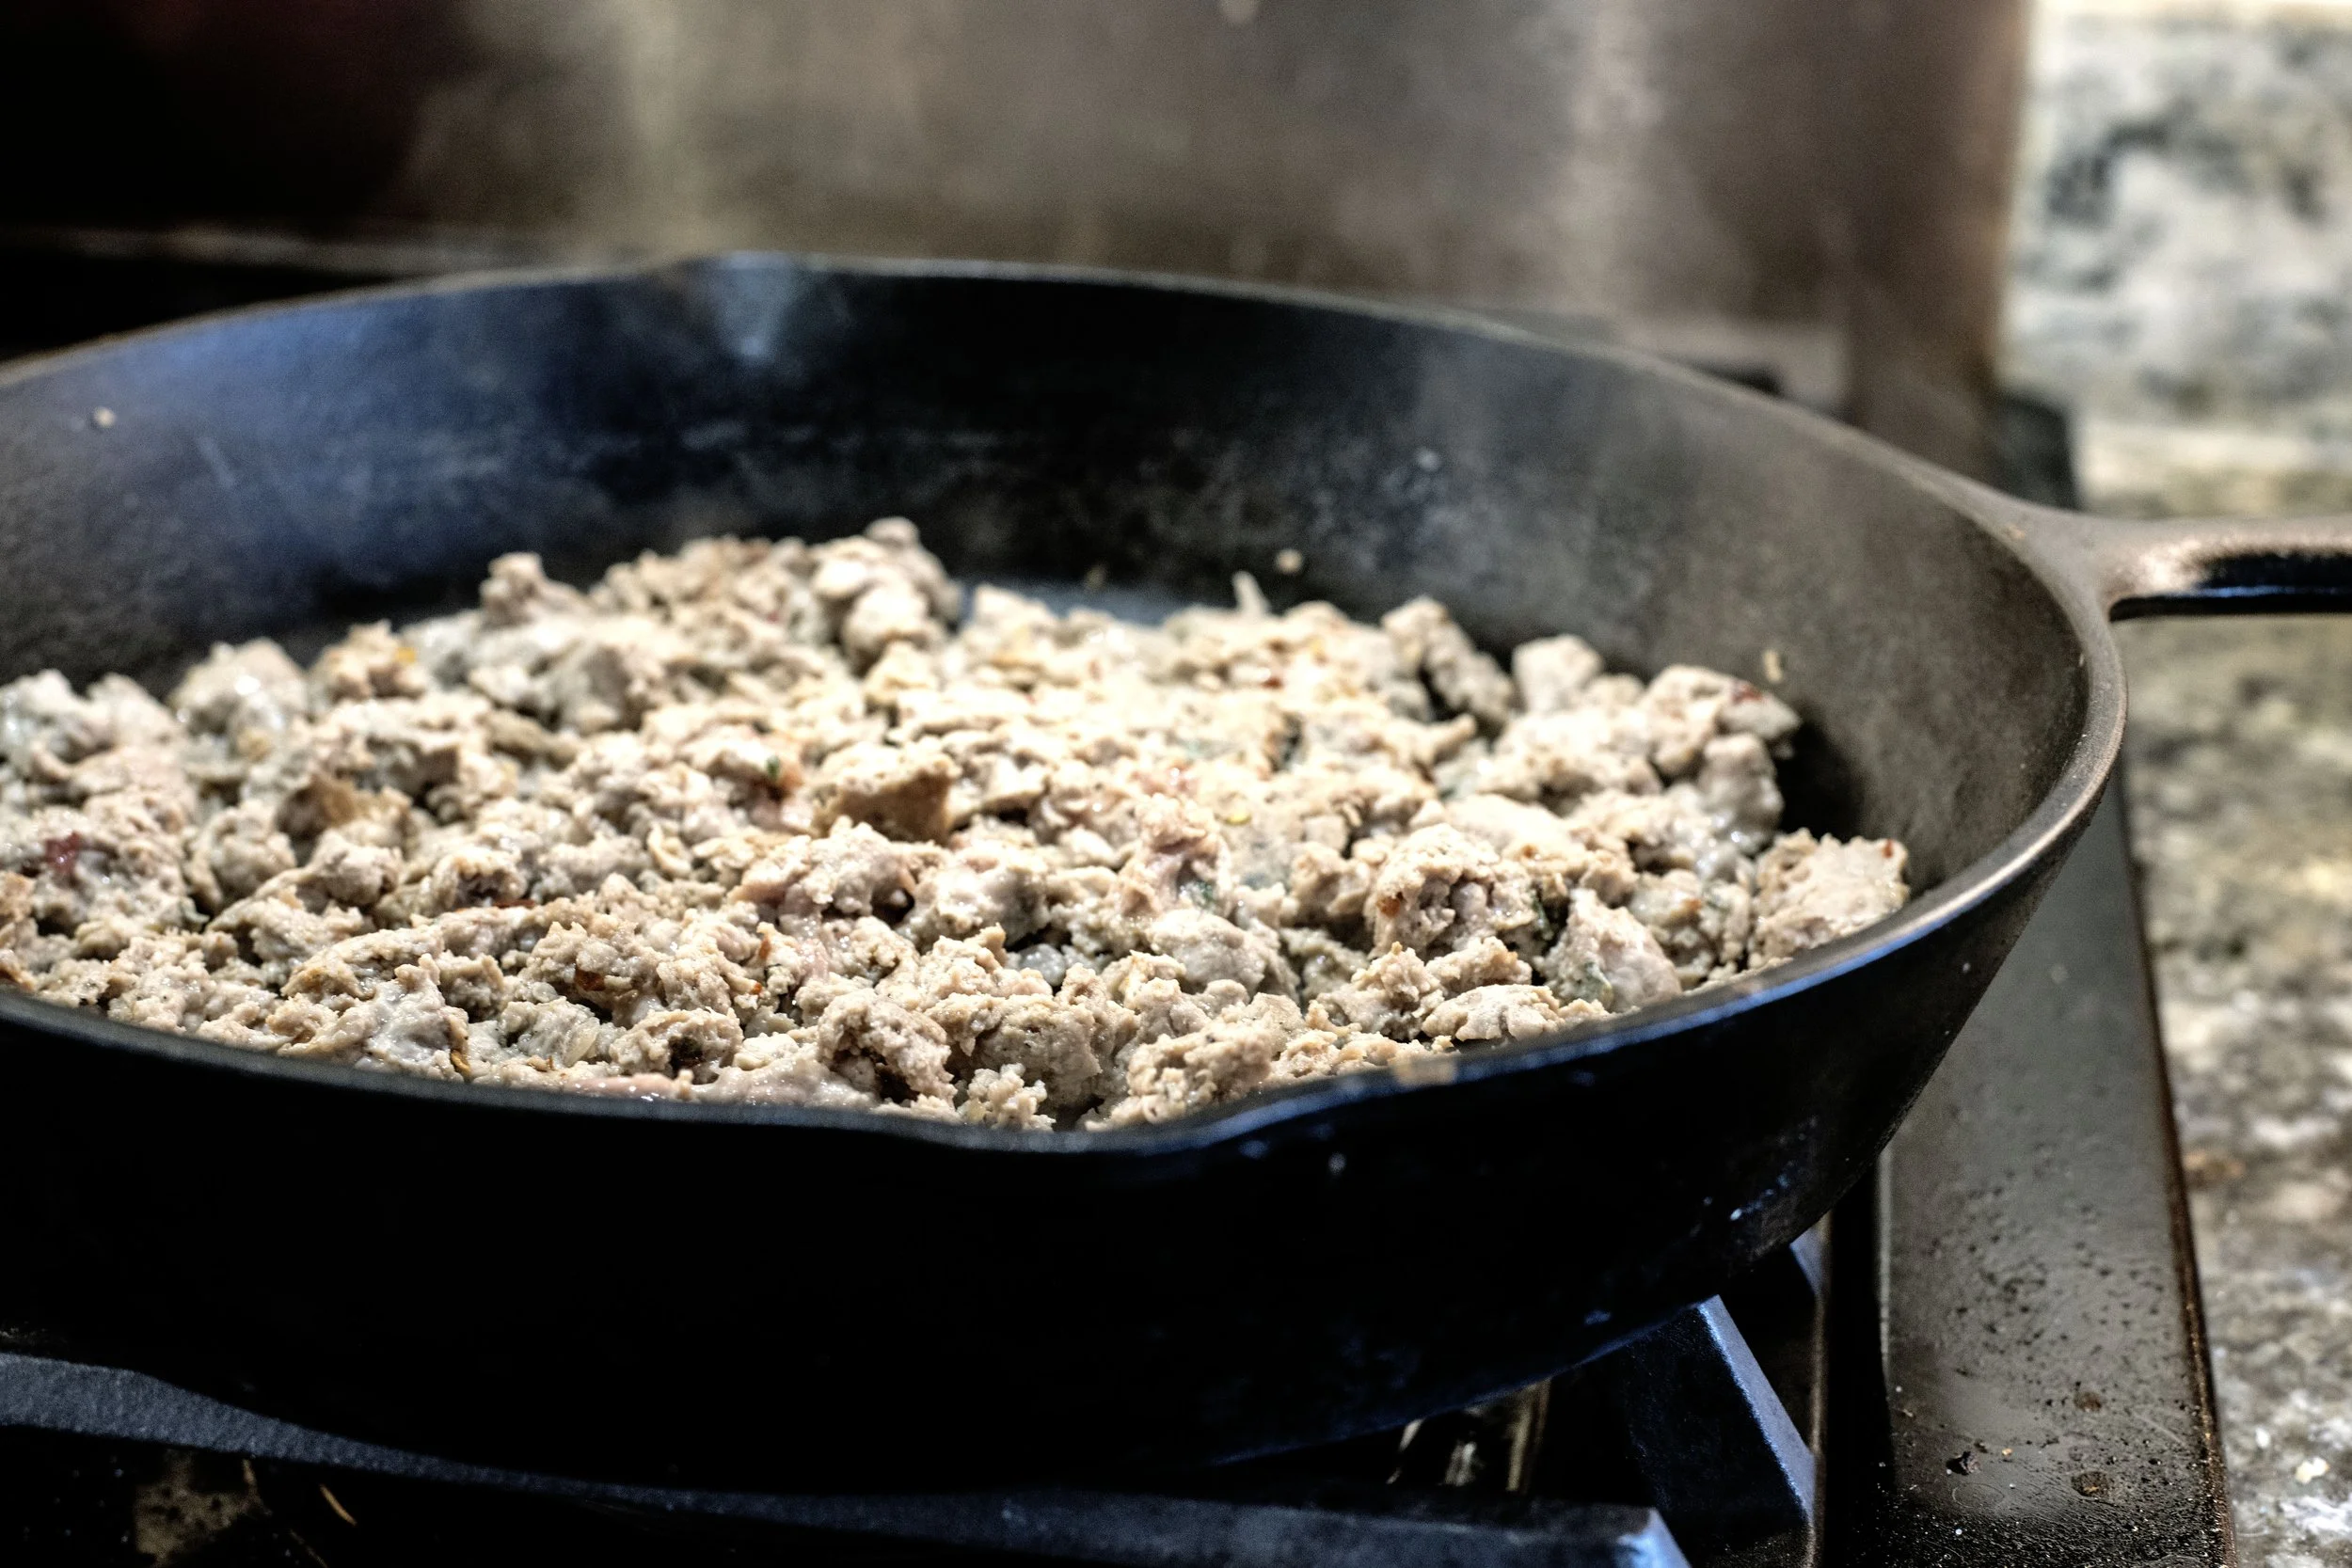
Begin by browning the pheasant sausage in the skillet. Once the sausage is cooked through, remove the meat and set it aside, but leave the drippings in the skillet. They will enhance the depth of flavor you are building for the tomato base.  

Ground Pheasant sausage browning in a heavy cast iron skillet

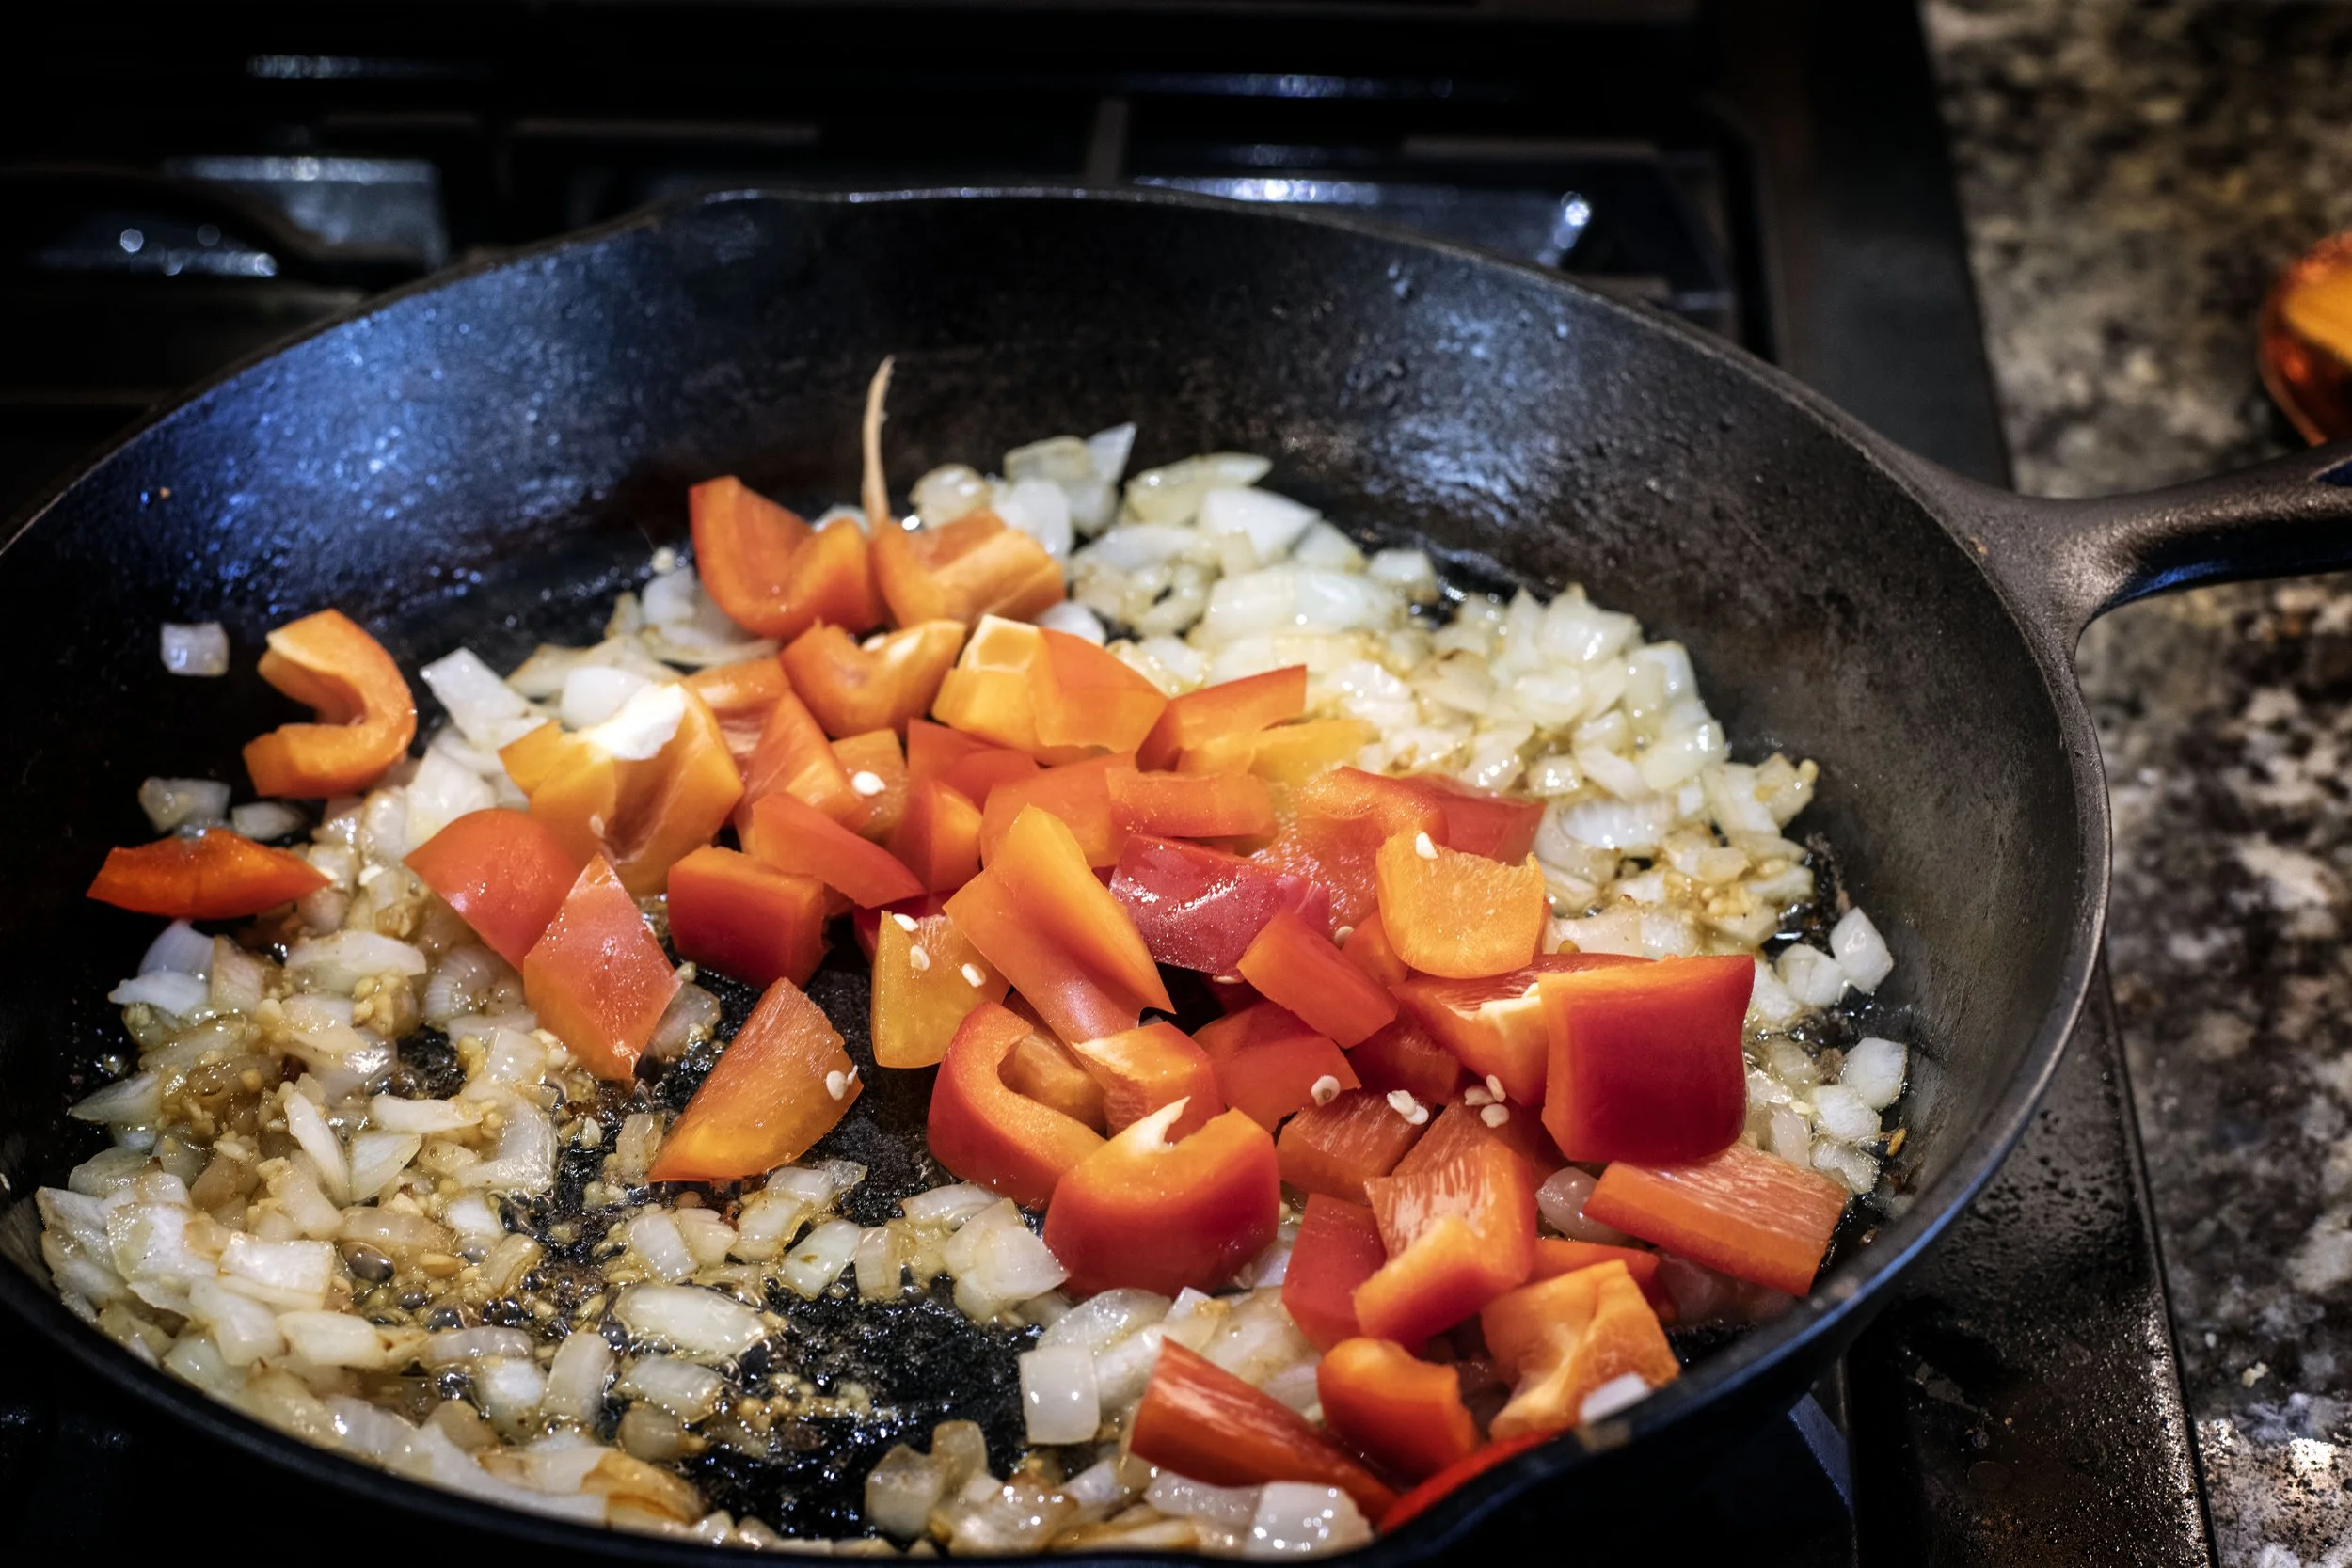
Next, add a tablespoon of cooking oil to the skillet, and saute the diced onions for three or four minutes before adding the red bell pepper. The color of the bell pepper isn’t important here. I went with red because I think they’re just a little bit sweeter, but orange, yellow, or green are all fine. Cook the bell pepper for three more minutes, and then stir in the minced garlic.

softened white onions and red bell peppers cooking in a heavy cast iron skillet

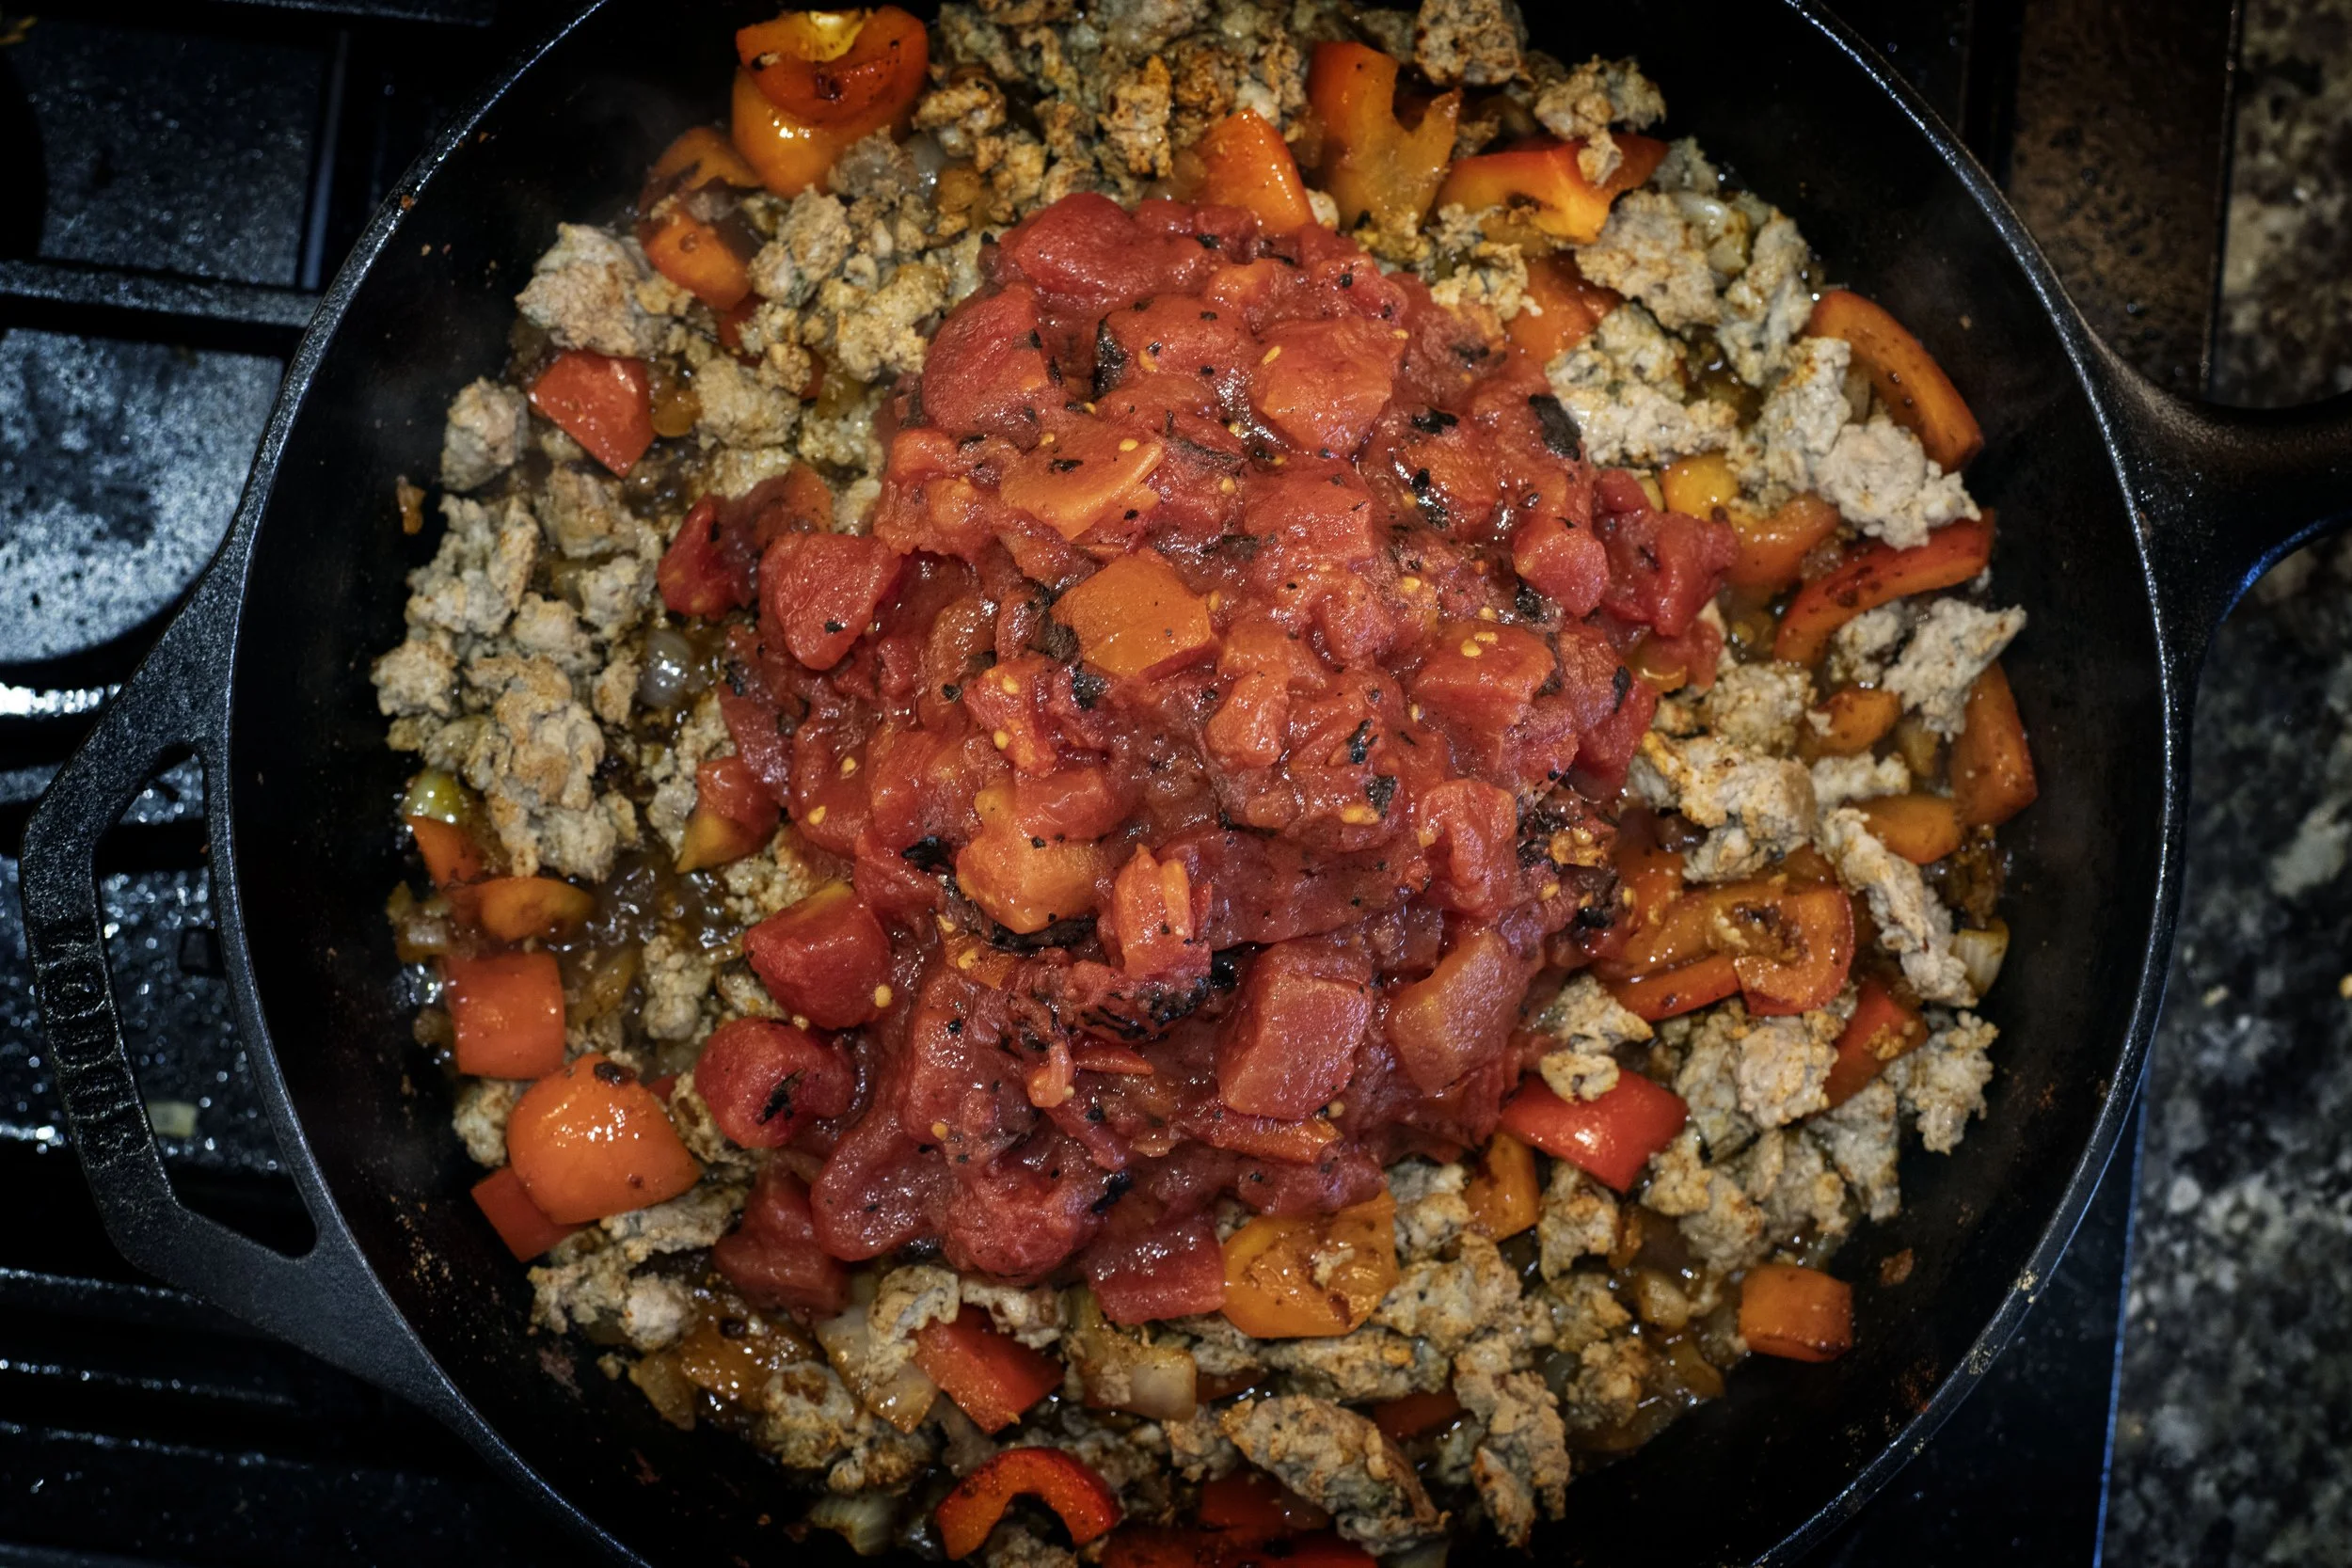
Return the browned pheasant sausage to the skillet and start adding in your shakshuka seasonings: a little chili powder (not too much, you aren’t making chili), some cumin, a decent amount of paprika (smoked or sweet both work), some floral-y coriander, and salt. Stir everything up real good - making sure to get the spices all over everything! - and then add the can of fire-roasted tomatoes.

If you want to really up the ante, you could roast fresh tomatoes in the oven and crush them before adding them to the skillet. But these are tacos! And tacos are notorious for being a quick meal, so I have no regrets on going with canned, roasted tomatoes.

fire-roasted tomatoes on top of ground pheasant in cast iron skillet

Whatever tomato decision you reach, allow the mixture to simmer and reduce for five to seven minutes. 

Prep the Toppings

These wouldn’t be shakshuka, or breakfast, tacos if there wasn’t the lead actor of the show: the egg. Shakshuka eggs are traditionally poached directly in the tomato stew, but that wouldn’t work well for a taco. The delicate egg would be too messy for handling in the tortilla. So, I had to go with fried eggs.

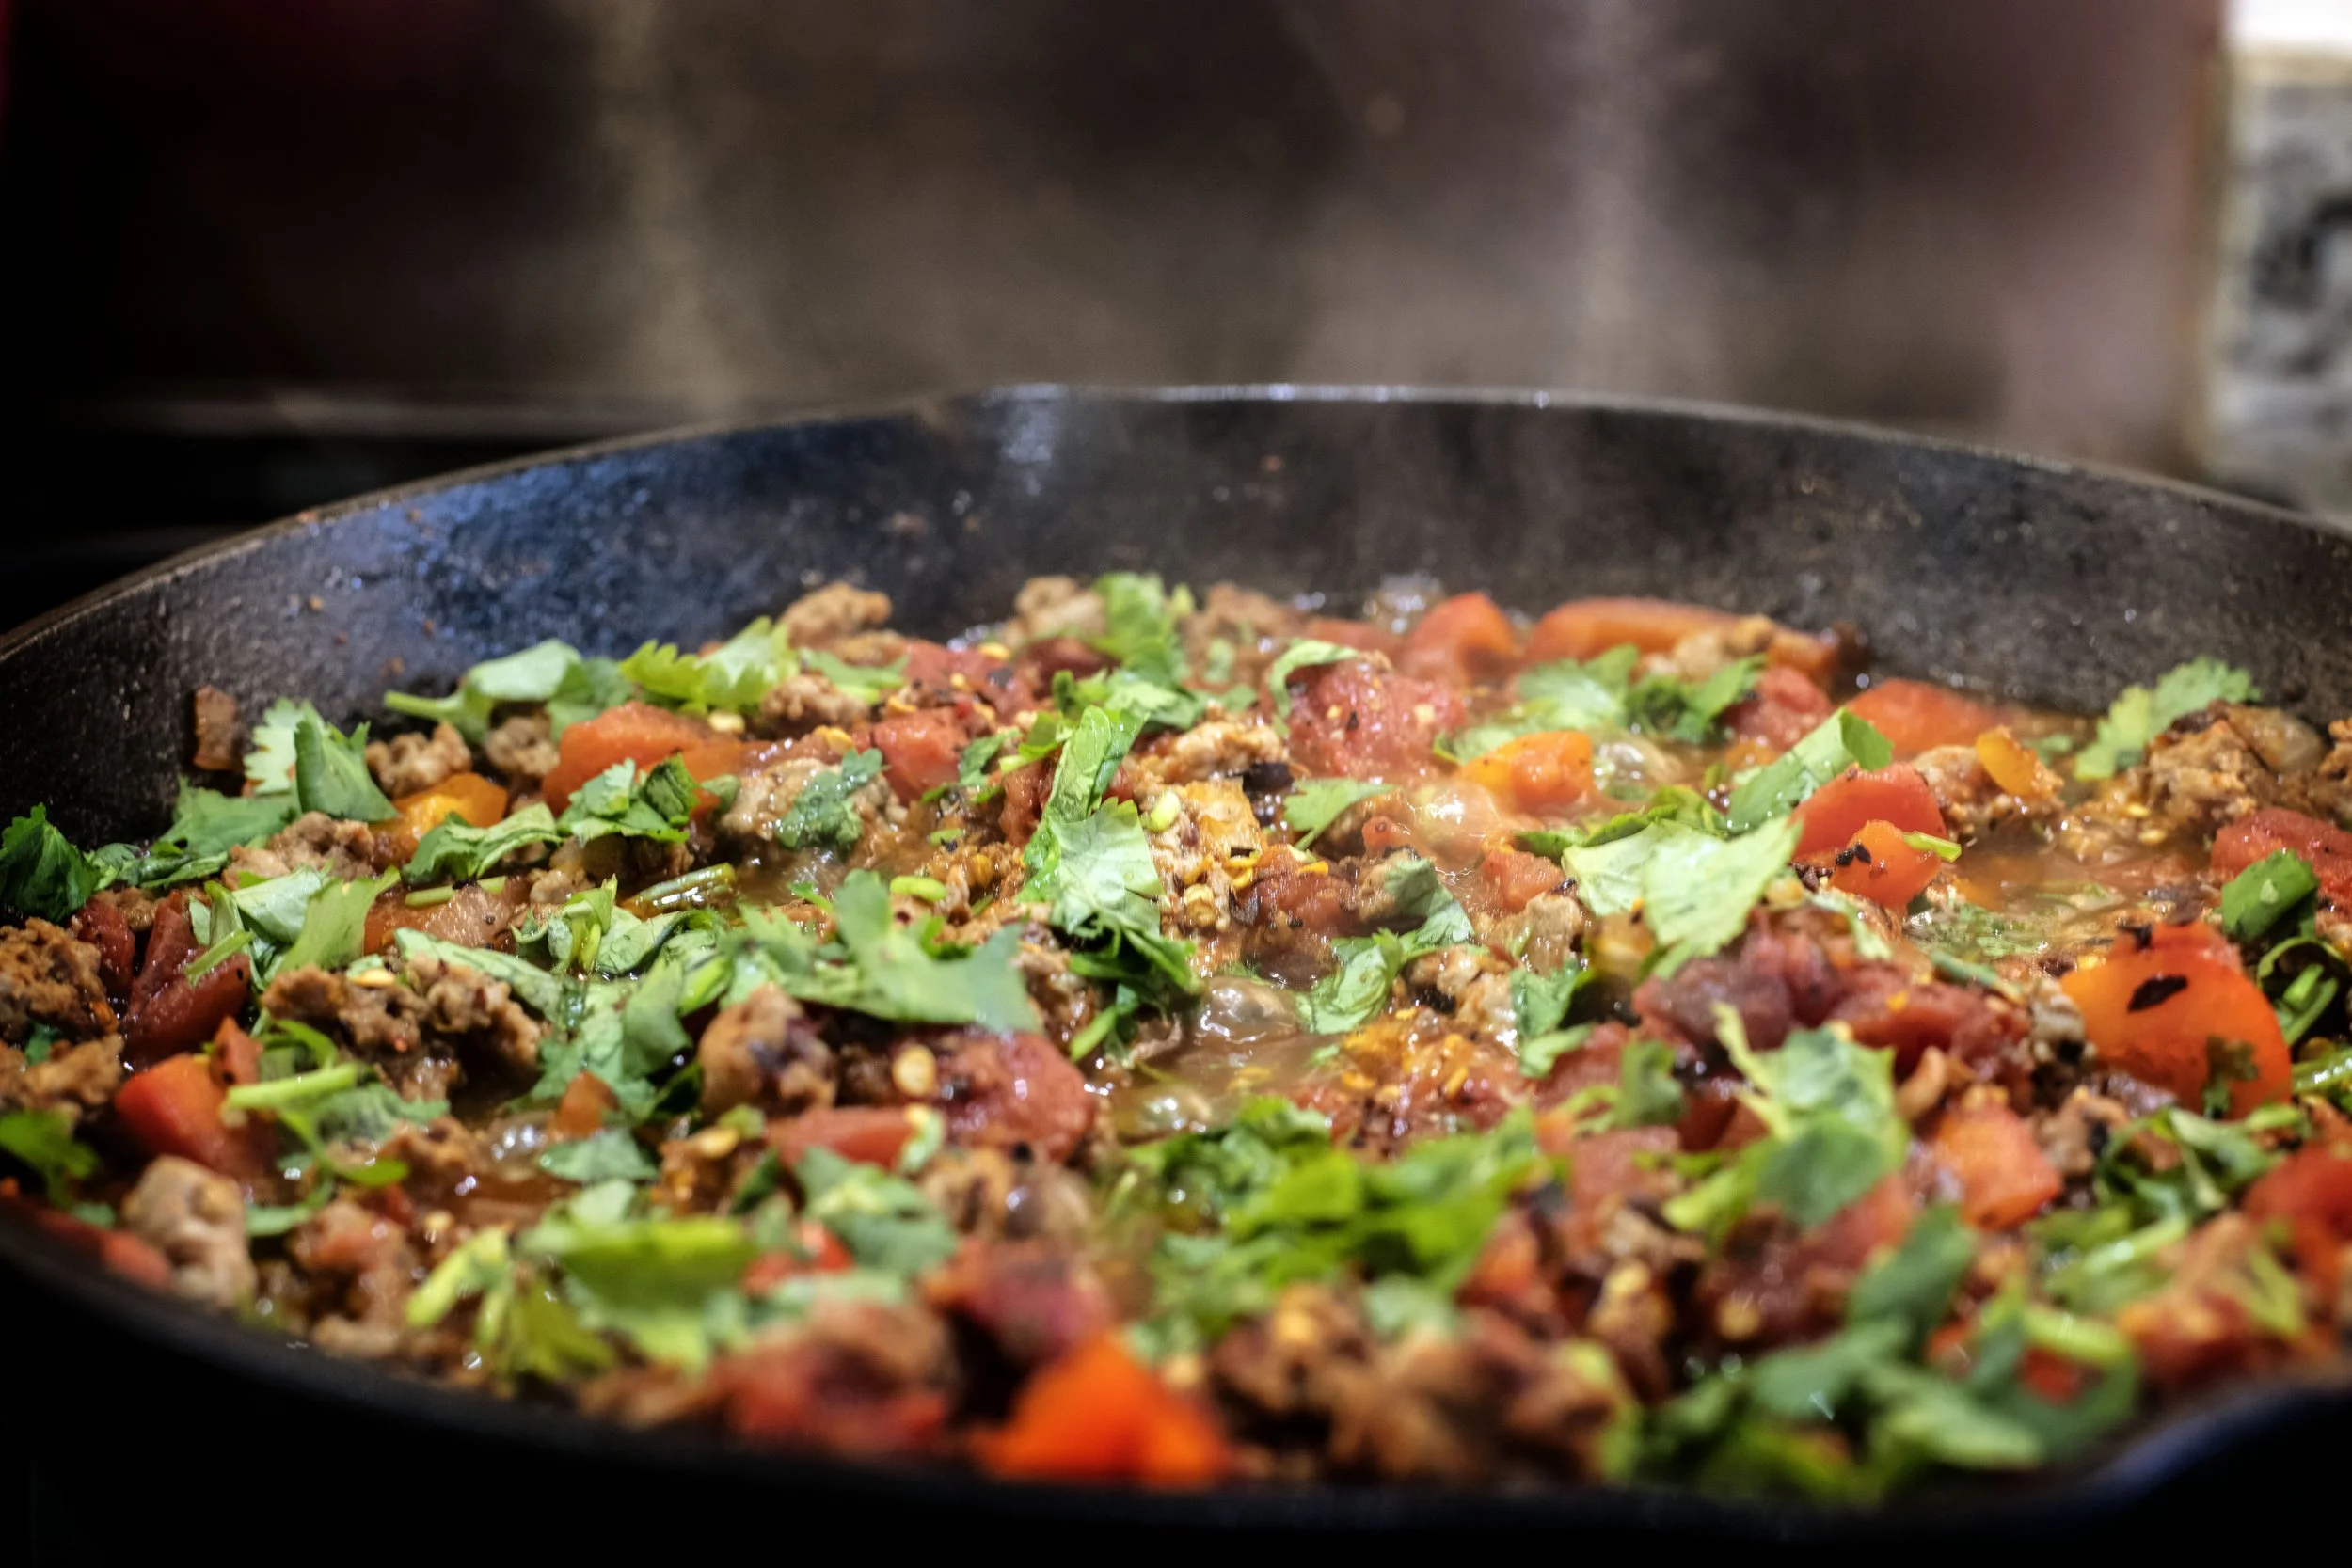
shakshuka taco meat with green kale and cilantro on top and fire roasted tomatoes with red bell pepper

While the taco base is simmering, fry one egg per taco. in a separate pan. At the same time, you can warm your corn tortillas. Other toppings to prepare include finely chopping fresh cilantro and a bit of kale. I loved the addition of kale to this taco. It not only added a crisp, fresh bite to the dish, but the vibrant red and green color contrast was highly appealing.

Finishing up the Tacos and It’s Time to Plate

To finish up the taco base, drain a can of corn and stir it into the mixture. Let the skillet heat for a few more minutes, maybe three or four, so the corn warms up. 

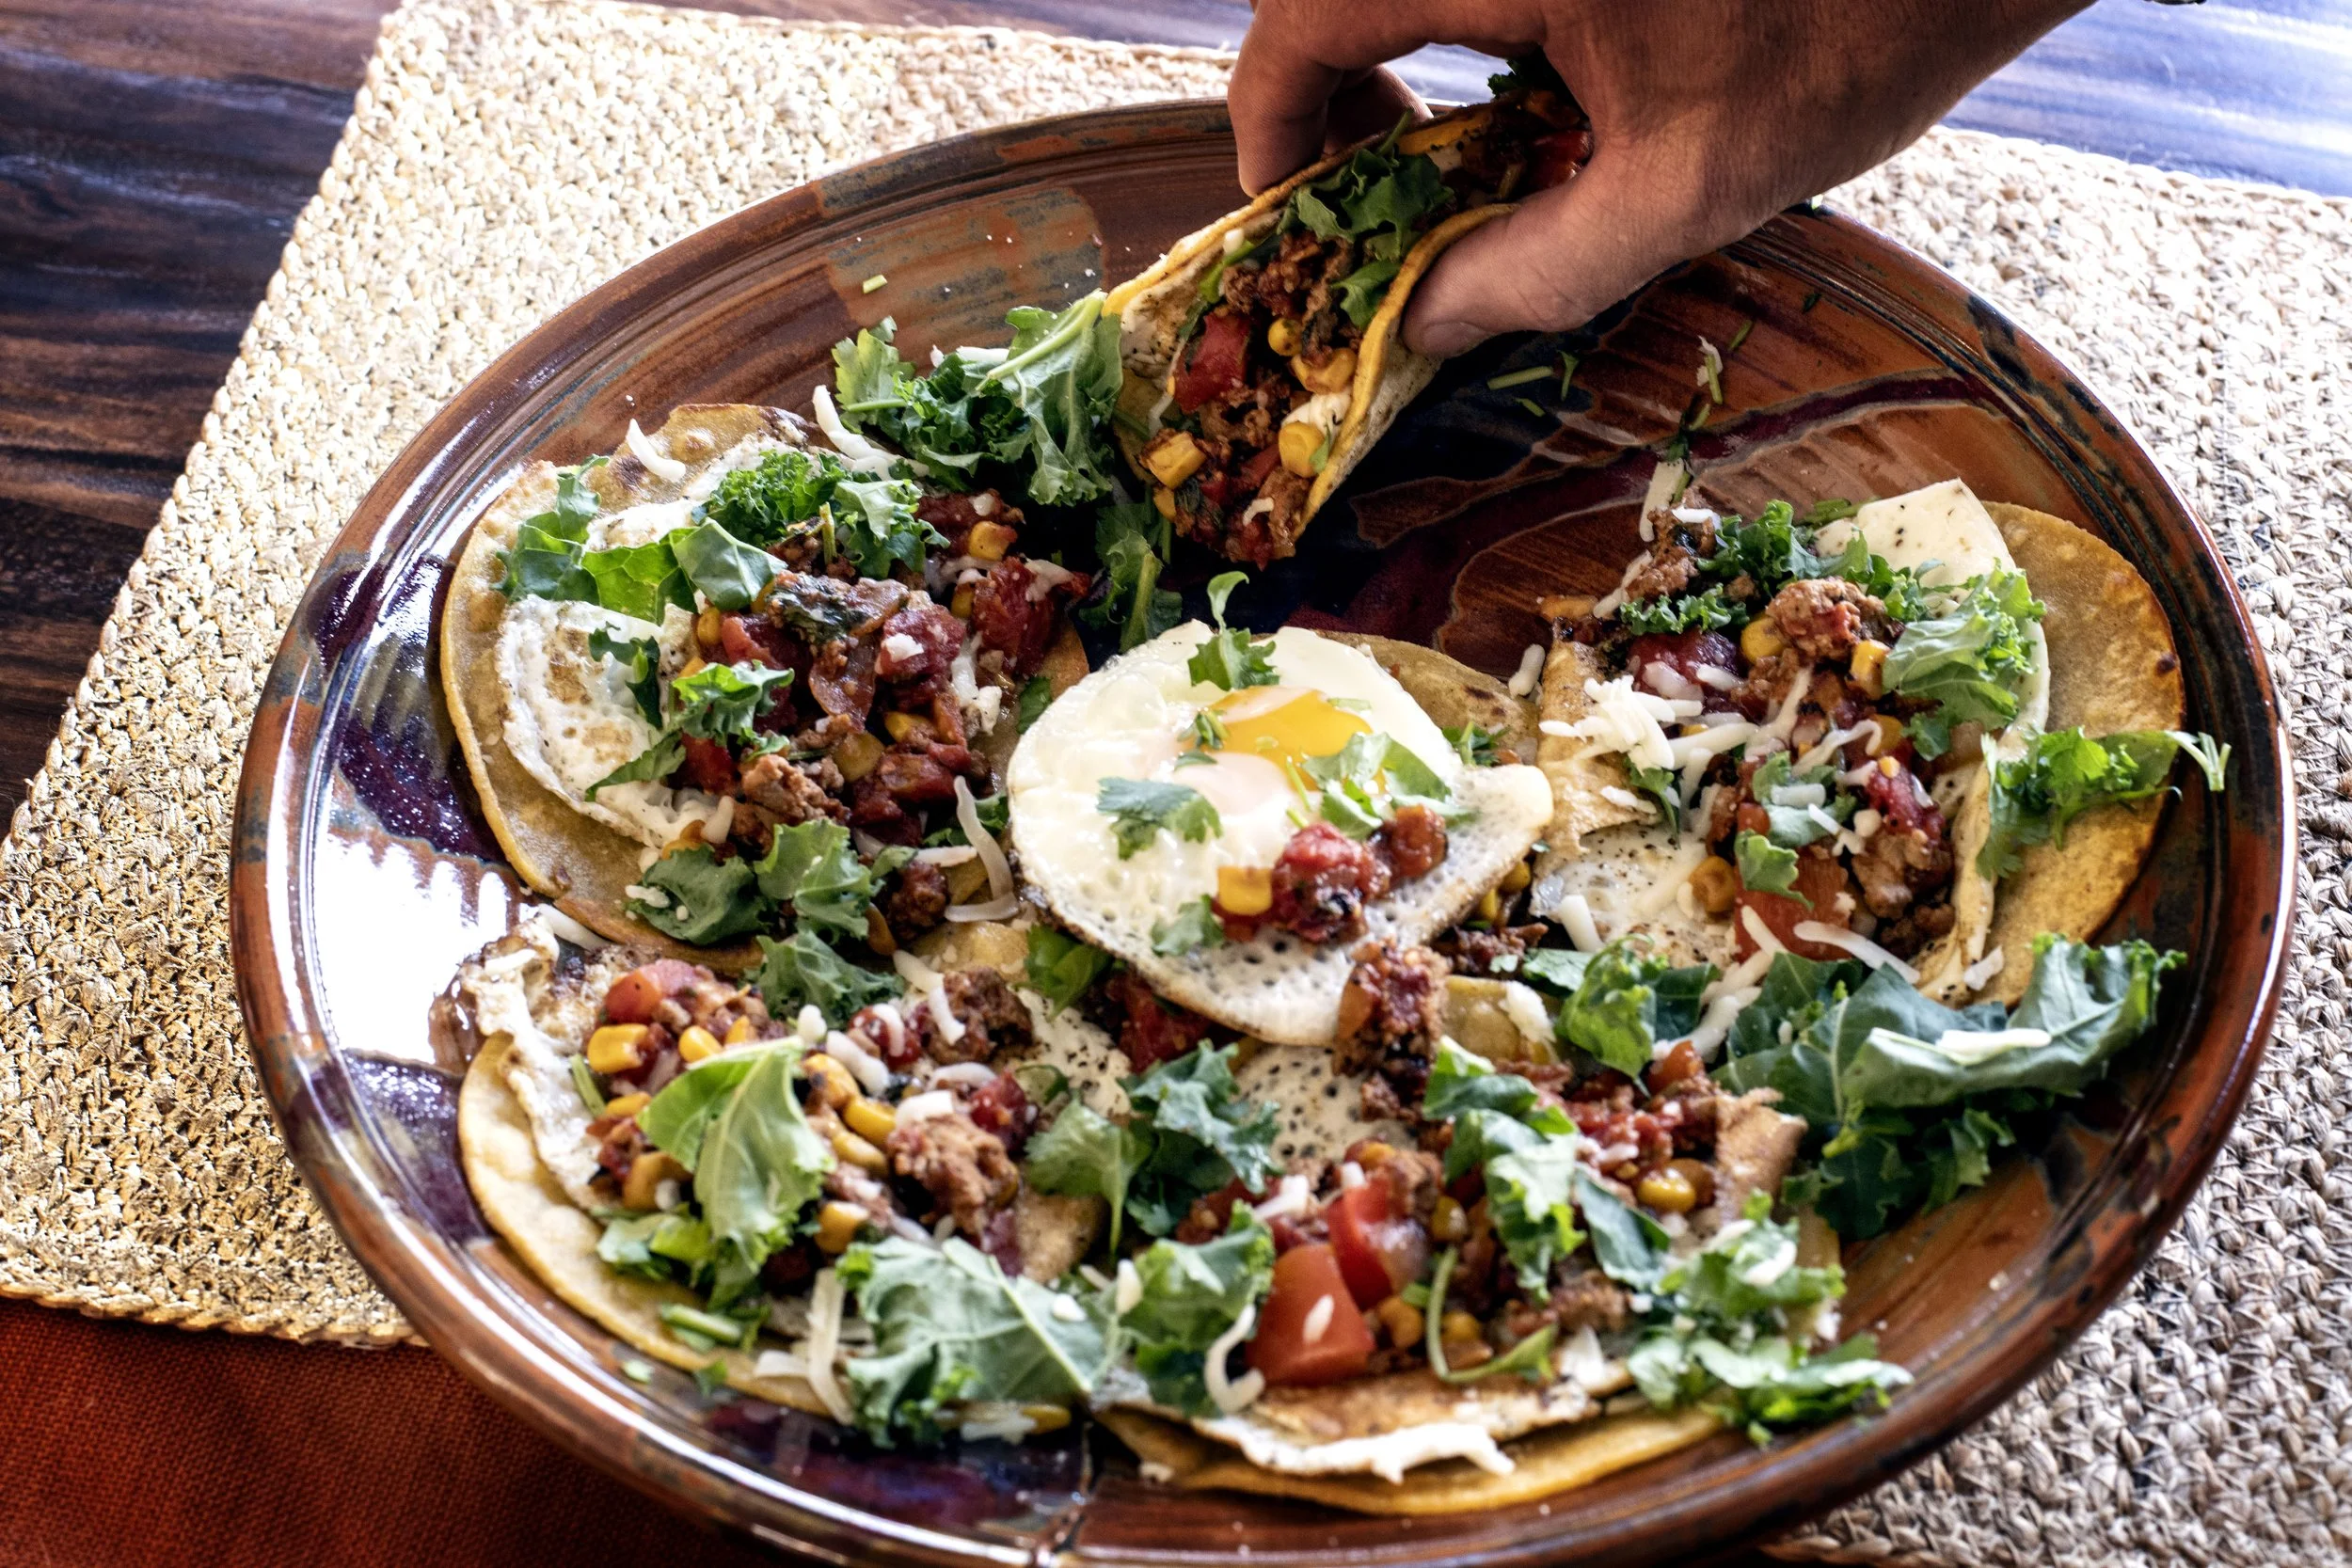
hand grabbing a taco from a plate of shakshuka tacos with corn tortillas, fried eggs, kale, tomatoes, red bell peppers, and ground pheasant sausage

To plate, add a heaping serving of ground pheasant meat mixture to a warmed tortilla. Top with a fried egg, minced cilantro, chopped fresh kale, and mozzarella cheese. 

Happy Hunting!

Yield: 4-6
Author: a 12 Gauge Girl
Pheasant Shakshuka Breakfast Tacos: Wild Game Morning Recipe

Pheasant Shakshuka Breakfast Tacos: Wild Game Morning Recipe

Cook time: 20 MinTotal time: 20 Min

Craving a unique breakfast taco? Try these Shakshuka-inspired ground pheasant tacos! Savory homemade game sausage simmered in fire-roasted tomatoes and sweet corn, topped with a fried egg—delicious for breakfast, brunch, or dinner.

Ingredients

For Ground Pheasant Breakfast Sausage
  • 1 pound ground pheasant
  • 1 teaspoon dried sage
  • 1/2 teaspoon thyme
  • 1/2 teaspoon fennel
  • 1 teaspoon garlic powder
  • 1 teaspoon onion powder
  • 1 teaspoon salt
For Shakshuka Taco Meat
  • 1 tablespoon cooking oil (such as avocado, canola, vegetable, or olive oil)
  • 1 medium onion, diced
  • 1 red bell pepper, seeded and diced
  • 2 cloves garlic, minced
  • 1 teaspoon chili powder
  • 1 teaspoon cumin
  • 2 teaspoons paprika
  • 1 teaspoon coriander
  • salt and pepper to taste
  • 1 can (14.5 oz) can diced roasted tomatoes
  • 1 can (15 oz) can corn
For Serving
  • Eggs, one per taco
  • Corn tortillas, warmed
  • Bunch fresh cilantro, minced
  • 1 bunched kale, chopped
  • Shredded mozzarella cheese

Instructions

  1. Season Pheasant In a large bowl, combine the ground pheasant with sausage seasonings - sage, thyme, fennel, garlic and onion powders, and salt. Use your hands to thoroughly incorporate the seasonings into the meat.
  2. Brown the Sausage Heat a large skillet over medium high. Brown the ground pheasant, breaking it up with a spoon, until meat is no longer pink, about five minutes. Remove the cooked pheasant and set aside.
  3. Saute Other Ingredients Maintaining the temperature in the skillet, add a tablespoon of cooking oil of choice. I used avocado oil, but canola, vegetable, or even olive oil is fine.
  4. Once oil has heated, add the diced onion and cook for three minutes.
  5. Remove seeds from red bell pepper and dice into 1" pieces. Add to skillet with onions and saute for three minutes more, until slightly softened.
  6. Add Garlic Mince garlic cloves and add to onion mixture. Heat for a minute or two. Be sure to stir the mixture so the garlic does not brown, which results in a bitter flavor to the dish.
  7. Simmer Taco Meat Return the ground pheasant to the skillet. Season the mixture with the chili powder, cumin, paprika, coriander, and salt.
  8. Add the can of roasted diced tomatoes, stir, and allow mixture to stew for 5 to 7 minutes, or until the tomato juices reduce and slightly thicken.
  9. Prep the Toppings While the taco meat is simmering, fry one egg per taco. Also heat the corn tortillas.
  10. Drain the can of corn and add to the meat mixture. Cook for three more minutes.
  11. Assemble and Serve To plate, add a heaping serving of ground pheasant meat mixture to a warmed tortilla. Top with a fried egg, minced cilantro, chopped fresh kale, and mozzarella cheese.
  12. Enjoy!

Nutrition Facts

Calories

382

Fat (grams)

18 g

Carbs (grams)

26 g

Fiber (grams)

4 g

Protein (grams)

30 g

 Nutritional values are rough estimates based on standard ingredients and will vary depending on your specific cut of wild game, brands used, and actual serving sizes.
Did you make this recipe?
Tag @a12gaugegirl on instagram and hashtag it #huntingandcooking

????? FREquently asked questions ?????

Sweet and Savory: Apricot Venison Tacos with Pineapple Salsa

I am a huge fan of barbacoa tacos. Switching from the spicy, earthy flavor of traditionally seasoned taco meat to the sweet and tangy profile of barbacoa always makes for a wildly different taco eating endeavor. 

JUMP TO RECIPE

I am also a huge fan of pairing apricot with venison. Something about the fruit's tart, sweet, and floral notes perfectly complements the meat. Venison’s natural qualities as a lean, pure meat create a culinary scenario where the meat absorbs bold, distinct flavors, like apricot or other fruits, without losing its own rich, signature identity in the dish.  

So, since I like the pairing of apricot with venison and also enjoy a sweet, tangy taco recipe, I decided to marry the two ideas and make an Apricot Venison Taco with Pineapple Salsa dish. And instead of engaging in a lot of mindless talk with things like a history lesson about apricots or something like that, let’s just jump right into this recipe!

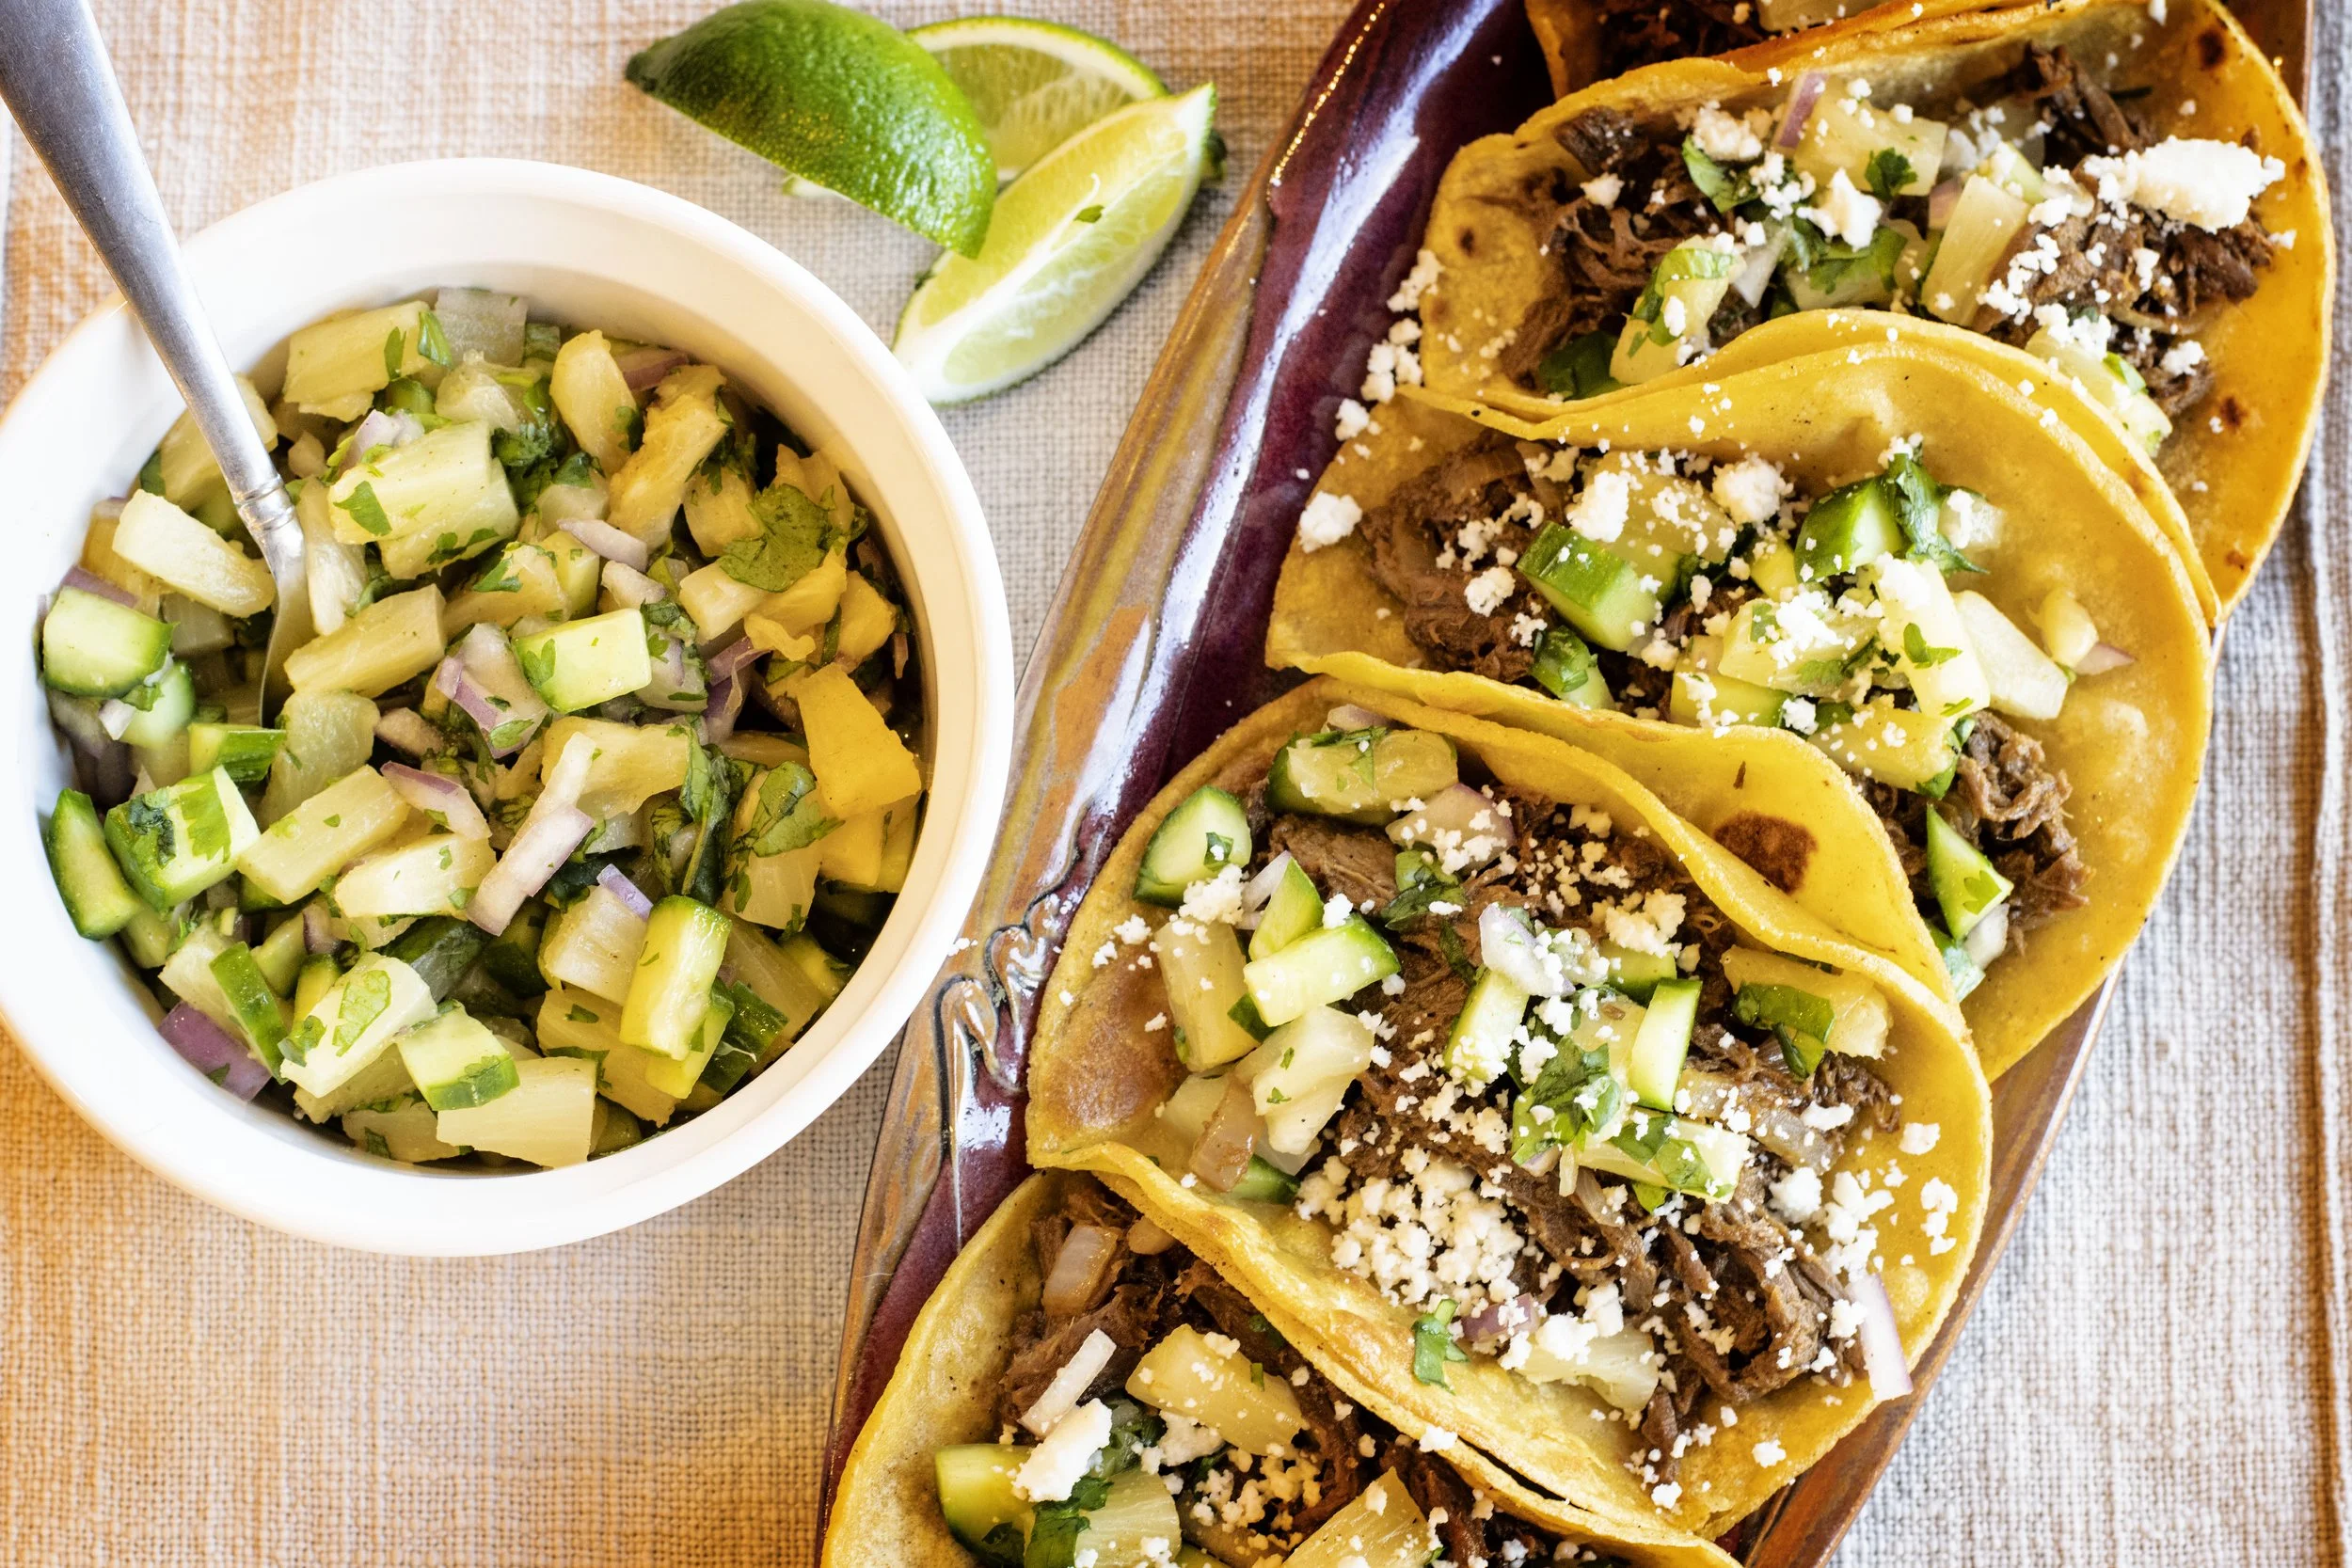
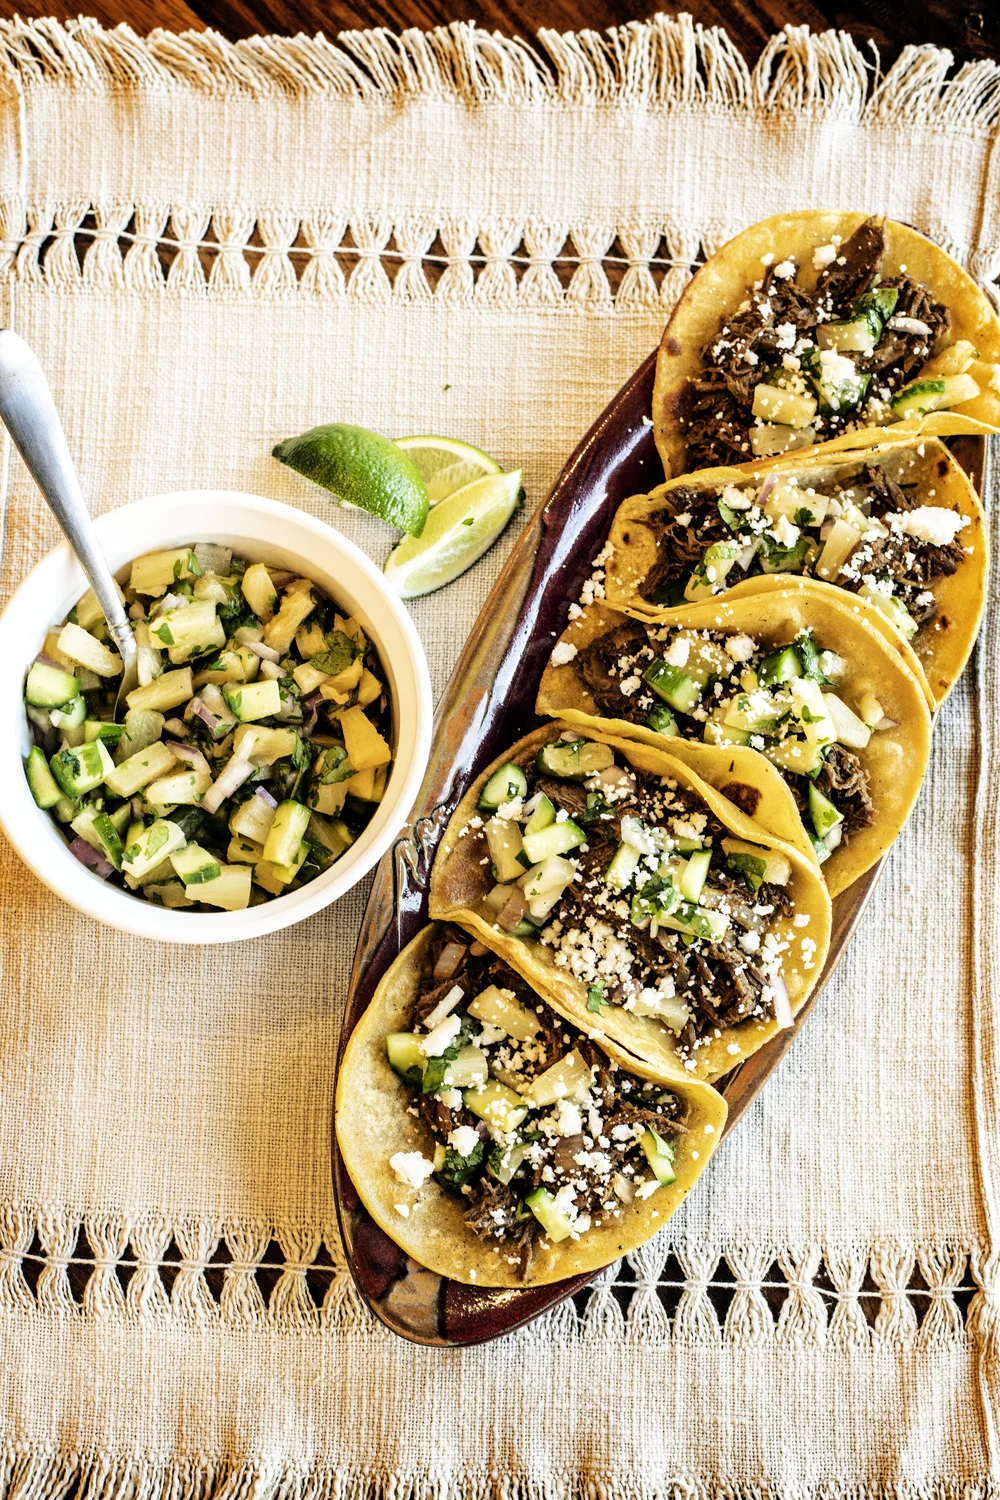
A plate of four tacos filled with apricot venison and served with a side of pineapple salsa

Pressure cooking the venison

Since this recipe calls for shredded meat, it is preferable to use a tougher cut of meat and break it down through slow cooking, or in this case pressure cooking, into a more tender, shredable form. I used a chuck roast, which comes from the heavily worked neck or shoulder region of the animal, and it is perfect shredded taco recipes.

Pressure cooking a large cut of meat is also an opportune time to engage in a little weekly meal prep. You can easily double the amount of meat and save plenty of venison for a second taco night with different toppings, a soup, or even some type of pulled venison sandwich. 

While there are many great pressure cookers on the market, I use a very basic model. I like it because there aren’t a ton of ways to screw things up. The settings are incredibly straightforward: sauté, high or low pressure cook, and warm. That’s it! If you want to check out the exact model I use, you can find it at this link: Pressure Cooker.

Cooking Instructions

  1. Prep the meat: Roughly cut the roast into two-inch chunks. Consistency ensures the pieces cook evenly, but perfection is not required. Season the chunks with salt and pepper, then add them to the pressure cooker.

  2. Build the pressure: Pour a quart of vegetable stock over the meat. Close the lid and verify that the pressure release valve is securely set to the "sealing" position.

  3. Cook: Set the cooker to high pressure for 45 minutes.

  4. Release pressure: Once the timer goes off, allow the machine to naturally release its pressure for 15 minutes before manually opening the venting valve.

  5. Shred: After the cooker has fully depressurized, carefully open the lid and transfer the meat to a cutting board. Use two forks to shred the incredibly tender chunks into bite-sized pieces, then set them aside

Whipping Up the Apricot Venison Taco Meat

This taco meat concoction is best managed in a cast iron skillet. The heat is evenly distributed and the side walls are deep enough so mixing isn’t messy. Heat a tablespoon of cooking oil over medium high heat. I used an avocado oil because it can handle being heated to a higher temperature, but any high temperature oil will work. Great options include canola, vegetable, peanut, or coconut oil.

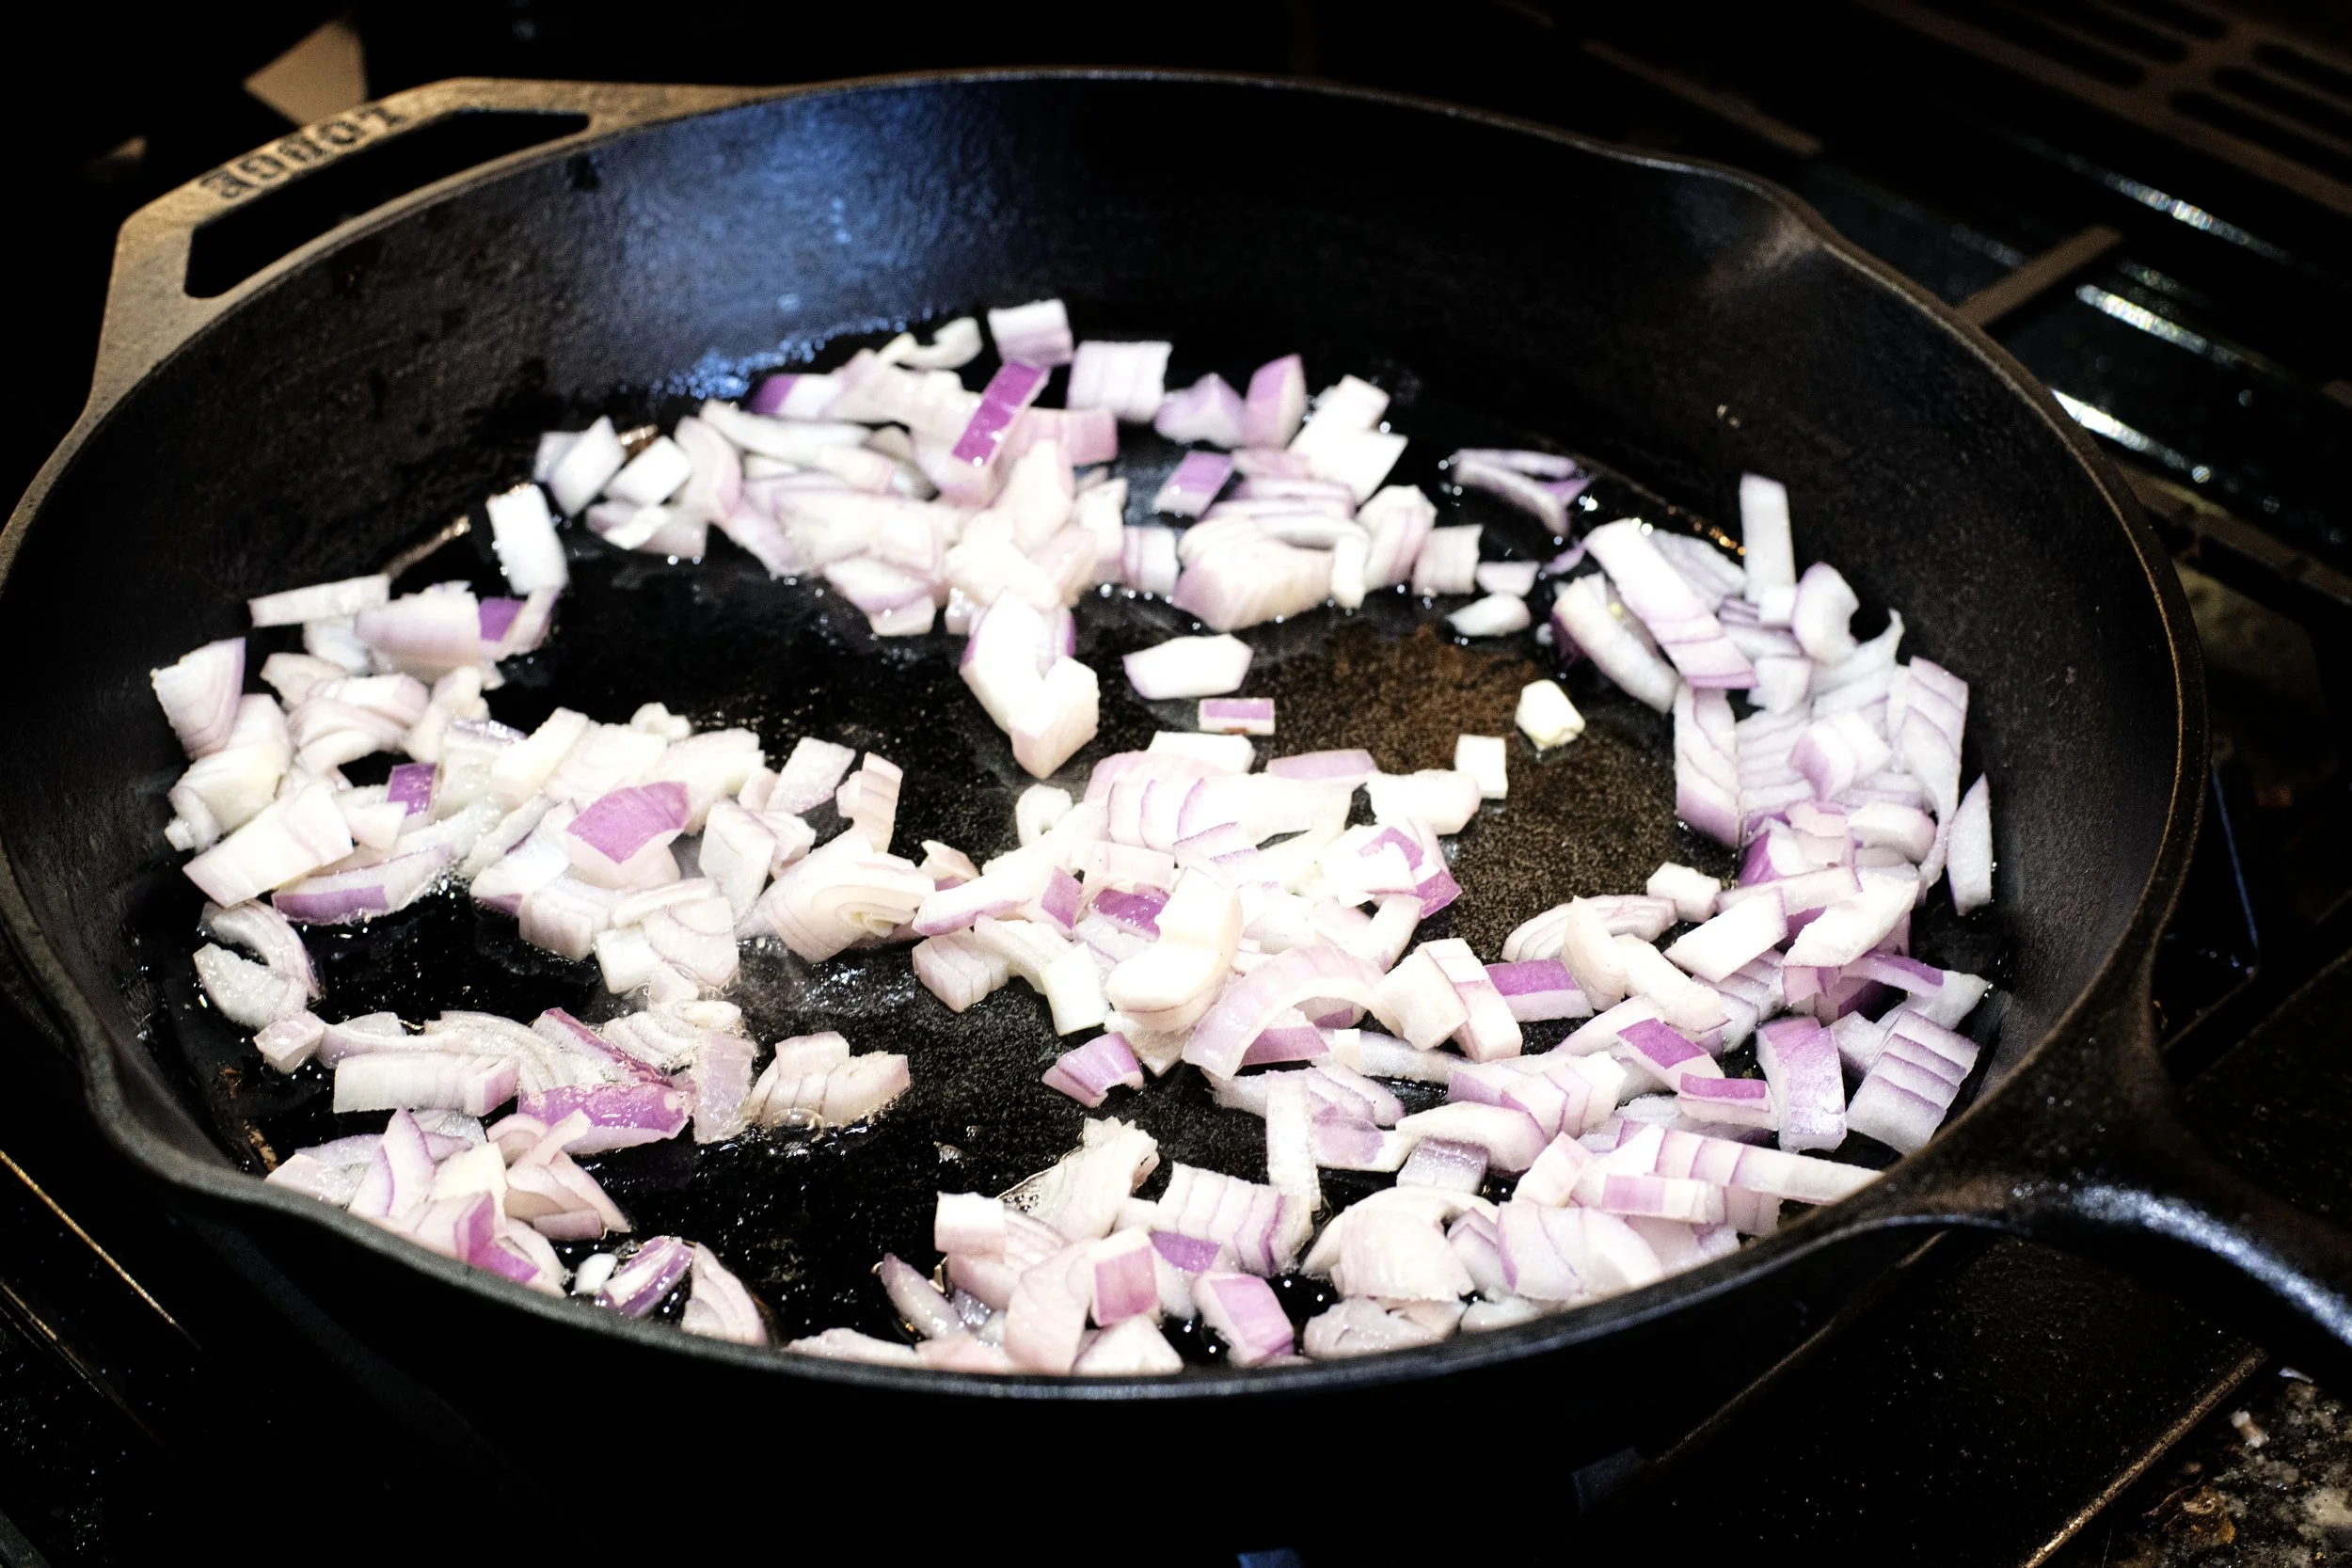
Add the diced red onion and minced shallot to the pan and saute for three minutes. The onions should start to soften. The shredded venison can make its entrance to the skillet at this point. Let the meat warm up a little and then pour the apricot juice into the pan.

Red Onions cooking in a cast iron skillet

I harvest my own apricots for the juice in this recipe. Each summer, I pick bucketfuls of the vibrant round balls and process them through a juicer. I do a very quick and simple fruit processing with the following juicer: Breville Juicer

Quick Steps for Apricot Juicing

  1. Wash the fruit and remove all the pits.

  2. Run fruit through home juice processors. The fruit will be separated into juice and pulp. I reserve the pulp and use it to make breads or ice creams.

  3. Transfer the juice to quart mason jars and freeze for later use.

If you don’t have access to apricots for juicing, there are plenty of viable options at the supermarket. The juice will most likely be labeled as a nectar and be thinned with water, so it may require a little more time to use in the recipe, but it is still a great option. I would check for added sugar and try to find a product that doesn’t have any. 

Thoroughly stir the mixture once the juice has been added, scraping the bottom of the pan to remove any browned bits that have developed so far, and also coat the meat completely. Let the mixture simmer for five minutes.

Prepping the Pineapple Salsa

While your apricot juice is reducing, it’s time to knock out the pineapple salsa. This topping comes together fast, and it pairs beautifully with the rich apricot venison. The candy-sweet pineapple tidbits and crisp, cool cucumber bring a fresh crunch that cuts right through the tanginess of the apricots in a very tastebud pleasing way.

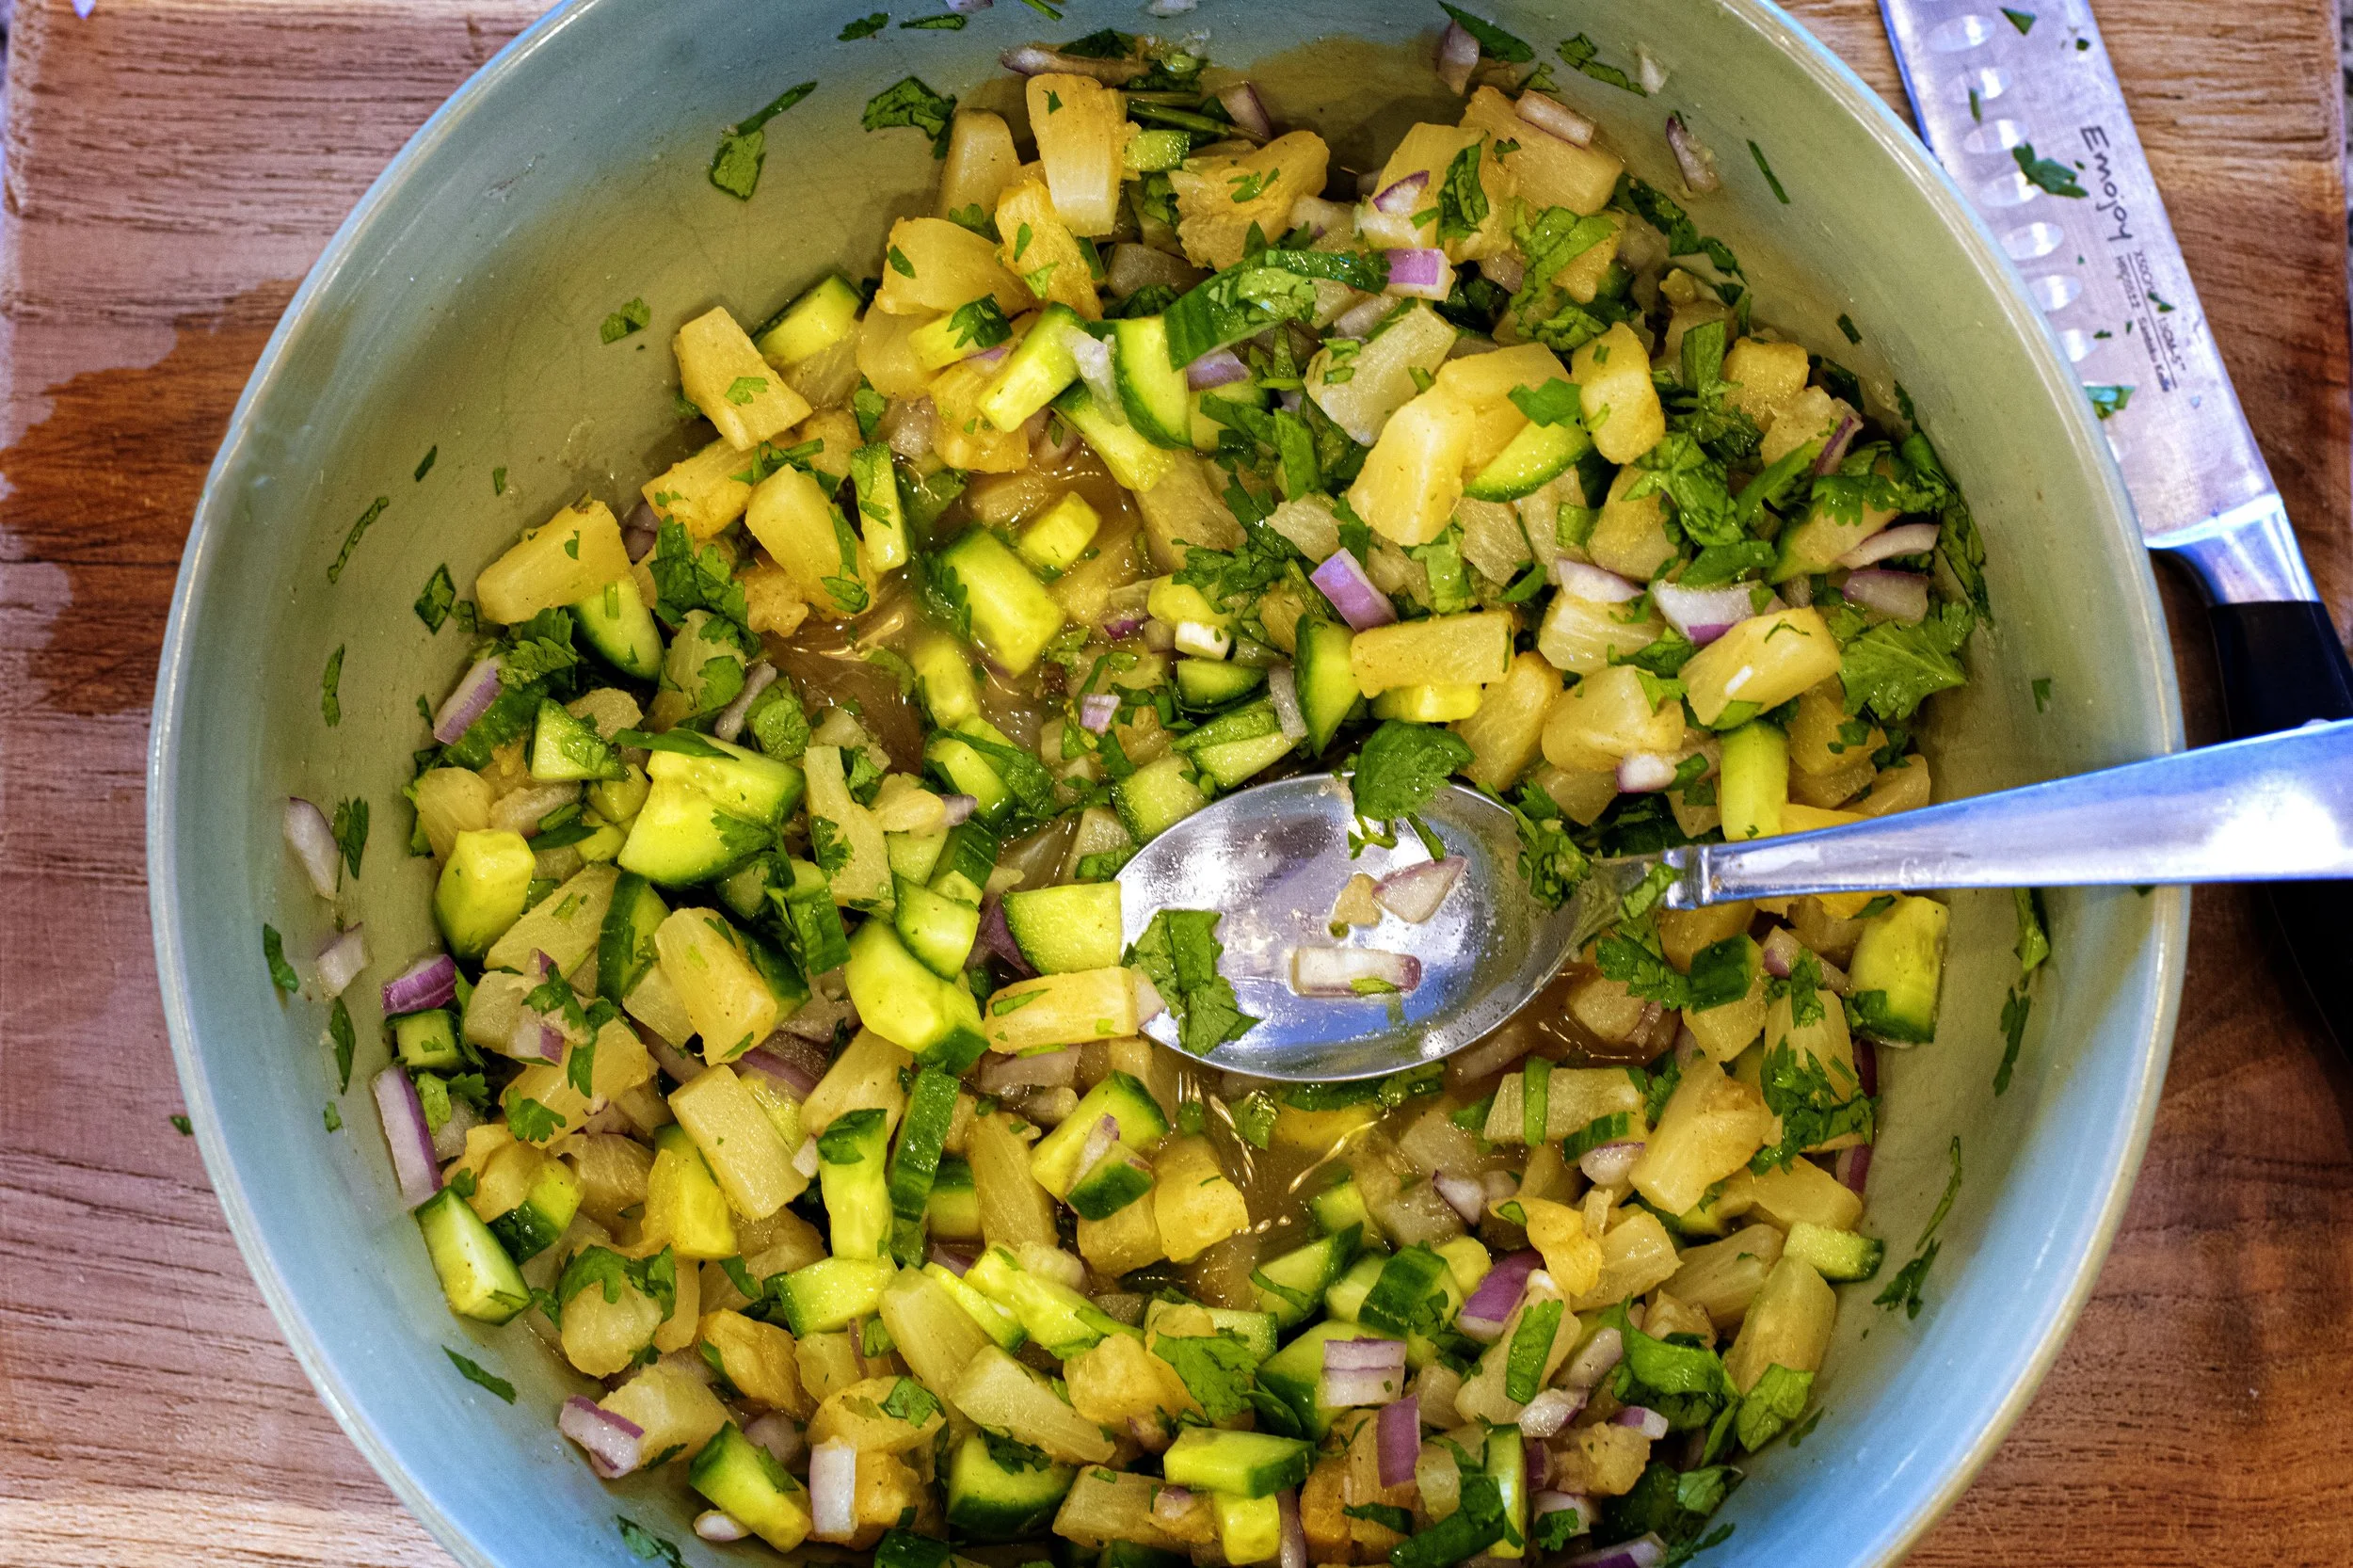
To get started on the salsa, dice your cucumber into tiny pieces—just a bit smaller than standard bite-size. Next, grab that remaining half of the large red onion you saved from the venison prep, and give it a fine dice, too. You want gentle hints of raw red onion here, not a sharp, biting chunk that overwhelms the whole palate.

Bowl of fresh, crunchy, sweet pineapple salsa with cucumber, red onion, and cilantro.

Toss the drained pineapple tidbits, cucumber, and red onion into a small bowl. Season everything with a teaspoon of earthy ground cumin and a pinch of salt. Mince up your fresh cilantro, stir it in, and finish it all off with a generous squeeze of fresh lime juice. Give everything a good mix, then set it aside. Letting those flavors marinate for a few minutes while you finish up the taco meat is where the magic really happens.


Finishing and Assembling the Tacos

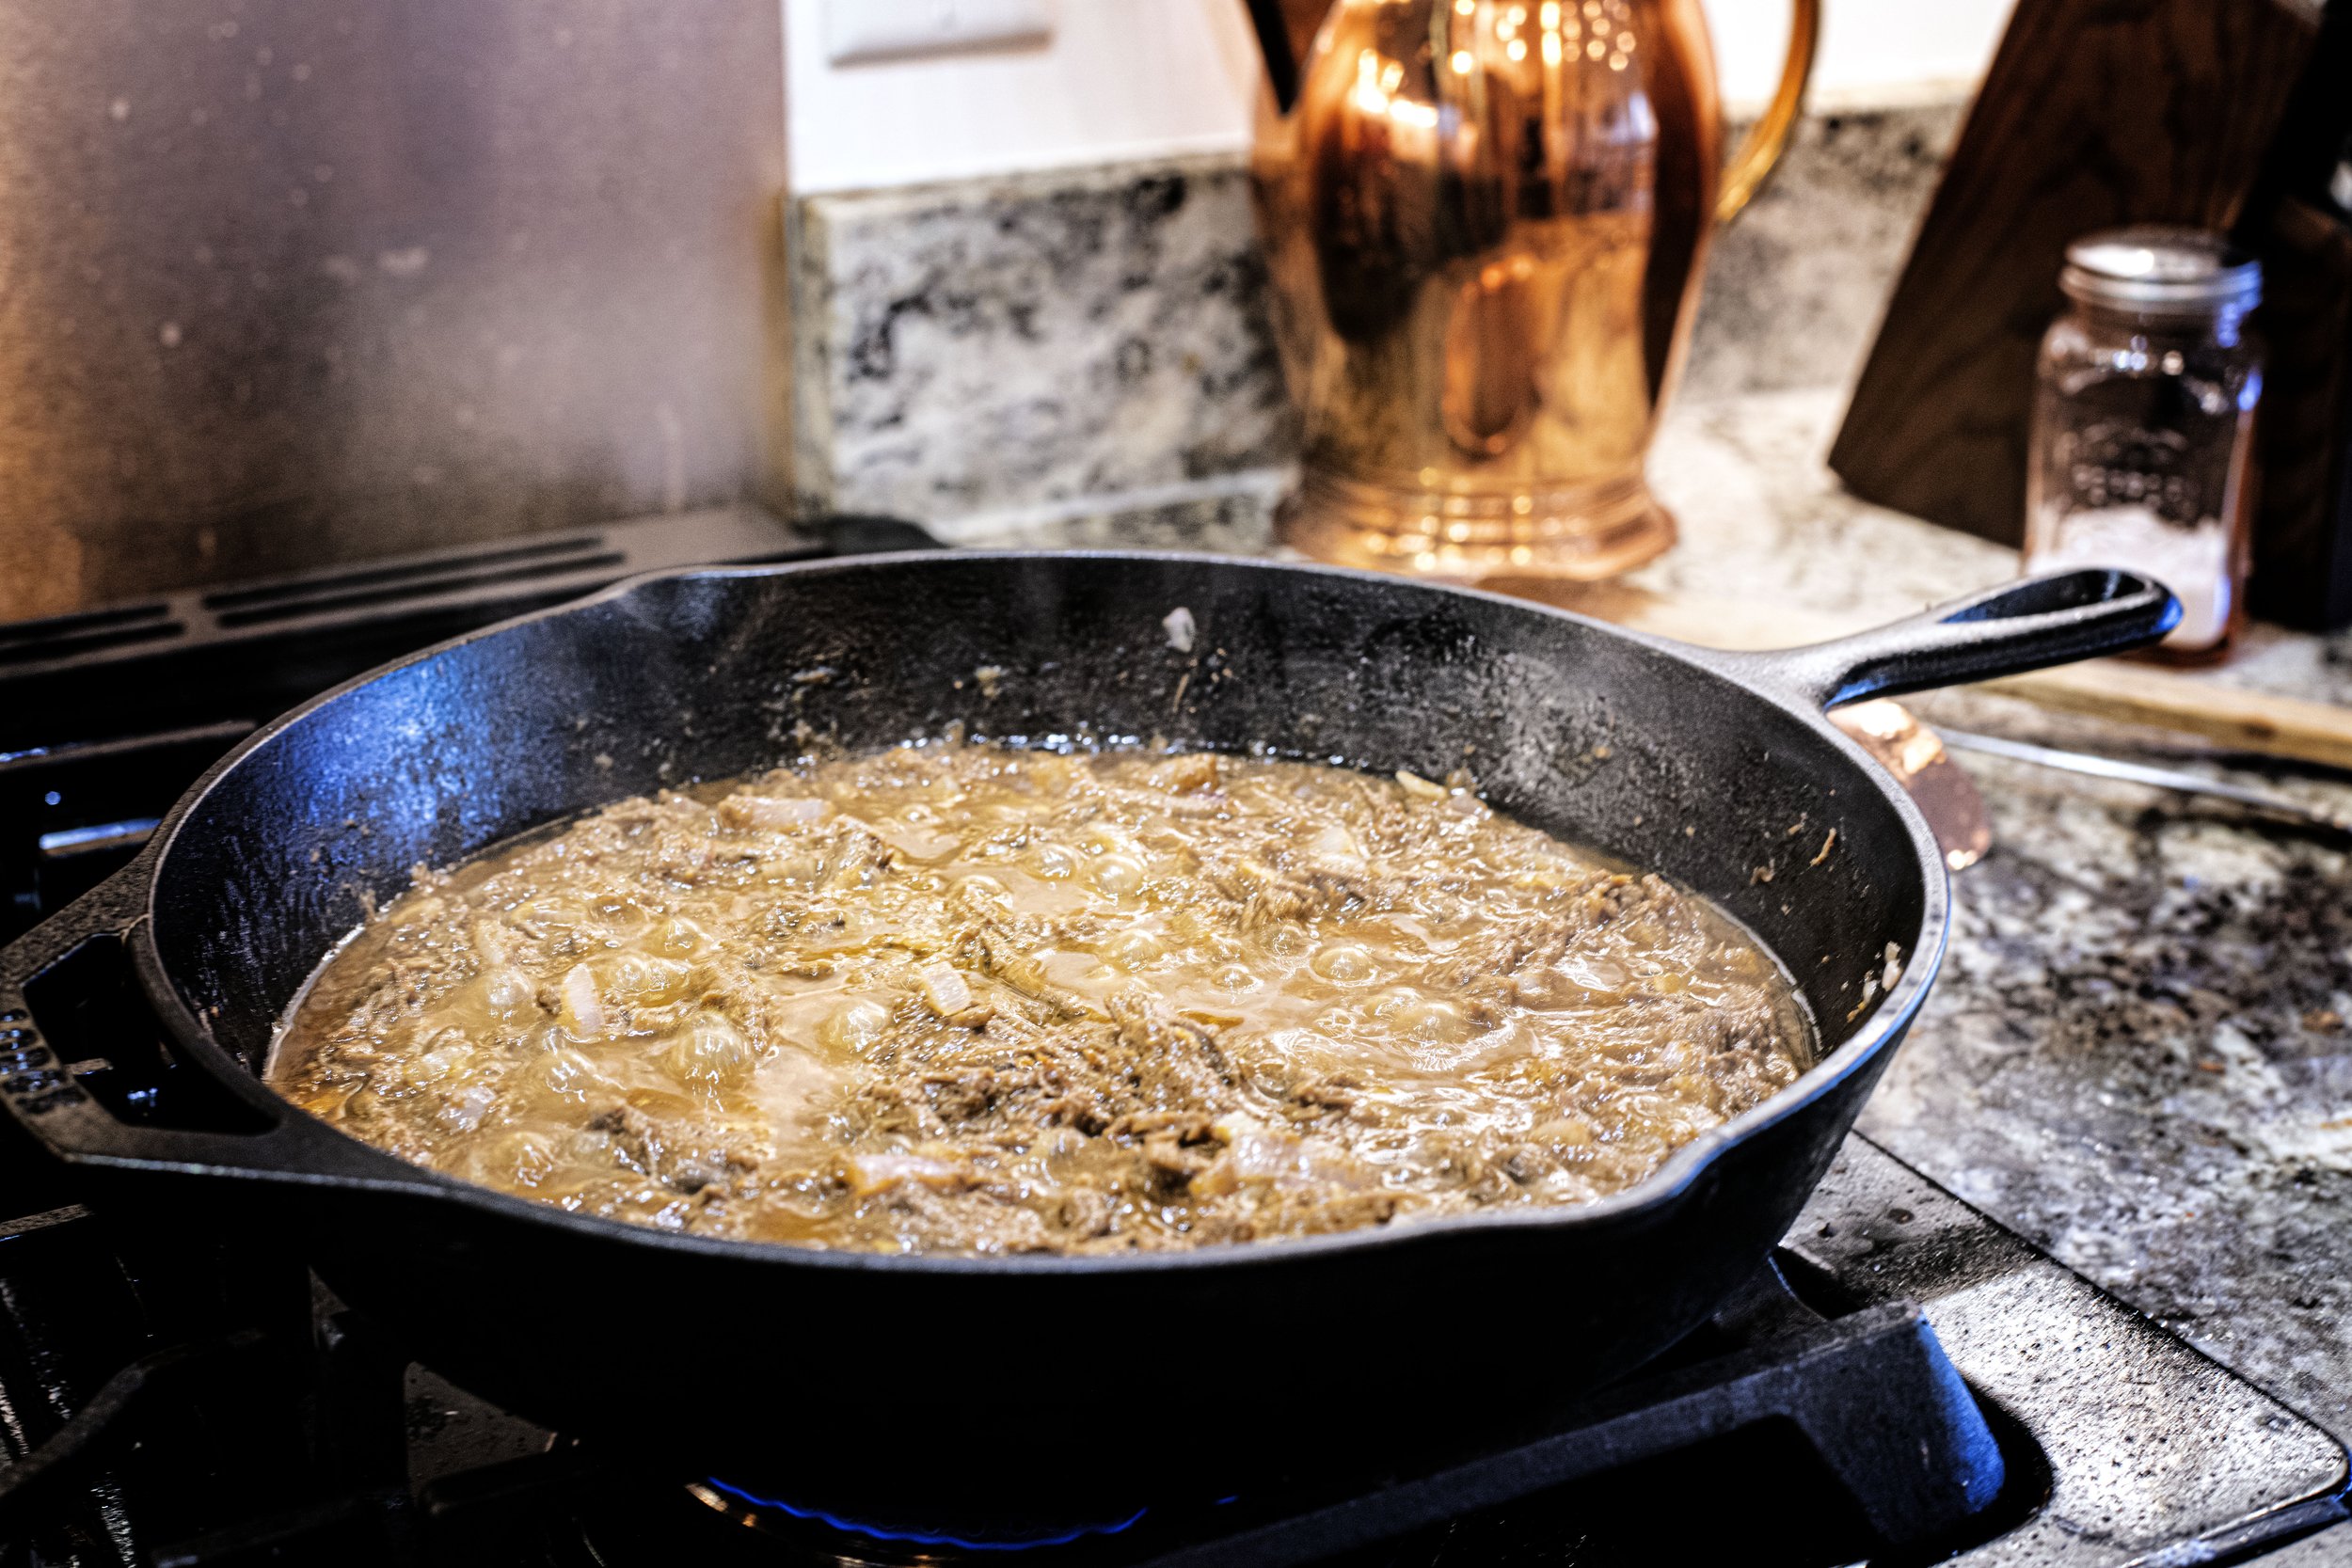
To finish up the taco meat, season the mixture with a bit of spicy chili powder, ground cumin, and earthy coriander. Let everything spend some quality time in the pan to develop and deepen in flavor. As it simmers, it creates a warm, comforting, and incredibly rich taco meat that is ready to hit those tortillas! 

Cast iron skillet sits on the stove simmering apricot venison taco meat

Simmer the apricot venison meat for about five more minutes. While you wait, start heating the tortillas. Personally, I love to use corn tortillas for my tacos, but you can absolutely use flour—I promise not to judge too much! 

Heat a light dusting of oil in a small skillet over medium heat. Warm each tortilla for a minute or two per side until they are soft and pliable.

To assemble, add a very generous scoop of the apricot venison to a warm tortilla. Top it with a big spoonful of the pineapple salsa, making sure you get a bit of every component—the sweet pineapple, crisp cucumber, and sharp red onion—in every bite. Sprinkle some fresh, crumbled cotija cheese and an extra pinch of minced cilantro. Now all that's left to do is dig in and enjoy!

Happy Hunting!

Yield: 4-6
Author: a 12 Gauge Girl
Sweet and Savory: Apricot Venison Tacos with Pineapple Salsa

Sweet and Savory: Apricot Venison Tacos with Pineapple Salsa

Learn how to easily slow cook venison with sweet apricot for the most tender shredded tacos. Finished with a vibrant pineapple salsa that anyone can make!

Cook time: 1 H & 15 MTotal time: 1 H & 15 M

Ingredients

Apricot Taco Ingredients
  • One pound venison chuck roast
  • Quart vegetable stock
  • One tablespoon cooking oil
  • One half large red onion, finely chopped
  • Large shallot, minced
  • Two cups apricot juice
  • Two tablespoons chili powder
  • One tablespoon cumin
  • One teaspoon coriander
  • Salt to taste
  • Package corn tortillas
  • Cotija cheese
Pineapple Salsa Ingredients
  • One cucumber, diced
  • One half large red onion, finely chopped
  • One bunch fresh cilantro, chopped
  • One lime, juiced
  • One can (15 oz) pineapple tidbits, drained
  • One tsp cumin
  • Salt, to taste

Instructions

  1. Step 1: Pressure Cook the Venison
  2. Roughly cut the venison chuck roast into two inch chunks and season with salt and pepper. Add the seasoned meat and the quart of vegetable stock to your pressure cooker.
  3. Secure the lid and close the pressure release valve.
  4. Set the cooker to high pressure for 45 minutes.
  5. When the timer finishes, let the cooker naturally release for 15 minutes before venting any remaining steam.
  6. Transfer the venison to a cutting board and shred the meat using two forks.
  7. Step 2: Cook the Apricot Venison Taco Meat
  8. Heat the tablespoon of cooking oil in a large cast-iron skillet over medium-high heat.
  9. Add the diced red onion and minced shallot, sautéing for three minutes until softened.
  10. Stir the shredded venison into the skillet.
  11. Pour the two cups of apricot juice over the mixture and stir to evenly coat the meat.
  12. Bring the juice to a simmer for five minutes until it begins to thicken.
  13. Season with chili powder, cumin, coriander, and salt to taste.
  14. Continue reducing the mixture for an additional five minutes until the sauce coats the meat richly.
  15. Step 3: Prepare the Pineapple Salsa
  16. While the meat finishes thickening, grab a small bowl.
  17. Mix together the diced cucumber, finely chopped red onion, and drained pineapple tidbits.
  18. Add the minced fresh cilantro, sprinkle in the cumin and salt, and squeeze the fresh lime juice over the top.
  19. Stir well to coat everything evenly.
  20. Step 4: Assemble Tacos and Serve
  21. Warm the corn tortillas in a dry skillet (or with a splash of oil) until pliable.
  22. Place a generous scoop of the warm apricot venison filling onto each tortilla.
  23. Top with a spoonful of the fresh pineapple cucumber salsa.
  24. Finish with crumbled Cotija cheese and extra minced cilantro.
  25. Serve immediately with fresh lime wedges and jalapeño slices for heat.
  26. Enjoy and happy hunting!

Nutrition Facts

Calories

620

Fat (grams)

22 g

Carbs (grams)

82 g

Fiber (grams)

10 g

Protein (grams)

30 g

 Nutritional values are rough estimates based on standard ingredients and will vary depending on your specific cut of wild game, brands used, and actual serving sizes.
Did you make this recipe?
Tag @a12gaugegirl on instagram and hashtag it #huntingandcooking


Shredded Venison Tacos with Sweet Potato & Black Beans

I almost feel embarrassed disclosing how often I have tacos. It feels like an above-average amount, but maybe I’m wrong. Maybe everyone cooks tacos at least once a week at home, makes taco salad during that same week, and also visits Taco Bell the weekend of that same week they already had tacos at home in two different forms. And then, they also decide on Sunday morning that breakfast tacos sound like a must.

JUMP TO RECIPE

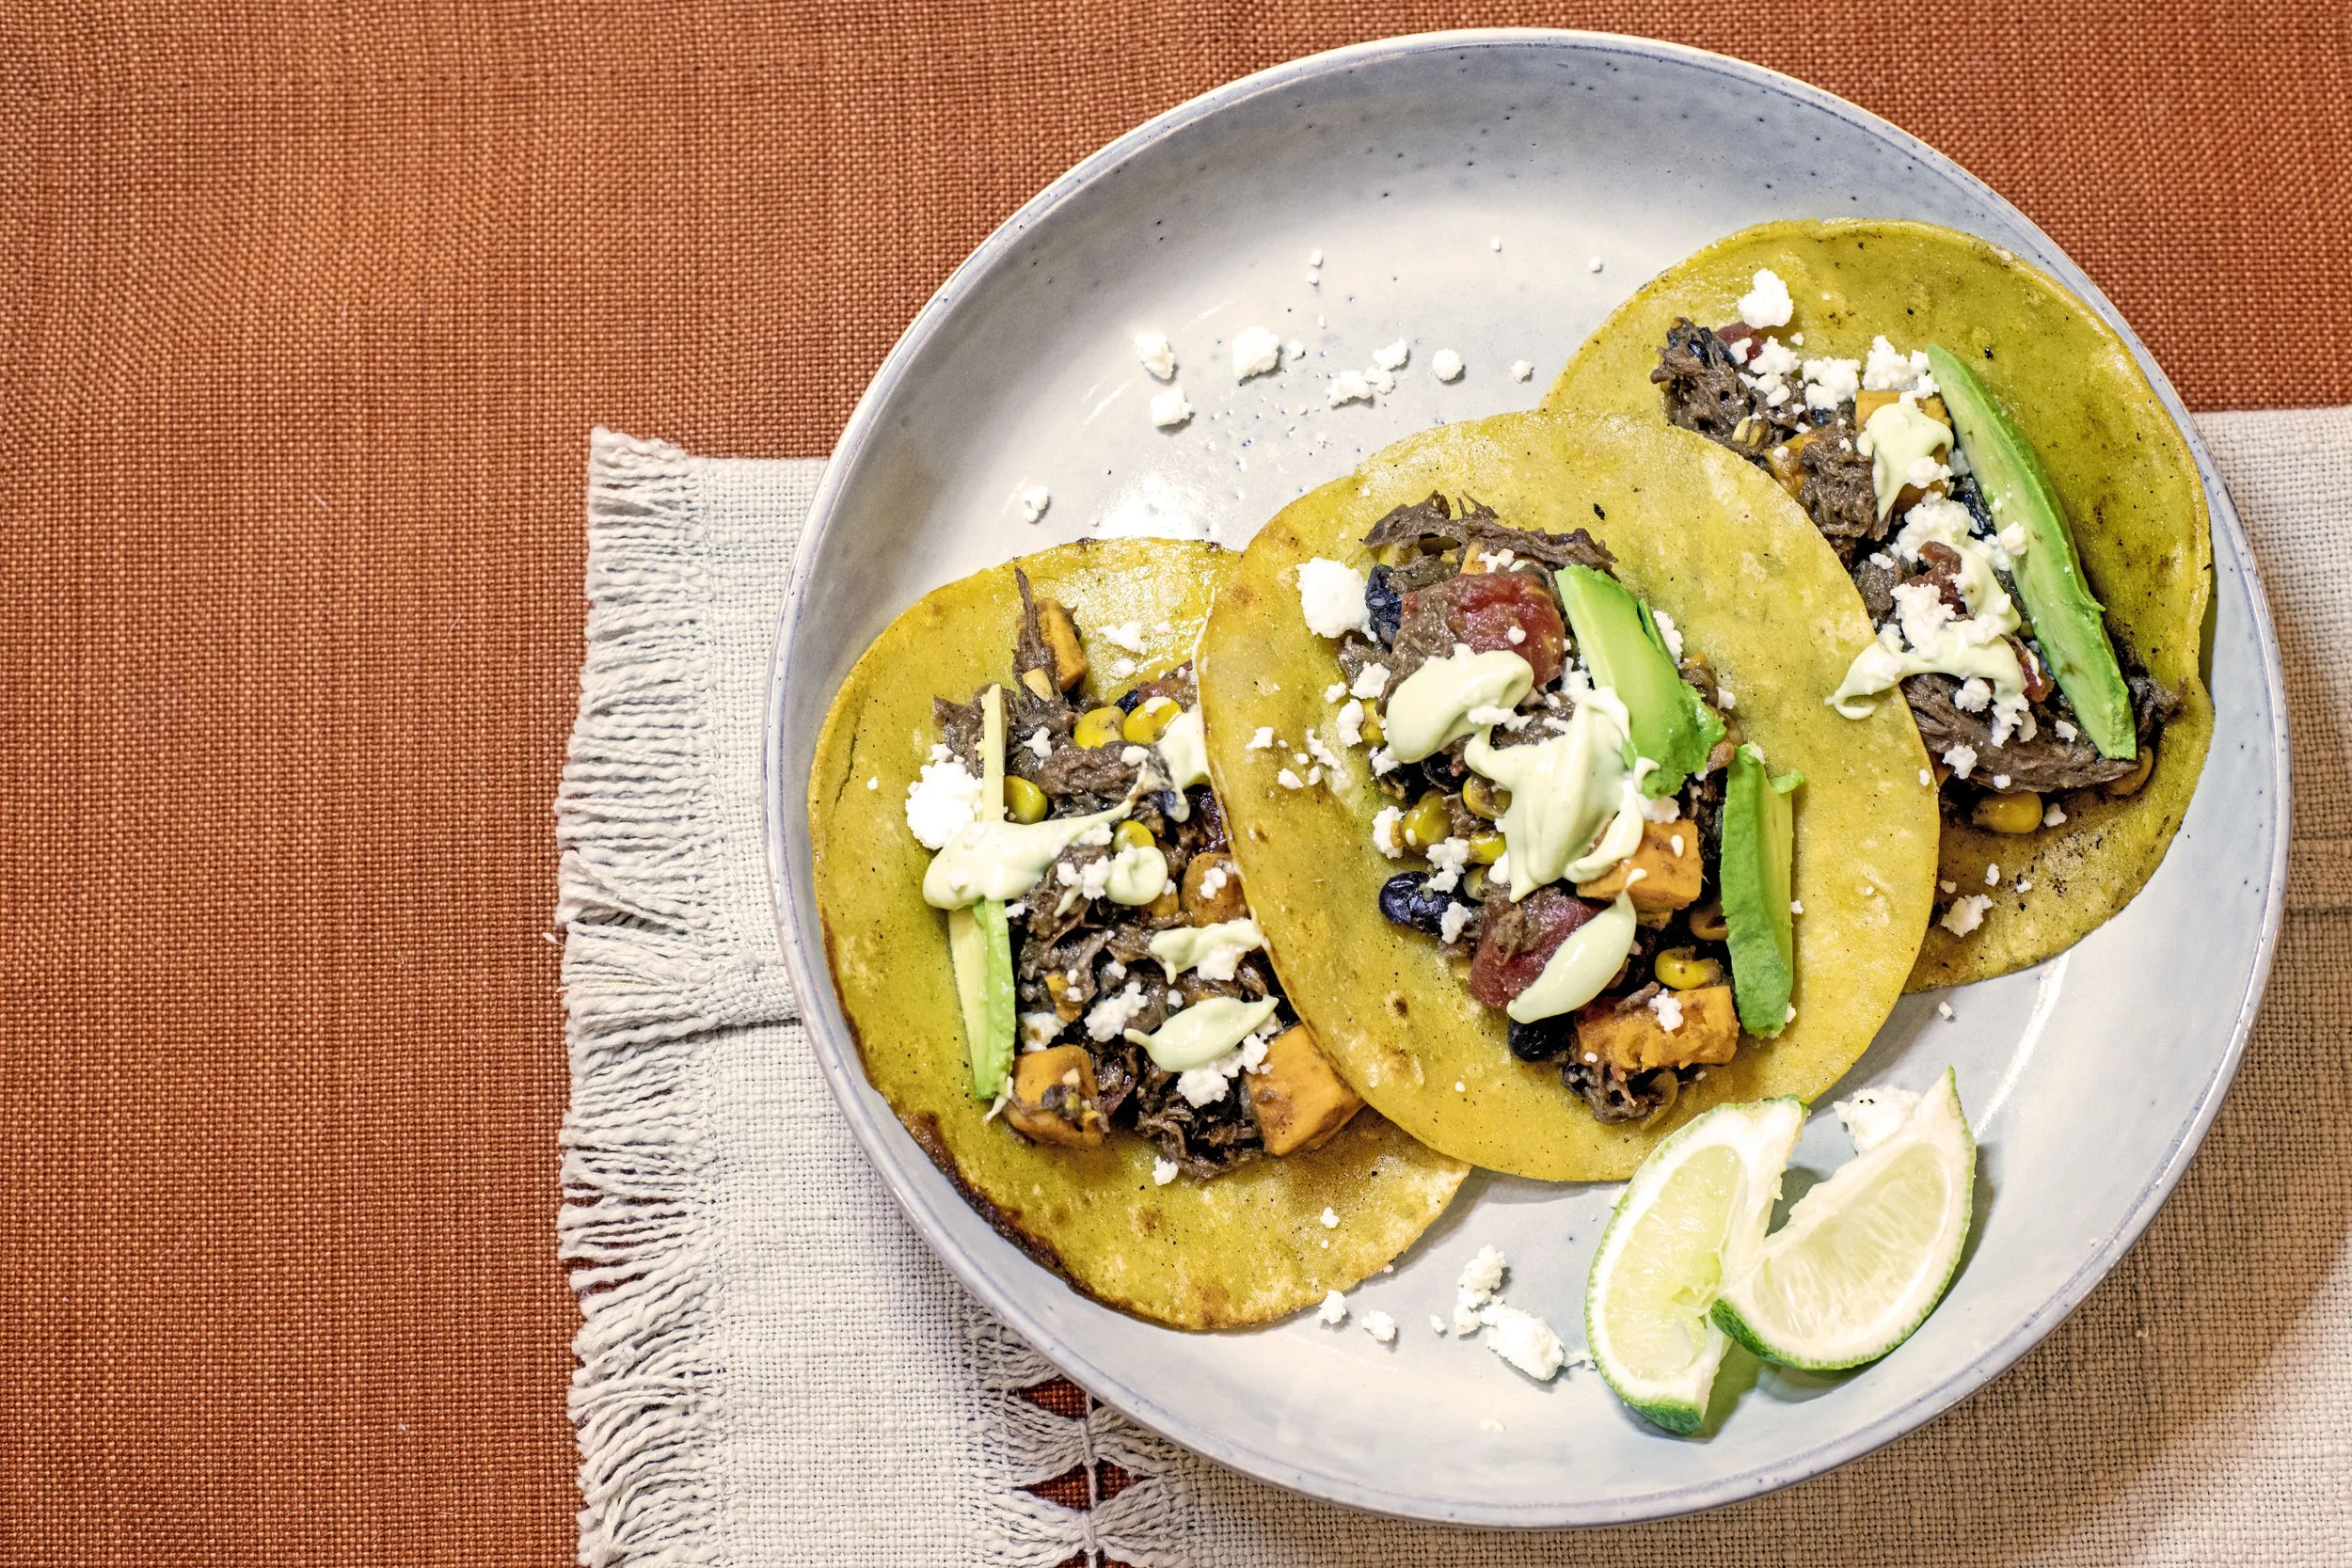
Plate of shredded venison tacos with sweet potatoes, black beans, corn and avocado crema.

How delicious is this plate of Venison Sweet Potato and Black Bean Tacos?

Tacos are my go-to meal, especially when the freezer is packed full of wild game. They just seem to lend themselves as the correct answer to any question. What should we make with this trout we just caught? Fish tacos! I wish I could think of a new way to prepare this pheasant—any ideas? Oh, how about adobo pheasant tacos! Man, I sure am feeling lazy and don’t want to cook—any ideas on a quick meal? Uh, duh, deer tacos!

See what I mean? Tacos are always the answer. And I can’t be the only one who knows it. We have nationwide celebrations dedicated to them! October 4th marks the official single day honoring the taco, but we also dedicate every single week to them with my favorite day: Taco Tuesday. So, if you’re interested in celebrating the taco every Tuesday like I am, I suggest you give this Venison, Sweet Potato, and Black Bean Taco dish a run in your kitchen.

Pressure cooking the venison

A tougher cut of meat is actually perfect for a shredded taco recipe. The generic term for this cut is a chuck roast, which comes from the heavily worked neck or shoulder region of the animal. Because the shoulder is a high-movement area, the meat is tough and packed with connective tissue. While these qualities are not desirable for a quick-cooking steak, they are absolutely ideal for slow-cooking methods that break down the fibers into tender, juicy taco meat.

For this recipe, I used my pressure cooker. I easily could have used a slow cooker—which is actually my preference for shredded meats— but I decided mid-day  instead of in the morning I wanted tacos. Since I didn't have the six to eight hours required for a low-and-slow braise, the pressure cooker saved the day.

Begin by roughly cutting the roast into two-inch chunks. Perfection isn’t required here, but keeping the pieces relatively consistent in size ensures they cook evenly. Season the chunks with a little salt and pepper, and add them to the pressure cooker. Pour a quart of vegetable stock over the top, close the lid, and make sure the pressure release valve is set to the sealing position.

Set the cooker to high pressure for 45 minutes. When the timer indicates that the cooking time is up, allow the machine to naturally release its pressure for 15 minutes before opening the venting valve. Once the cooker has fully depressurized, carefully open the lid and transfer the meat to a cutting board. The chunks should be incredibly tender and already starting to fall apart. Simply use two forks to shred the meat into bite-sized pieces, and set it aside.

Prep the Sweet Potatoes

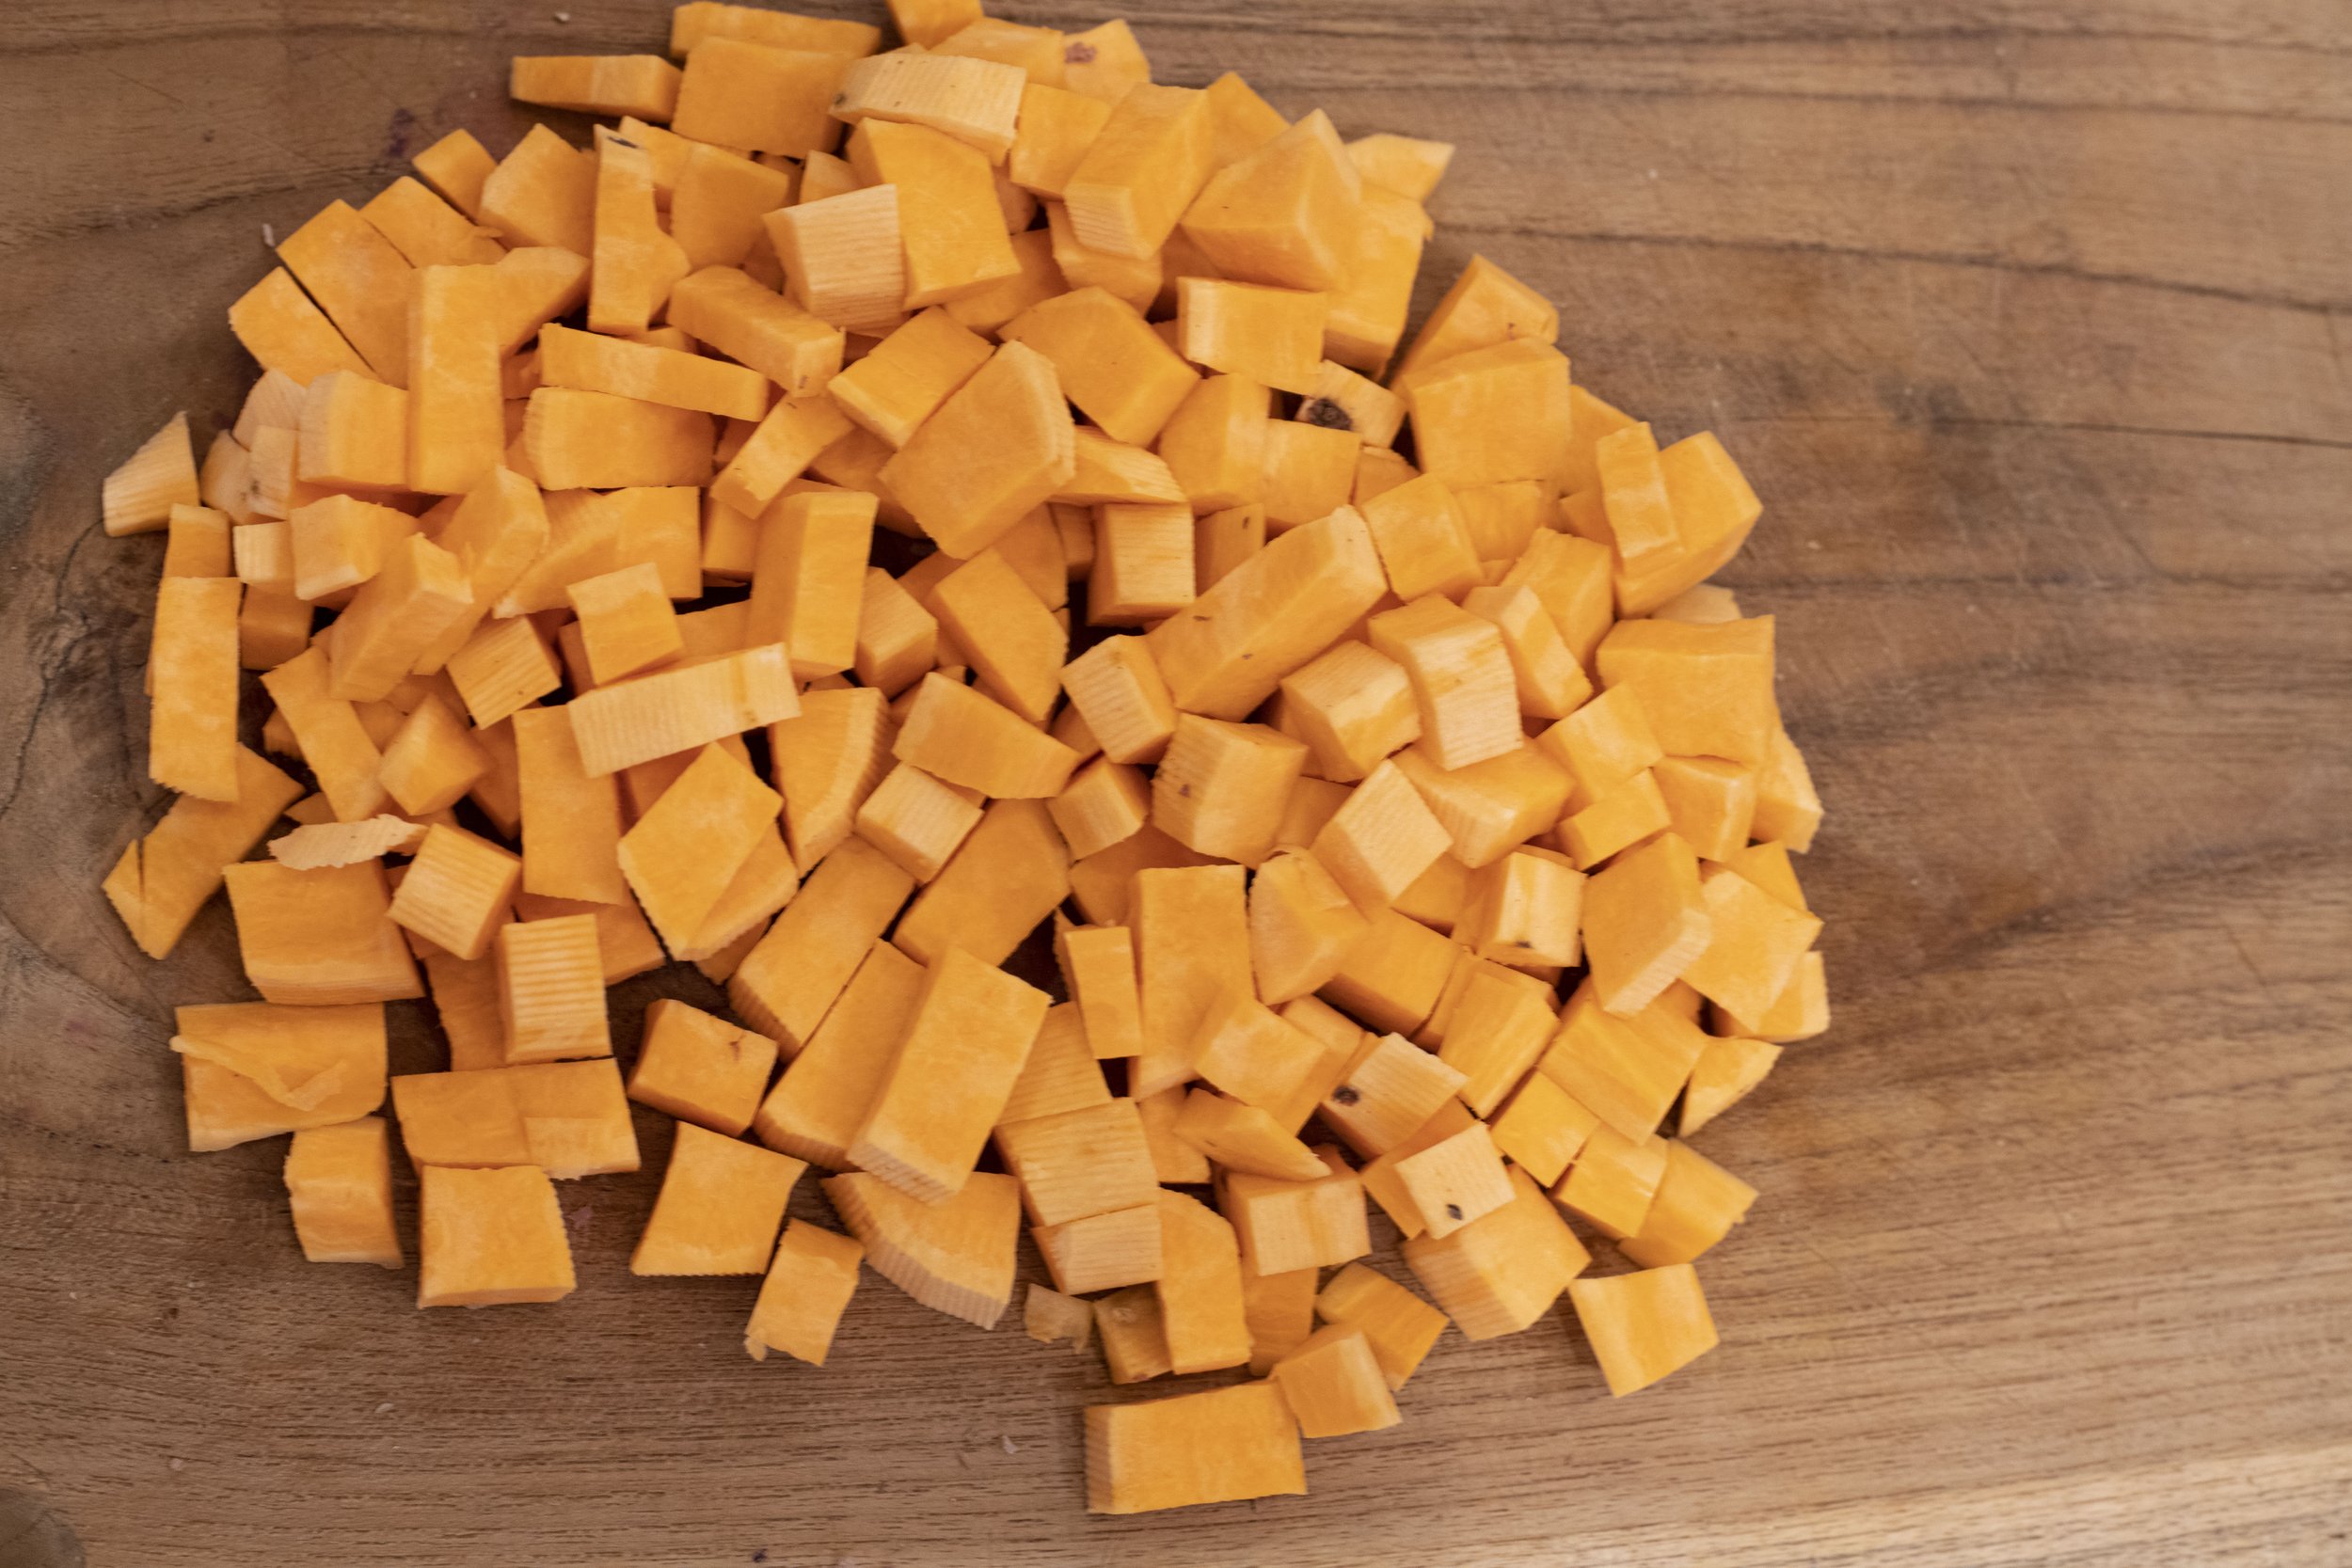
Chopped sweet potatoes for venison tacos

Heat a large skillet over medium-high heat. You will want to grab the biggest skillet you own, because between the shredded meat, sweet potatoes, and black beans, this makes a massive amount of taco filling!

Add a tablespoon of cooking oil to the skillet to preheat. I like to use avocado oil because it has a high smoke point, but other great options include canola oil, vegetable oil, or even rendered bear fat. Once the oil is hot, toss in your diced sweet potato. When prepping the sweet potato, try to keep the cubes relatively uniform in size so they all finish cooking at the same time.

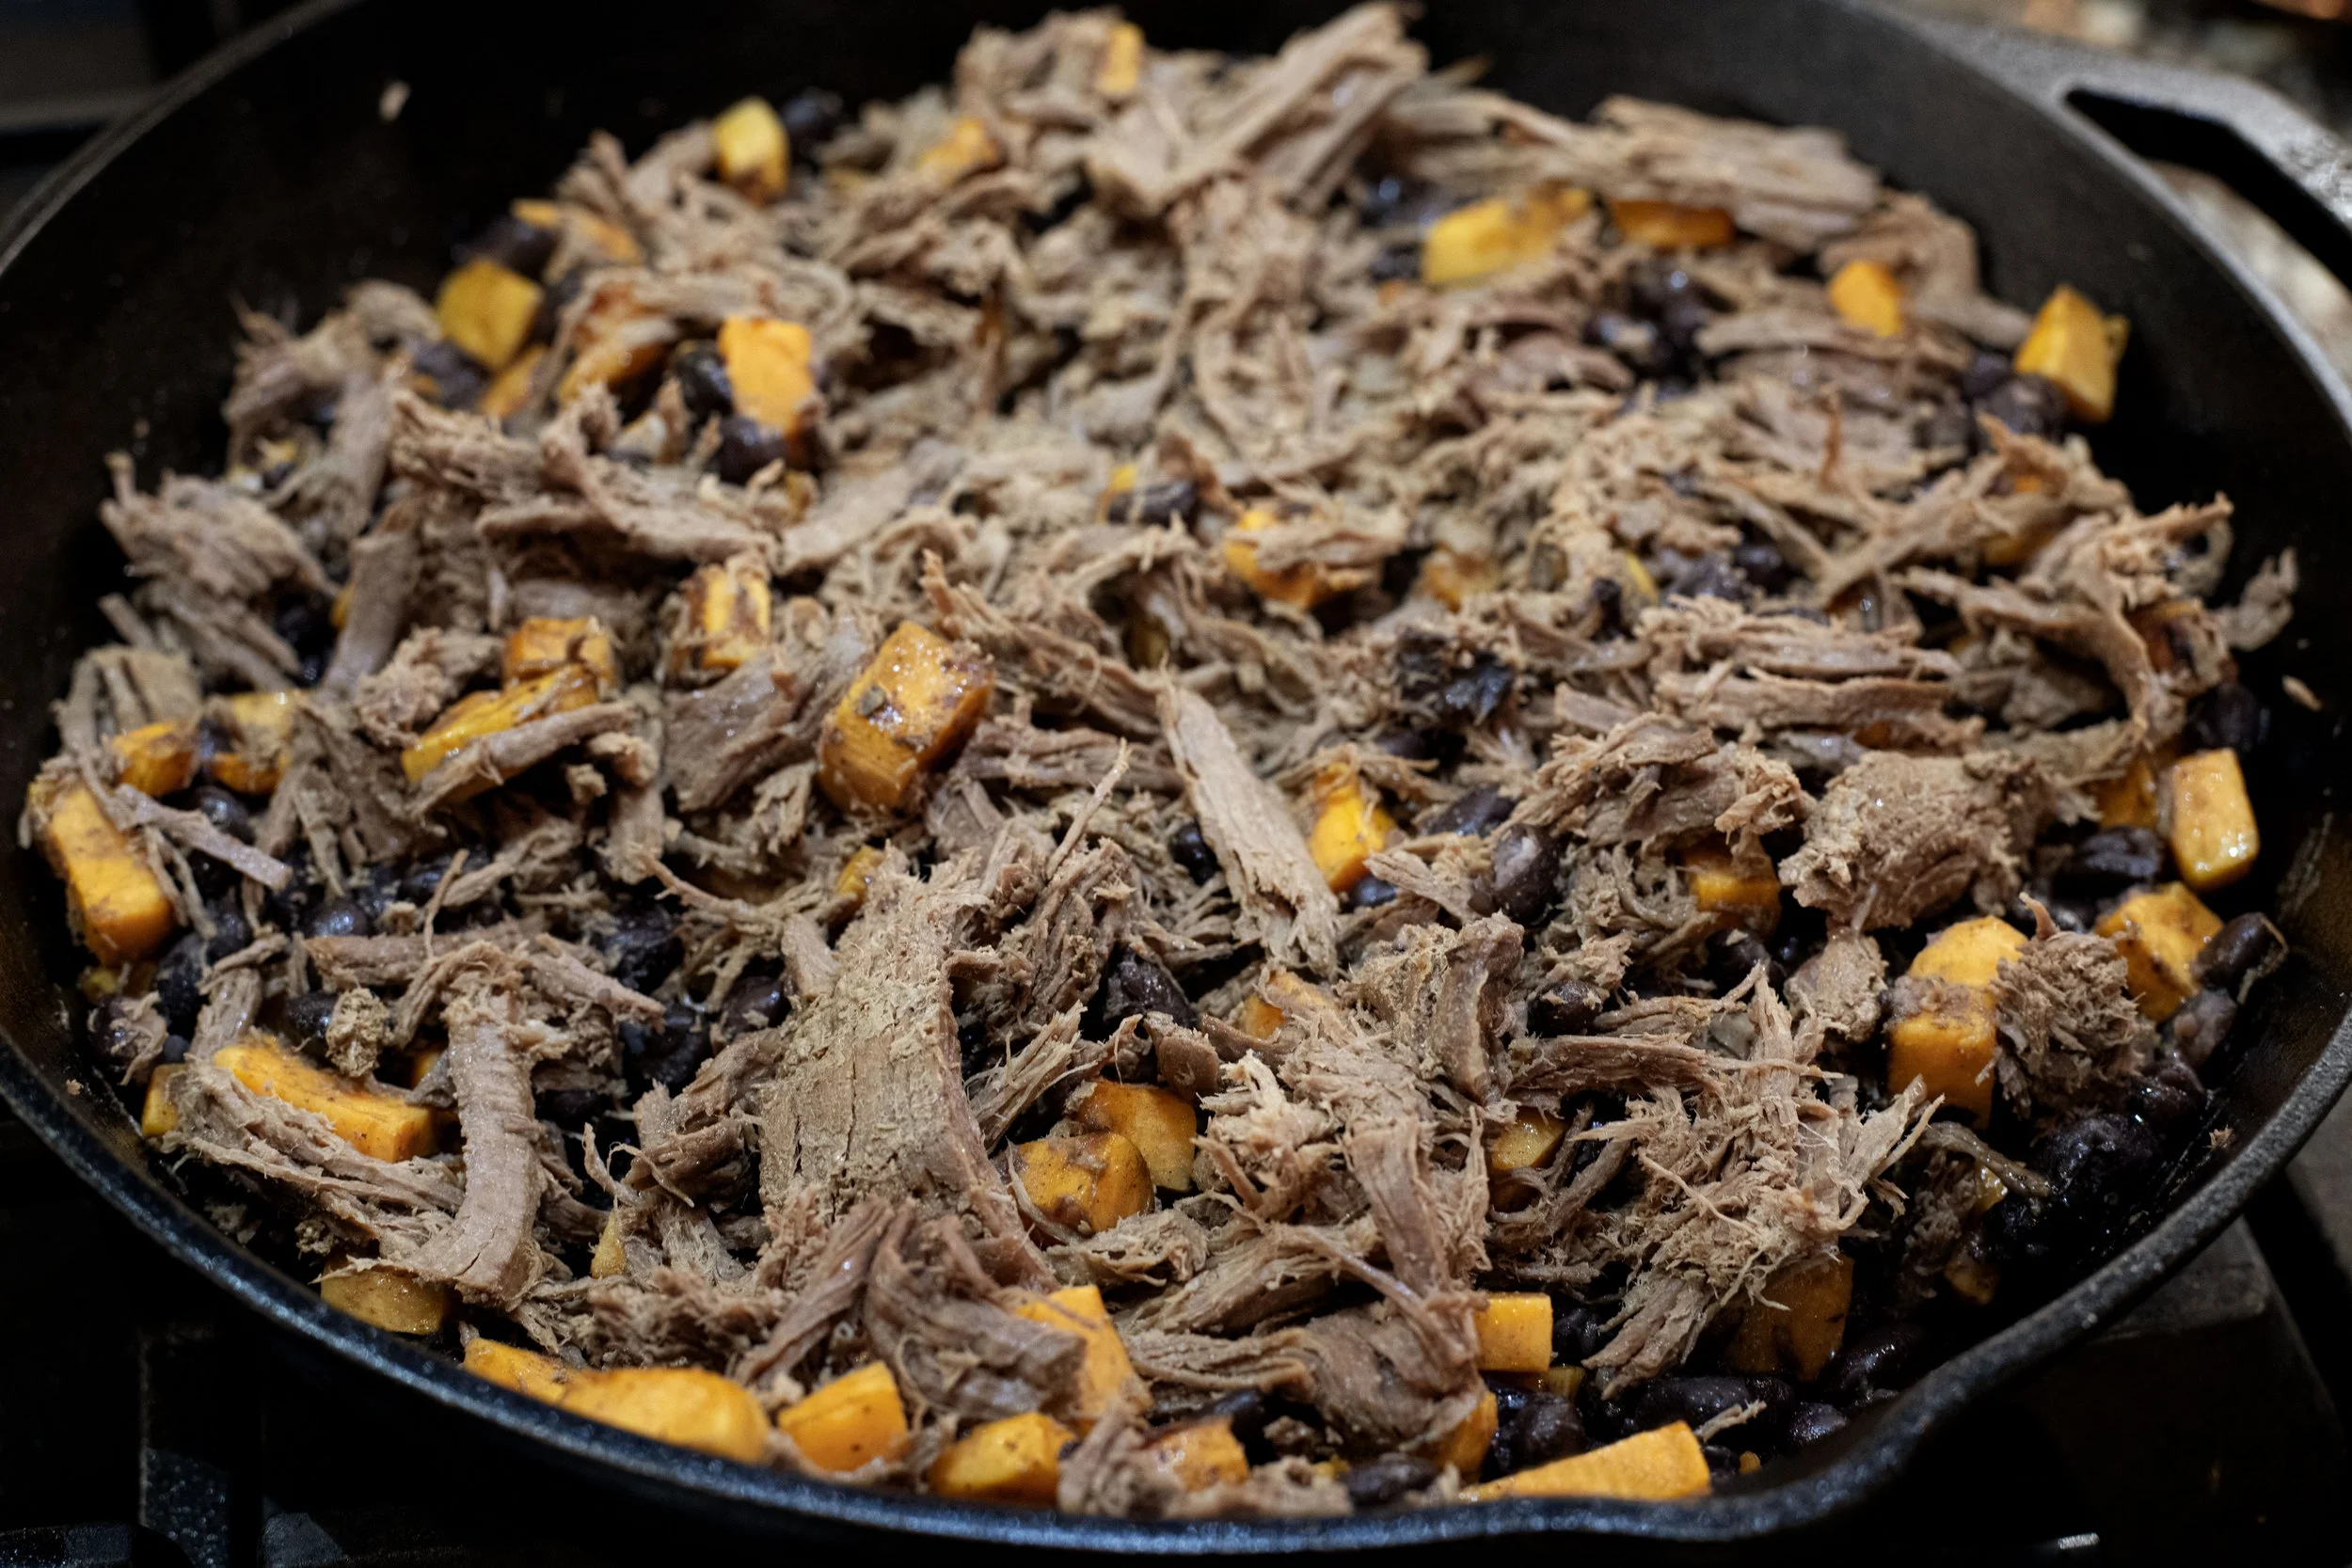
Let the sweet potatoes soften on their own for about five minutes before stirring in the drained black beans. After the beans and sweet potatoes have cooked together for about three minutes, slide your shredded venison into the mix. Things are starting to get good, huh?

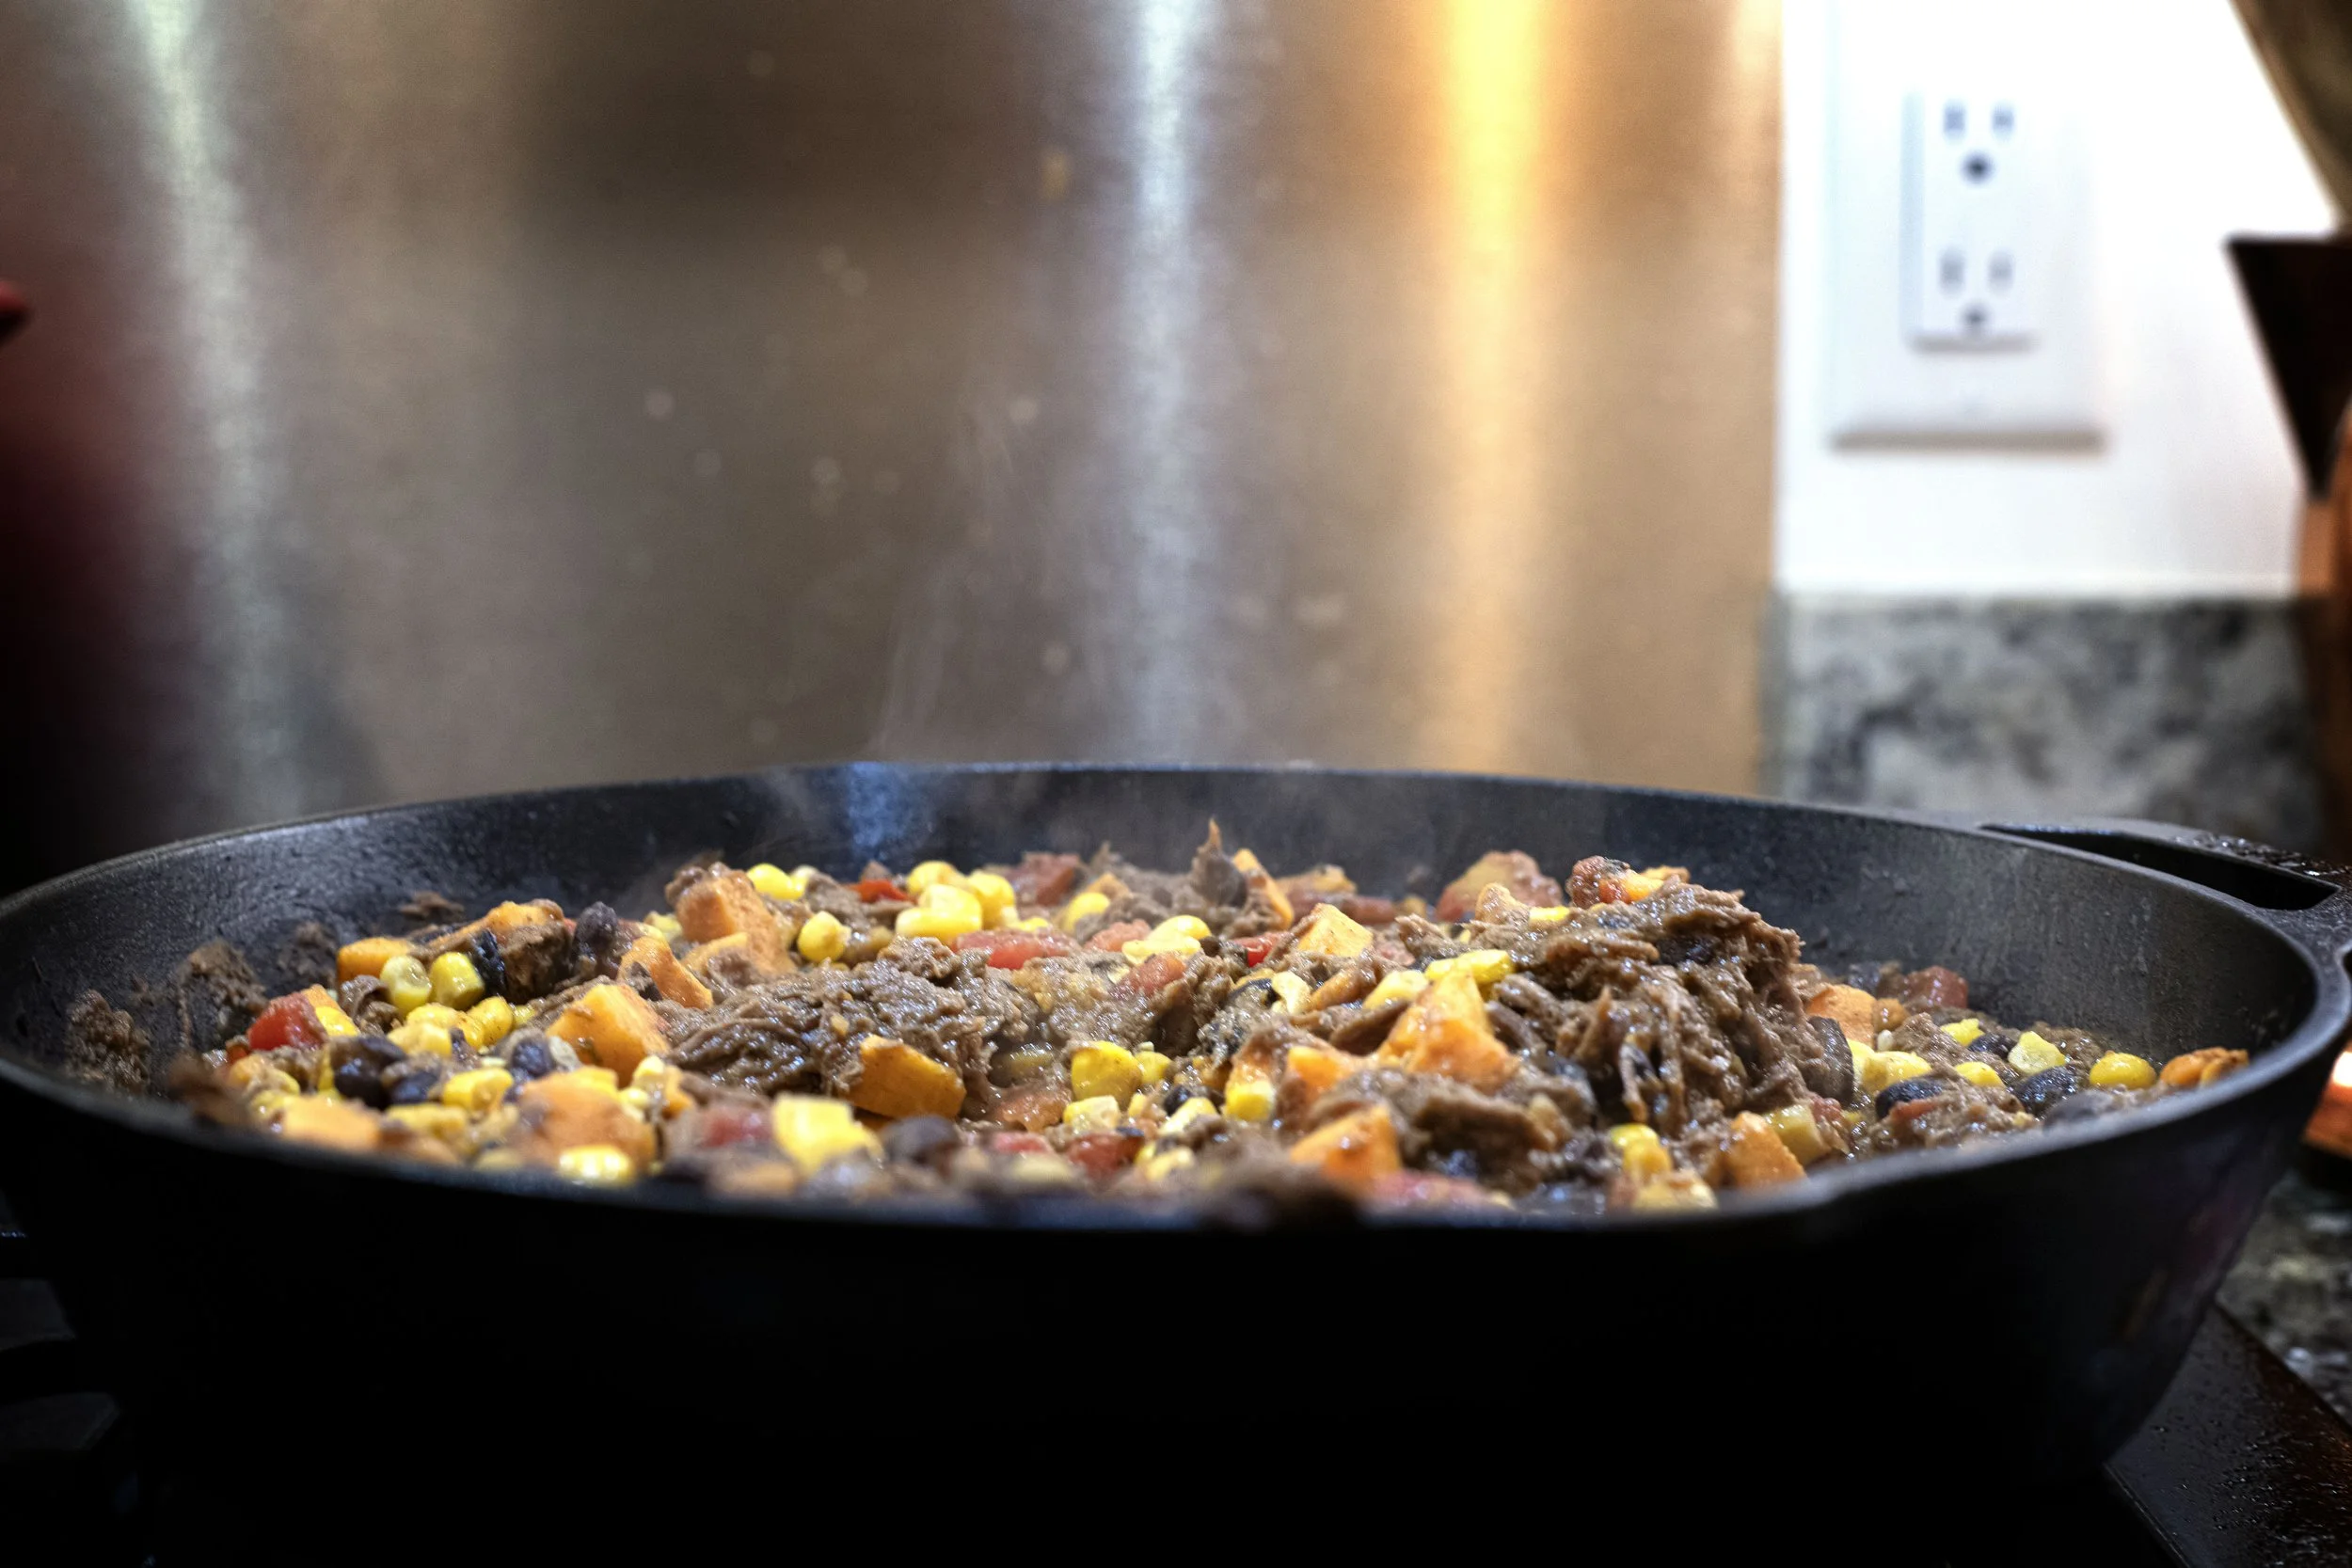
Shredded venison meat over sweet potatoes and beans for tacos

Deglaze and season

I have a handful of cooking moments that I absolutely indulge in when the time comes. One is sautéing onions in butter. It smells so good that every single time, I spend a few zen moments just breathing in the sweet steam. A second one is deglazing a pan. I have no preference on the liquid—whether it’s beer, wine, stock, or water—I just love the sound of the cool liquid clashing against the hot pan and watching as it bursts into tiny, simmering bubbles.

Anyway, not to get too far off-topic here, but the next step is to use a can of beer to deglaze your skillet. The actual beer choice is up to the chef. I highly recommend a crisp lager, but really whatever you have on hand will work. If you prefer not to cook with alcohol, some chicken or vegetable stock will do the job perfectly. Pour it in, and be sure to use a spatula to scrape the bottom of the pan for any browned goodies left over from the potatoes or beans.

Once deglazed, season the taco mixture with the tomato paste, cumin, and chili powder. Let the beer simmer for about three to five minutes, or until the liquid has reduced by half.

While the beer is reducing, you can multi-task by prepping the avocado crema. Using a fork, smash your avocado into a smooth mash. Transfer it to a small bowl and mix vigorously with the Mexican crema. Sour cream or even plain Greek yogurt will also work beautifully here. Add the juice of one lime, a pinch of cumin, and a little chili powder. Whisk everything together into a smooth sauce and set it aside for plating.

Another quick task to knock out during the reduction phase is charring the corn. To remove the kernels from the cob, I use a handy trick I saw on a cooking show. Place a small bowl upside down inside a much larger bowl. Use the "island" created by the bottom of the smaller bowl to stand your corn cob upright. Then, simply run your knife down the sides of the cob; the kernels will fall safely into the larger bowl for mess-free collection. Toss the kernels into a separate small skillet over medium-high heat and char them for a few minutes, taking care to stir often so they don't burn.

Once the beer in your main skillet has sufficiently reduced, stir in the can of roasted diced tomatoes and your beautifully charred corn. Cook for three minutes more, and just like that, your taco meat is ready to go!

Venison taco meat in skillet ready for plating

Assembly Time

When it comes to serving these tacos, a proper delivery vessel is required—which means it is time to warm up a few tortillas. I always prefer corn tortillas for my tacos, but you can absolutely use flour if you prefer (and I promise not to judge you too much!).

Wipe out that small skillet you just used to char the corn, add a light dusting of cooking oil, and set it over medium heat. Warm each tortilla for a minute or two per side until soft and pliable.

To plate, pile a generous scoop of the venison, sweet potato, and bean mixture right into the center of your warm tortilla. While garnishes are always a personal decision, I found that crumbled cotija cheese, freshly minced cilantro, and a couple of thin slices of fresh avocado pair beautifully with the flavors in the meat. Drizzle your homemade avocado crema over the top, finish it all off with a bright squeeze of fresh lime juice, and enjoy!

Venison Sweet Potato Taco

Venison Sweet Potato Taco

Yield: 4-6
Author: a 12 Gauge Girl
Cook time: 1 H & 20 MTotal time: 1 H & 20 M

Try these Venison Sweet Potato Tacos with black beans, charred corn, and avocado crema. A fast pressure cooker meal with slow-roasted flavor!

Ingredients

Ingredients Venison Sweet Potato Tacos
  • One pound venison chuck roast
  • Quart vegetable stock
  • One tablespoon avocado oil
  • One large sweet potato, peeled and diced into 1” pieces
  • One can (15oz) can black beans
  • One can lager beer
  • One tablespoon tomato paste
  • Two teaspoons cumin
  • Two tablespoons chili powder
  • One can (14.5oz) roasted diced tomatoes
  • Two ears sweet corn, kernels removed from cob (can be substituted for a 15oz can of corn)
  • Salt and pepper
  • Corn tortillas
  • Garnishes: cotija cheese, avocado slices, minced cilantro, lime wedges, diced jalapeno
Ingredients Avocado Crema
  • One avocado
  • ½ cup crema
  • Juice one lime
  • One teaspoon cumin
  • Salt and pepper

Instructions

  1. Step 1: Pressure Cook the Venison
  2. Roughly cut the venison chuck roast into two inch chunks and season with salt and pepper. Add the seasoned venison chunks and quart of vegetable stock to the pressure cooker.
  3. Secure pressure cooker lid and ensure pressure release valve is closed. Set cooker to high pressure for 45 minutes.
  4. Once the timer goes off, allow pressure cooker to naturally release for 15 minutes before turning the pressure valve to venting. Once fully released, transfer venison to a cutting board and shred meat using two forks.
  5. Step 2: Prep the Sweet Potatoes
  6. Heat a large skillet over medium-high heat with a tablespoon of cooking oil. Once heated, add the diced sweet potato chunks and cook for five minutes.
  7. Drain liquid from the can of black beans and then add beans to the skillet and cook for three minutes.
  8. Add shredded venison to the sweet potato and bean mixture and continue to heat for three more minutes.
  9. Step 3: Deglaze and Season
  10. Deglaze the skillet with the beer and let liquid reduce by half, or about three to five more minutes.
  11. Meanwhile: While the beer is reducing, remove the sweet corn kernels from the cob and lightly toast for three to five minutes over medium heat in a small skillet. Be sure to stir the corn kernels often to prevent burning.
  12. Season the meat mixture by mixing in the tomato paste, cumin, and chili powder.
  13. Add the can of roasted diced tomatoes and simmer the mixture for three more minutes.
  14. Add the corn to the venison and sweet potato mixture. Stir and let warm for a few minutes.
  15. Step 4: Make the Avocado Crema
  16. Make the avocado crema in a small bowl. Mash the avocado with a fork. Mix avocado together with the crema, juice from a lime, a teaspoon of cumin and salt to taste.
  17. Step 5: Assemble and Serve
  18. Lightly warm the corn tortillas in a dry skillet or with a splash of oil, if desired.
  19. Place a generous scoop of the venison and sweet potato filling onto each warmed tortilla.
  20. Drizzle with the homemade avocado crema.
  21. Top with additional fresh avocado slices, crumbled cotija cheese, and minced cilantro.
  22. Serve immediately with fresh lime wedges and optional jalapeño slices for heat. Enjoy and happy hunting!

Nutrition Facts

Calories

687

Fat (grams)

31 g

Carbs (grams)

68 g

Fiber (grams)

18 g

Protein (grams)

36 g

 Nutritional values are rough estimates based on standard ingredients and will vary depending on your specific cut of wild game, brands used, and actual serving sizes.
Did you make this recipe?
Tag @a12gaugegirl on instagram and hashtag it #huntingandcooking