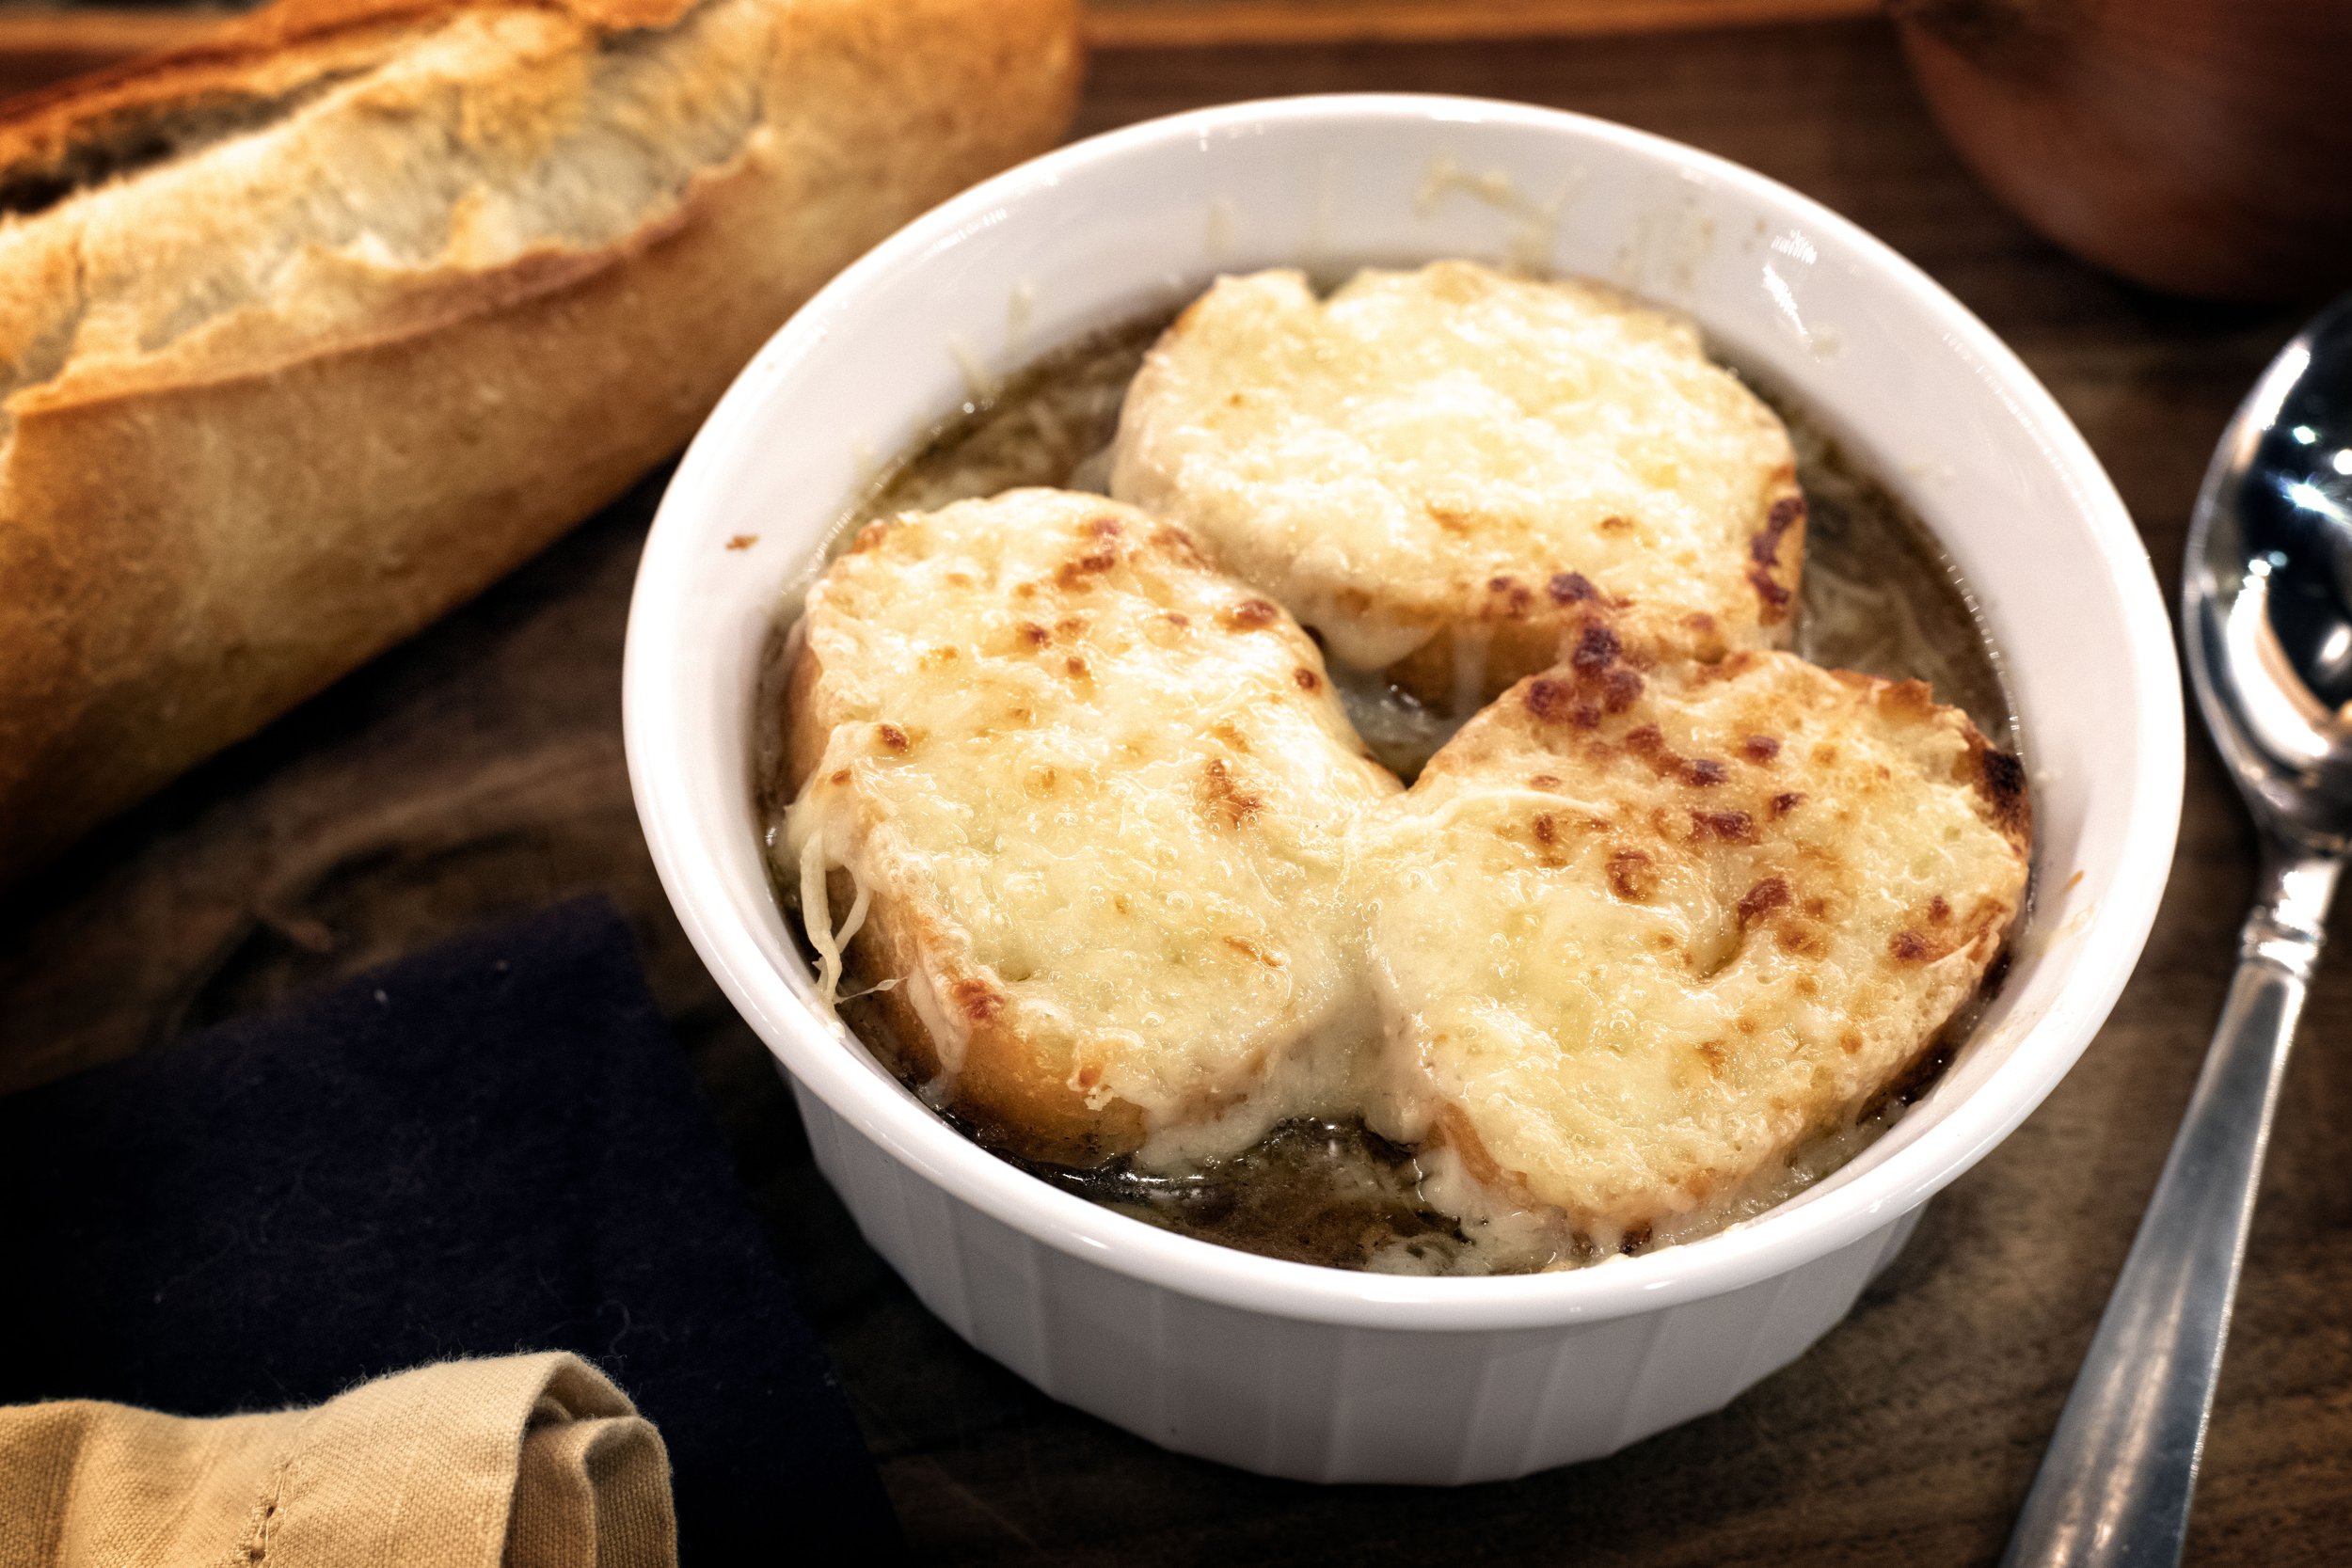
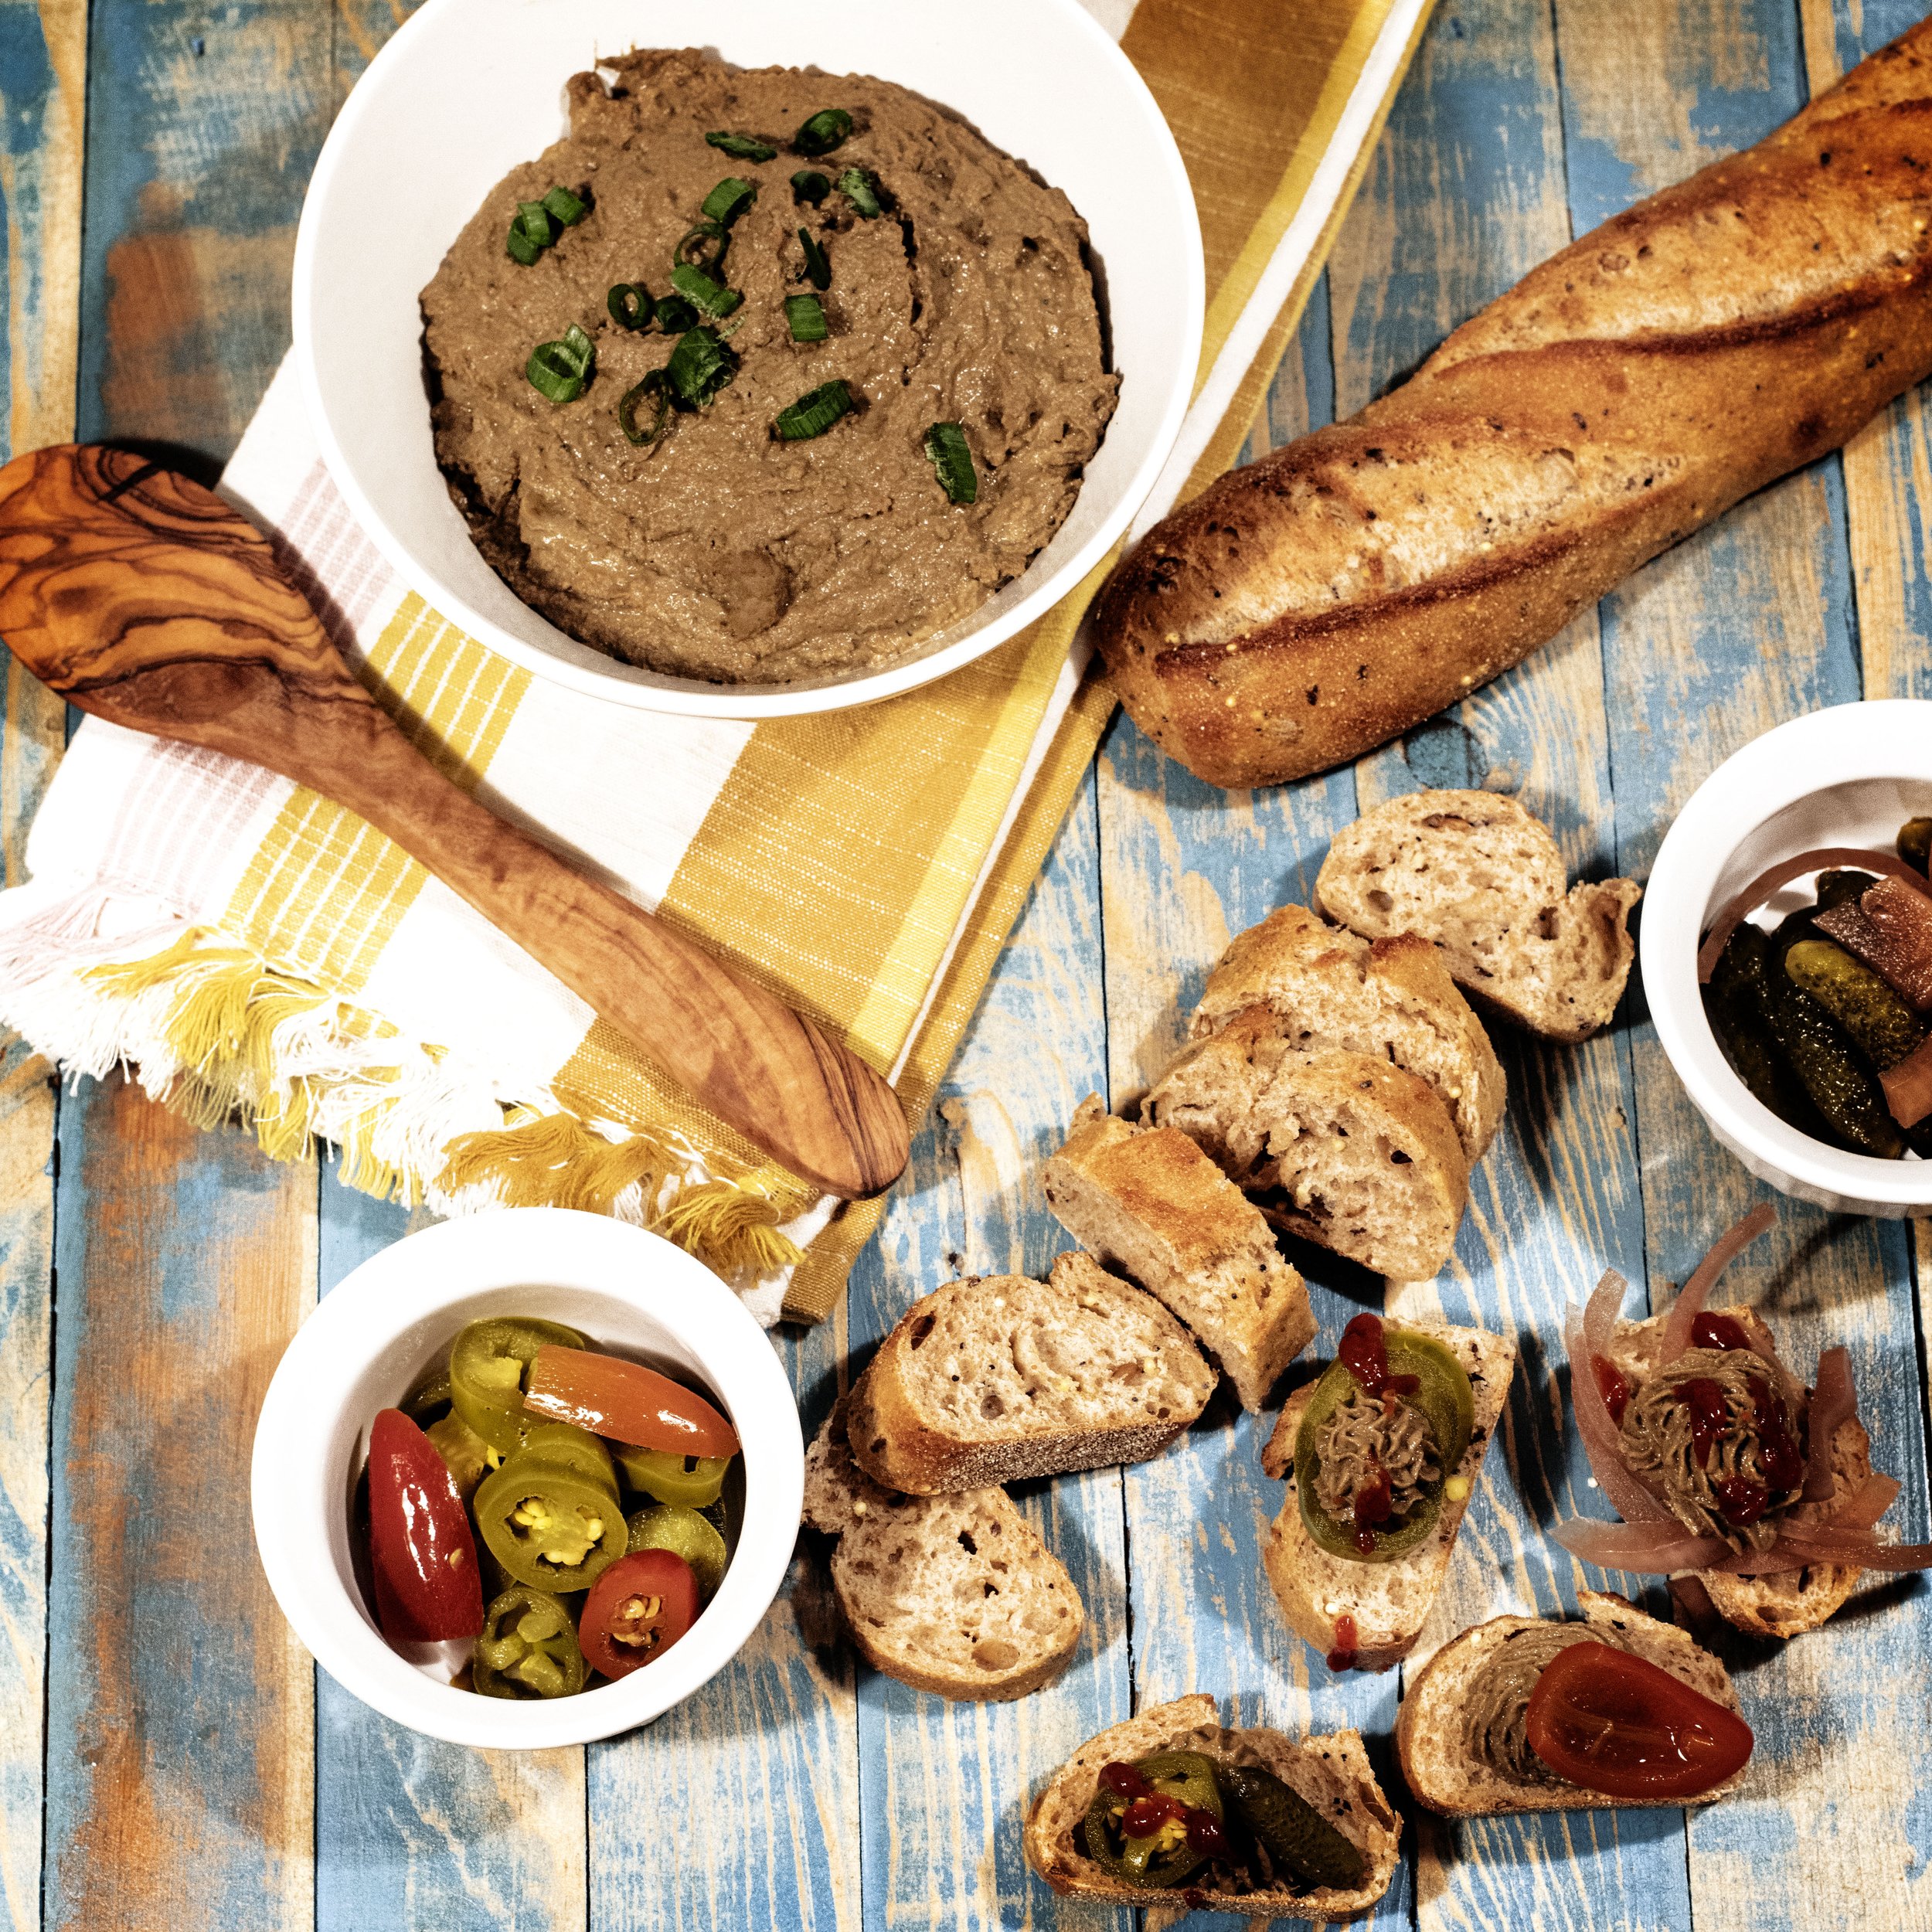
Working with wild game intimidates people for one reason: it’s unfamiliar. Unless you are a hunter, the opportunity to dine on a wild game meal is quite rare, and actually working with the meat is even more so. When someone is handed a piece of wild game, their opinions on what it will taste like are usually just the opinions of someone else. They are afraid it will taste “gamey,” be too tough, be mushy, be dried out, or be too pungent. The list goes on in every direction.
Javelina is one of these meats, and people love to share their opinions on eating. Based on talking to a handful of people in a restaurant the night before my hunt, I deduced javelina was going to be tough, dry, have a coarse somewhat-gritty texture, and taste like skunk. Not taste like skunk meat, which I don’t know what that tastes like, but it was going to be like scraping roadkill off the pavement and sticking a forkful of eau de skunk in my mouth.
I wondered if it was even a good idea to try and harvest a javelina. I wasn’t particularly interested in putting a skunk aroma in my mouth. I was intimidated by the incredibly unfamiliar terrain I was heading into.
As I laced my boots up the next morning, I reminded myself the majority of those opinions were unfounded and most likely formed by someone who did not properly handle their harvest during the cleaning and processing steps. The key to quality wild game, upland game, or fish lies in the handling of the meat after the actual harvest. Javelina are no exception to this rule.
The “skunk” flavor people experience in javelina comes from a scent gland located on the rear of the animal. When field dressing the animal, take extra care to not disturb the gland. Otherwise, proper handling of the meat includes keeping it clean, cool, and dry throughout the entire field dressing process. Following those simple, but very important tips, eliminates most people’s complaints when it comes to eating wild game.
The next step to creating a great javelina dish is utilizing the meat's typically labeled “faults” as its strengths. Because javelina is a lean meat, it can easily dry out when cooked improperly. For this reason, I highly suggest a low-and-slow cooking method. [1]
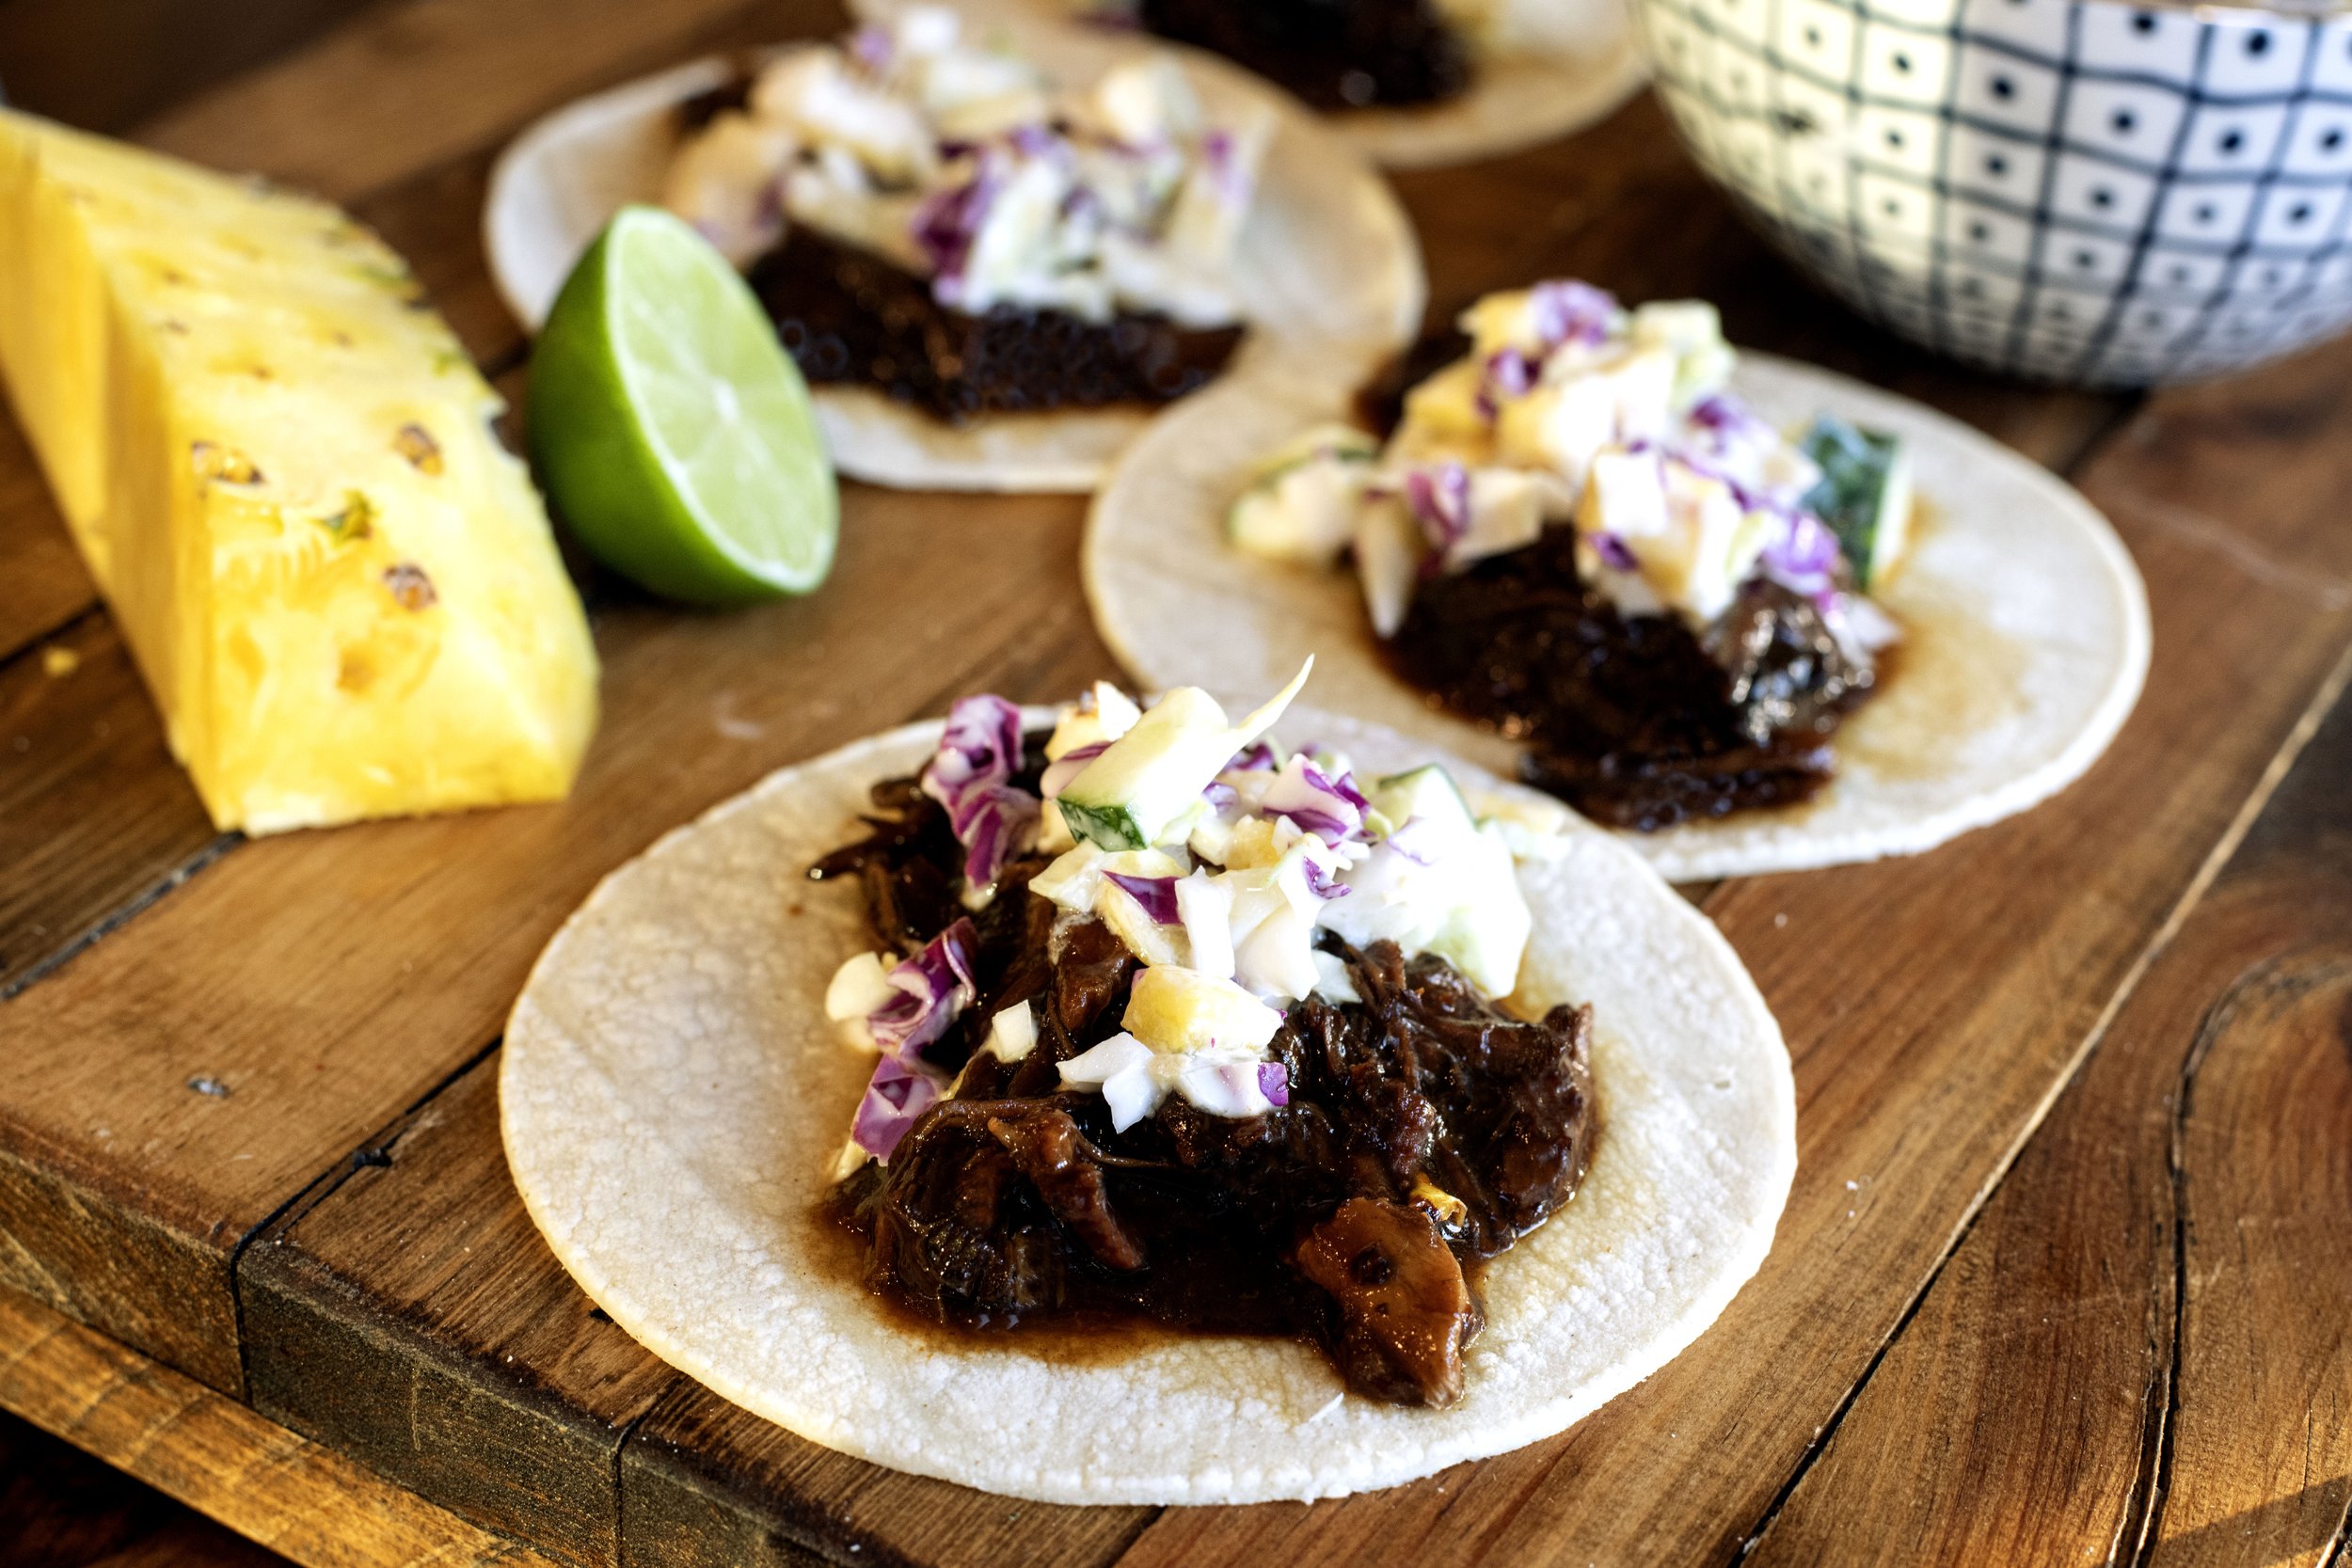
Contrary to what I was told, proper field handling ensured the meat was not skunky at all. It was actually very mild and even a little bit sweet. It fits perfectly into dishes where the seasonings take advantage of a mild meat profile while enhancing that subtle sweetness. For my harvest, Huli Huli style tacos resulted in a perfect union of seasoning and meat flavor.
So, let’s explore this recipe!
Pressure Cooking the huli huli javelina meat
Javelina is often compared to pork, but I don’t really like to describe it that way. It doesn’t taste much like pork, and since it is such a lean protein, it completely lacks the fatty texture most often associated with pig. While I don’t consider it similar to pork, I do like to mimic the slow-cooking process of pulled pork when preparing javelina. When slow-cooked, it shreds beautifully and absorbs cooking liquids incredibly well.
I didn't actually use a slow cooker for these Huli Huli style tacos. Instead, I used a pressure cooker, which accomplishes the same goals as a slow cooker but in a quarter of the time. I also like having the ability to multitask a dish with a single appliance. The pressure cooker can braise the javelina meat, reduce and thicken the cooking liquid into a silky sauce, and then keep everything warm while you work on other aspects of the meal. There are a lot of great pressure cookers on the market, but one of my personal favorites is the Cuisinart Pressure Cooker.
THe Huli Huli Cooking Liquid
Huli Huli is a popular Hawaiian barbeque dish. It is a sweet, savory, and smoky sauce typically served on grilled chicken. While I didn’t use the traditional grilling technique for these tacos, I borrowed the flavor-profile of the teriyaki-style sauce. Since javelina is a mild meat with subtle hints of sweetness, it goes well with a bold sauce like the Huli Huli.
The sauce also aids in meat tenderizing from the natural acids found in the pineapple juice. For this recipe, I bought a pineapple and juiced it myself. You could use bottled juice and it would work just as well, but buying a whole pineapple also allowed me to use the leftover fruit for the chunks in the pineapple cucumber slaw. If you are looking for a juicer, I like the Breville Juicer.
Pressure Cooking Instructions
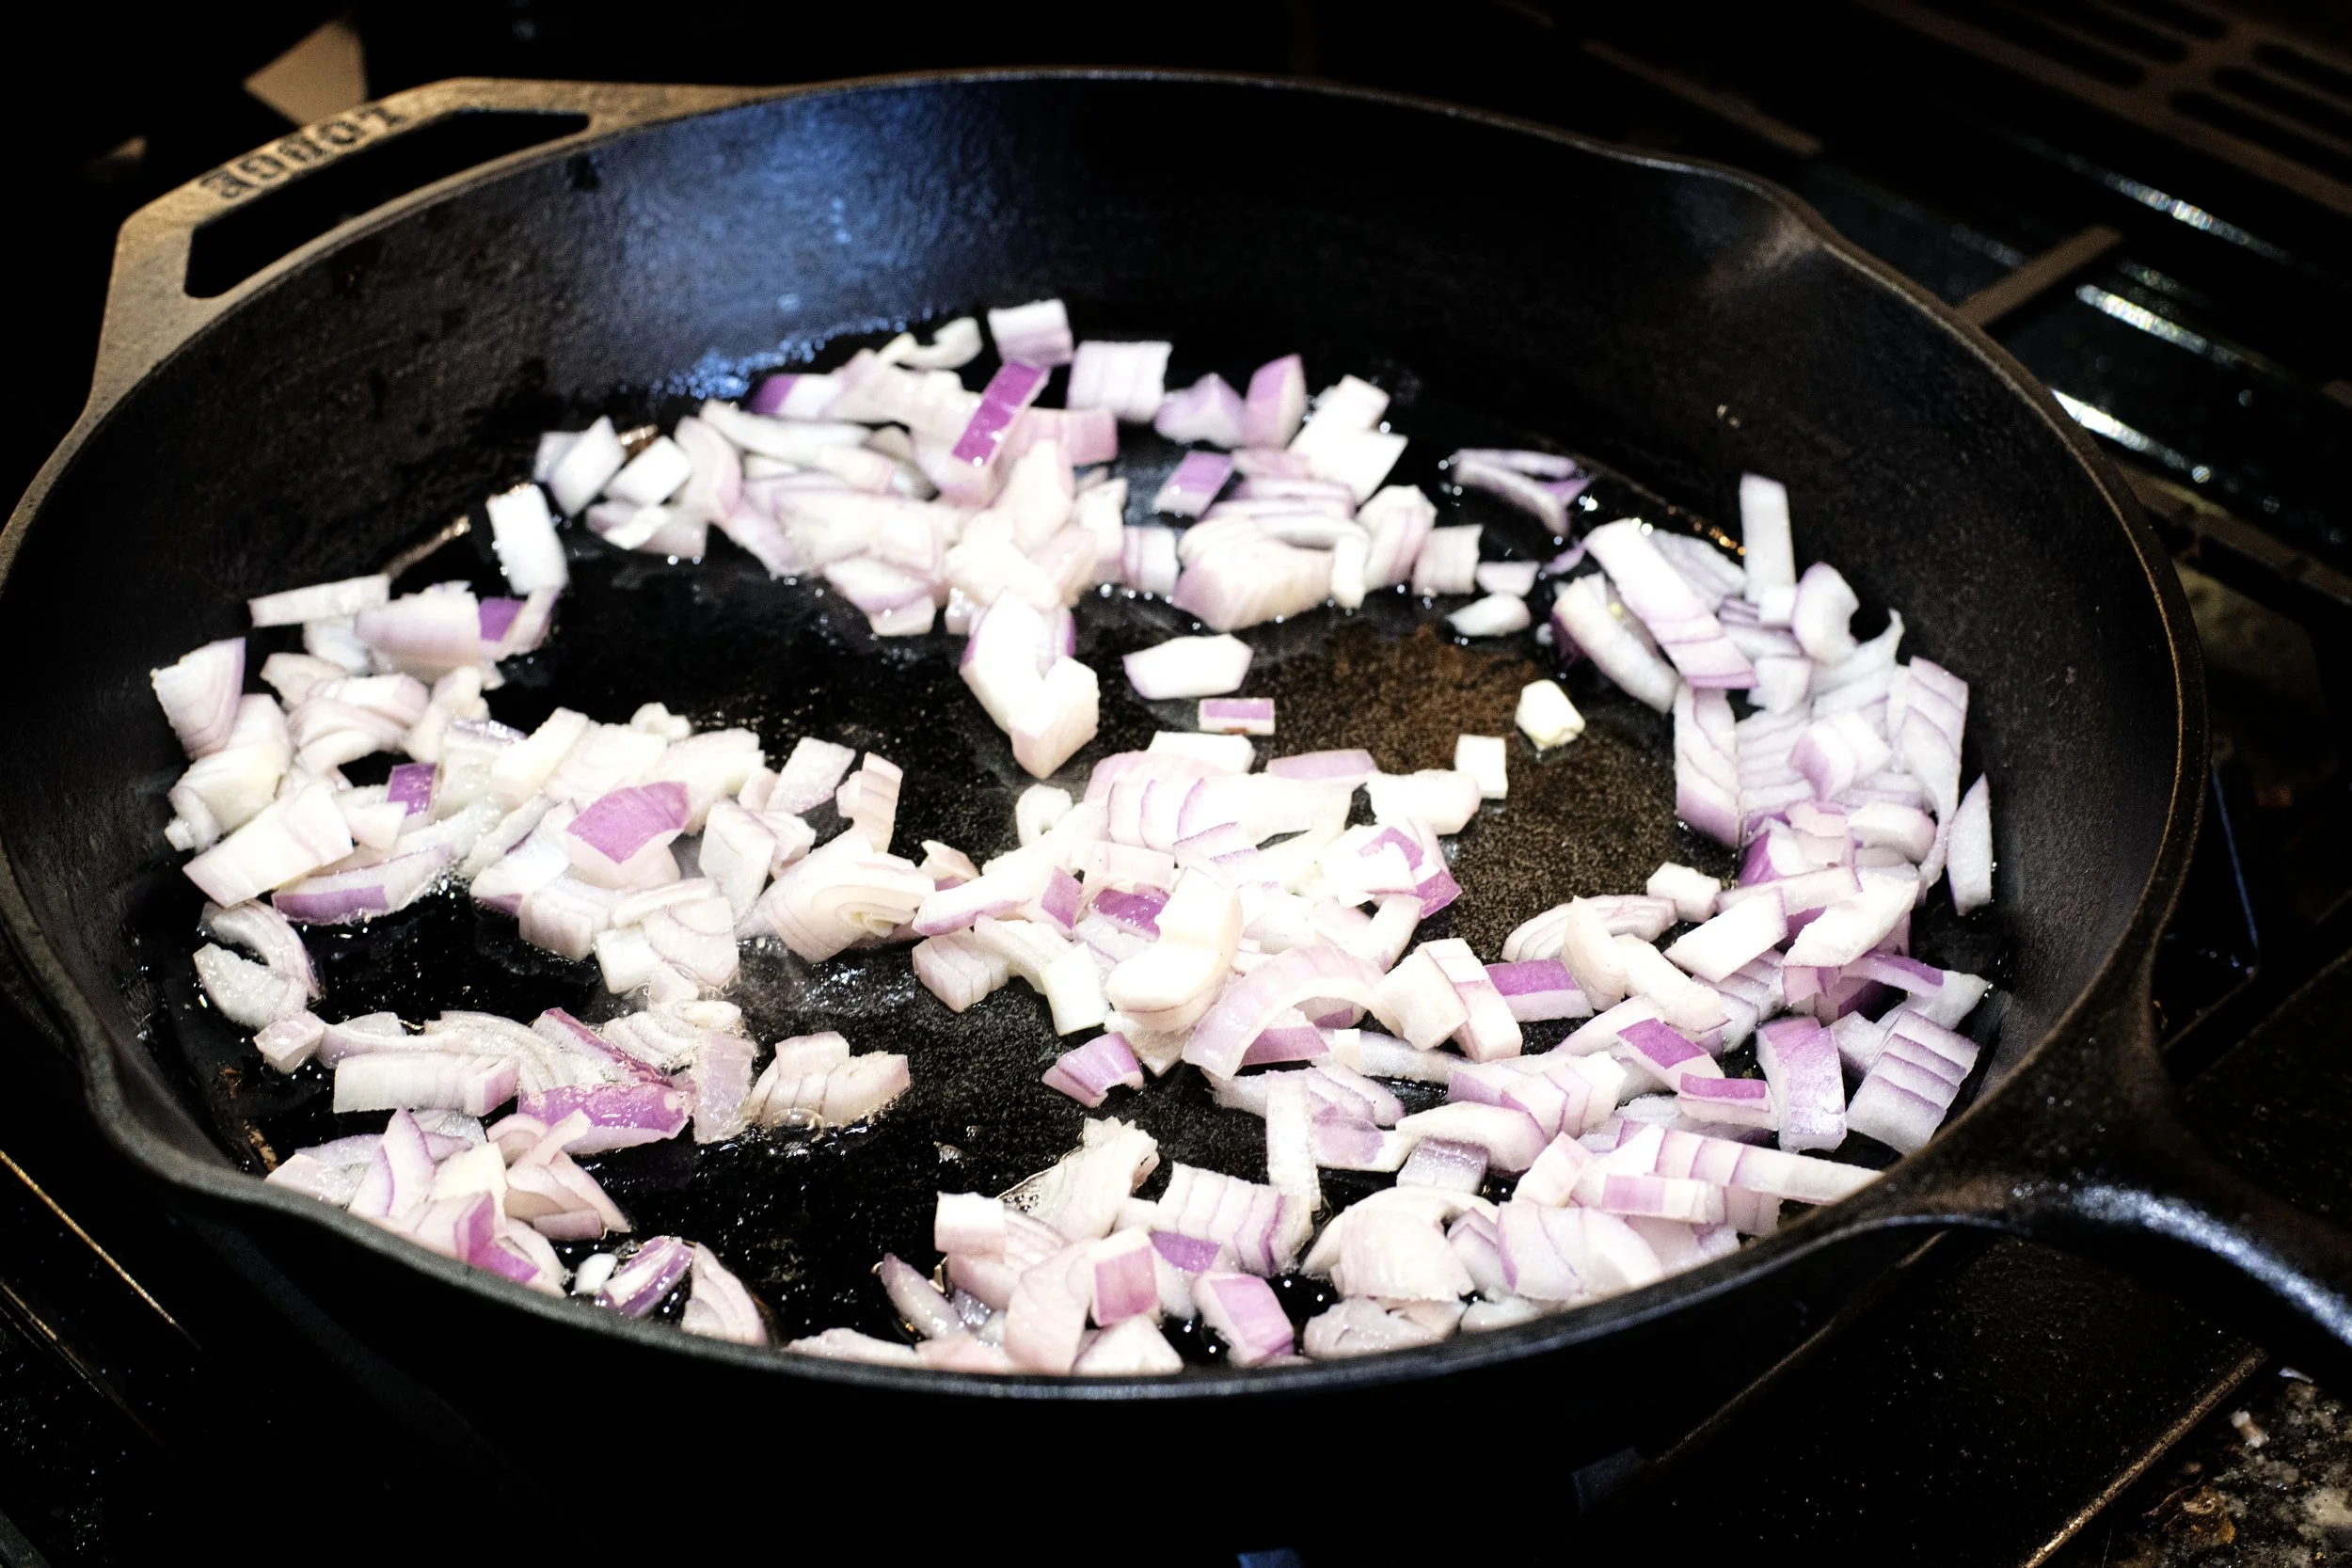
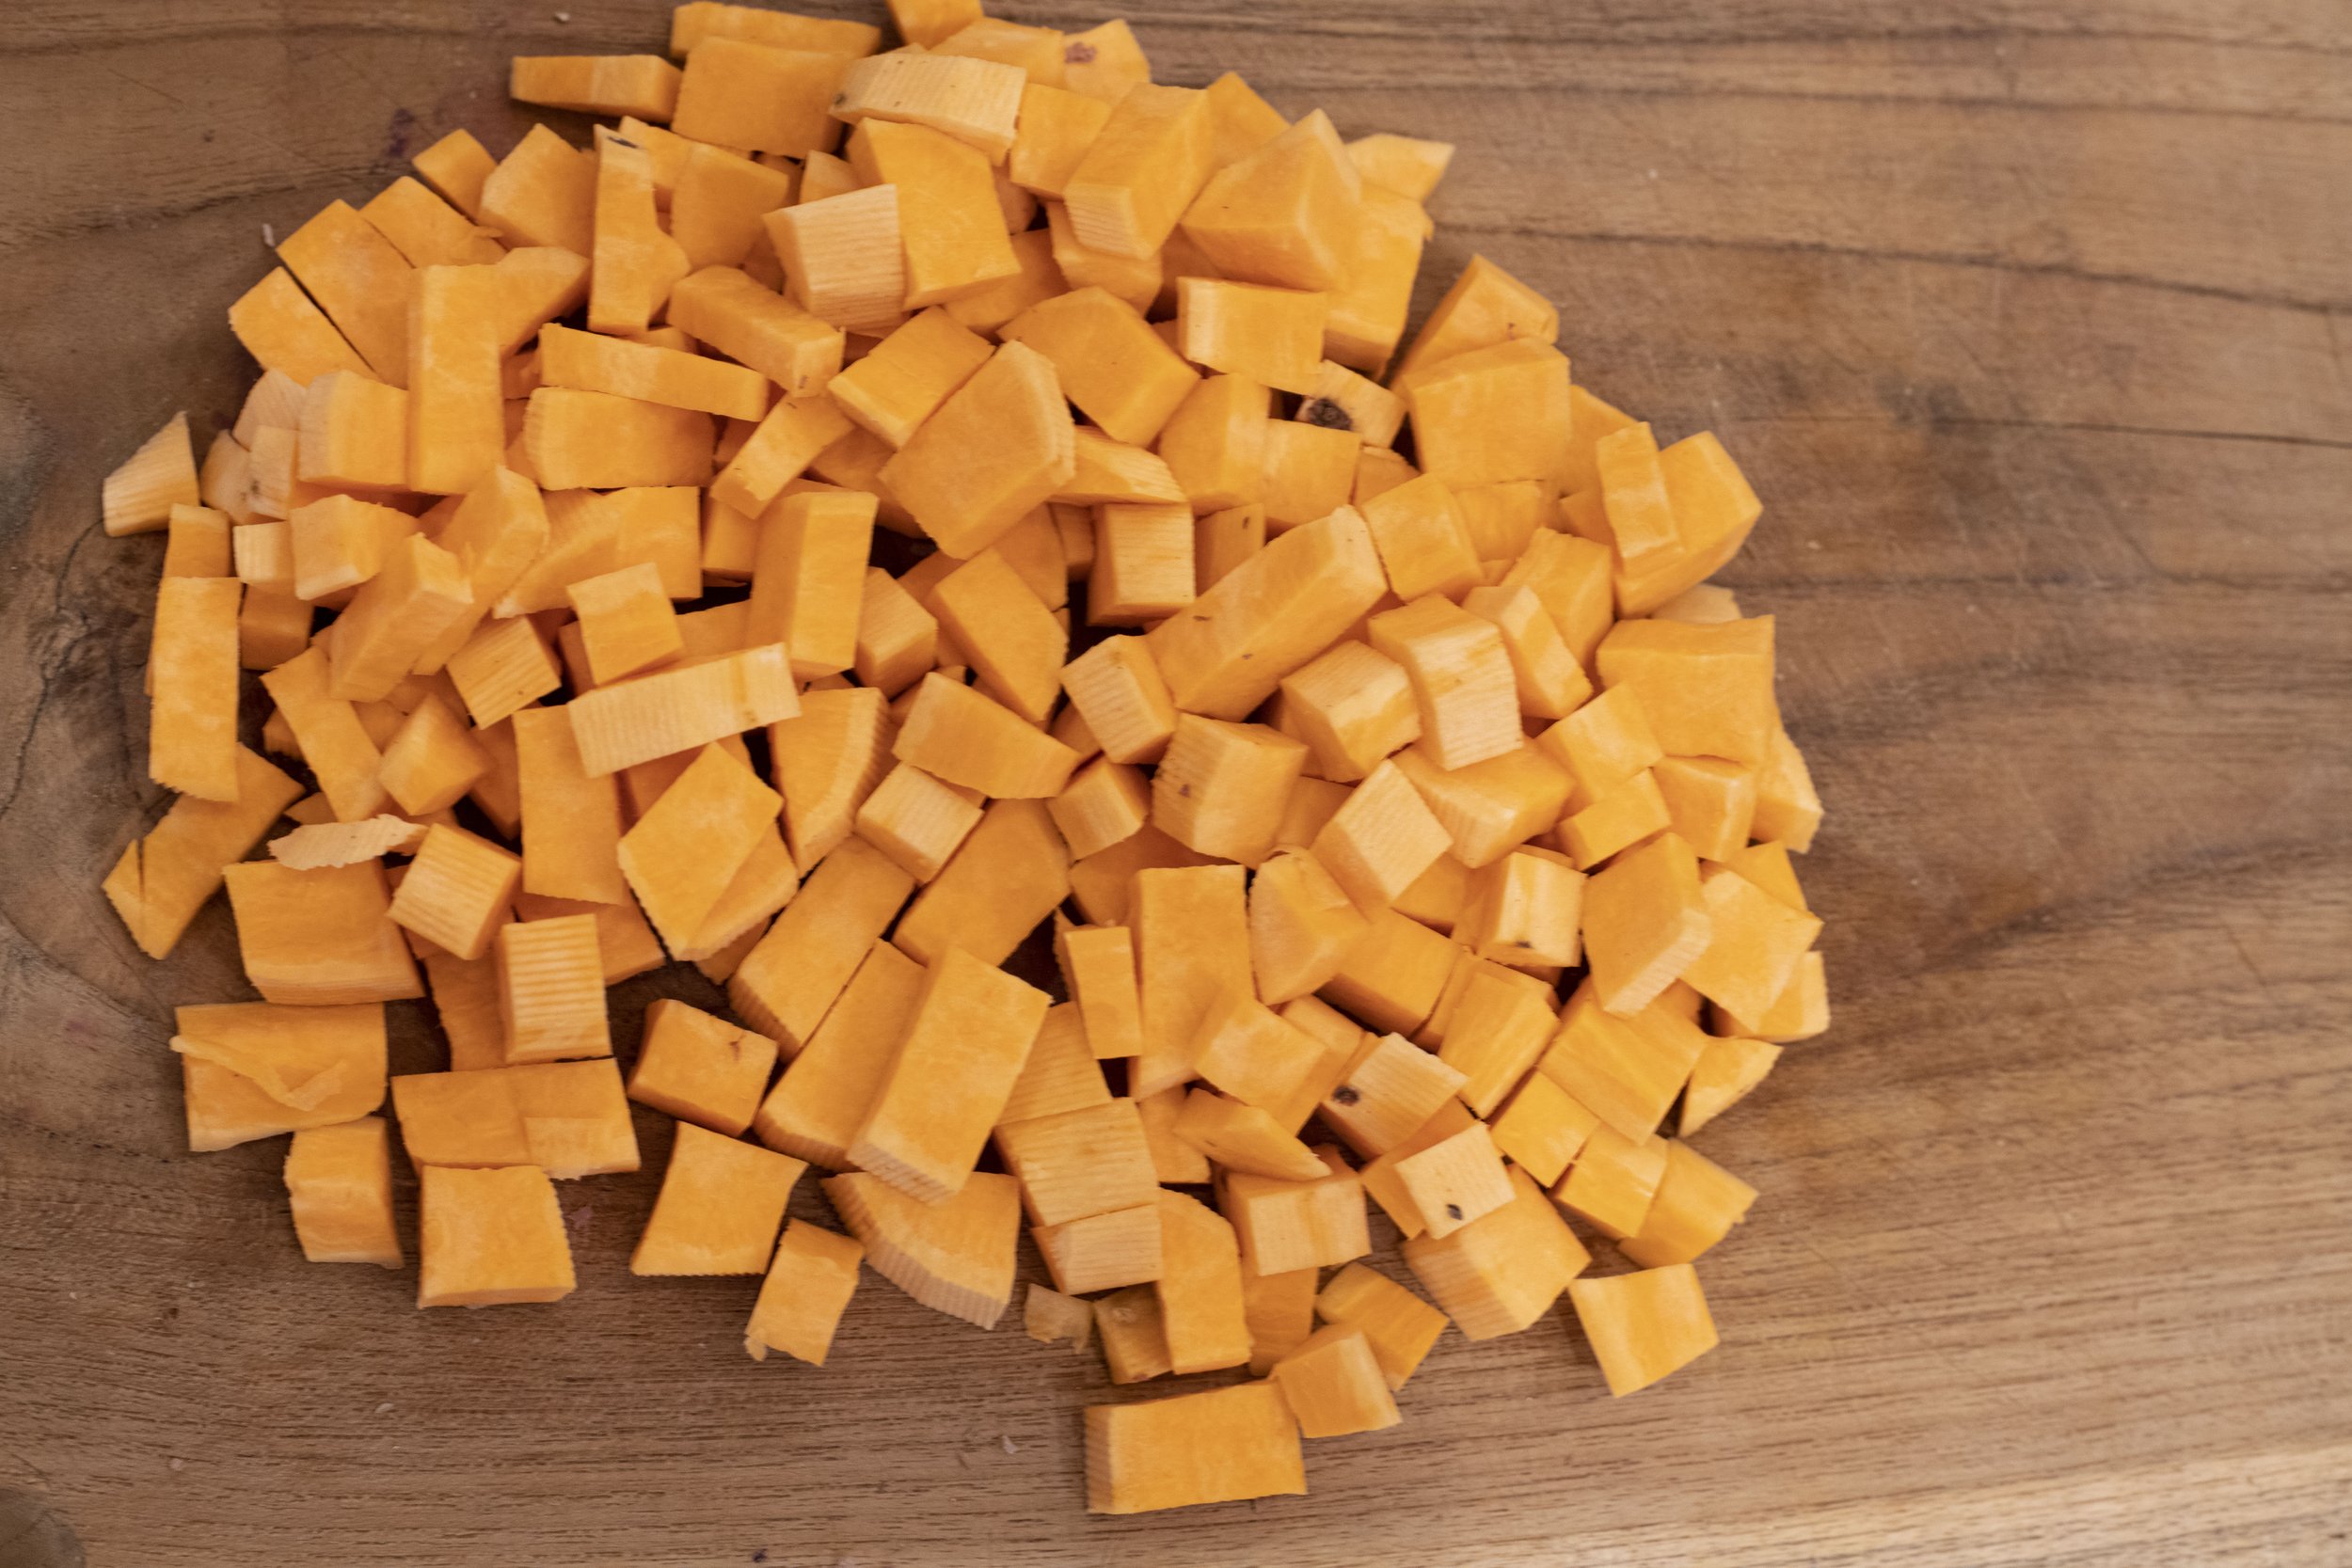
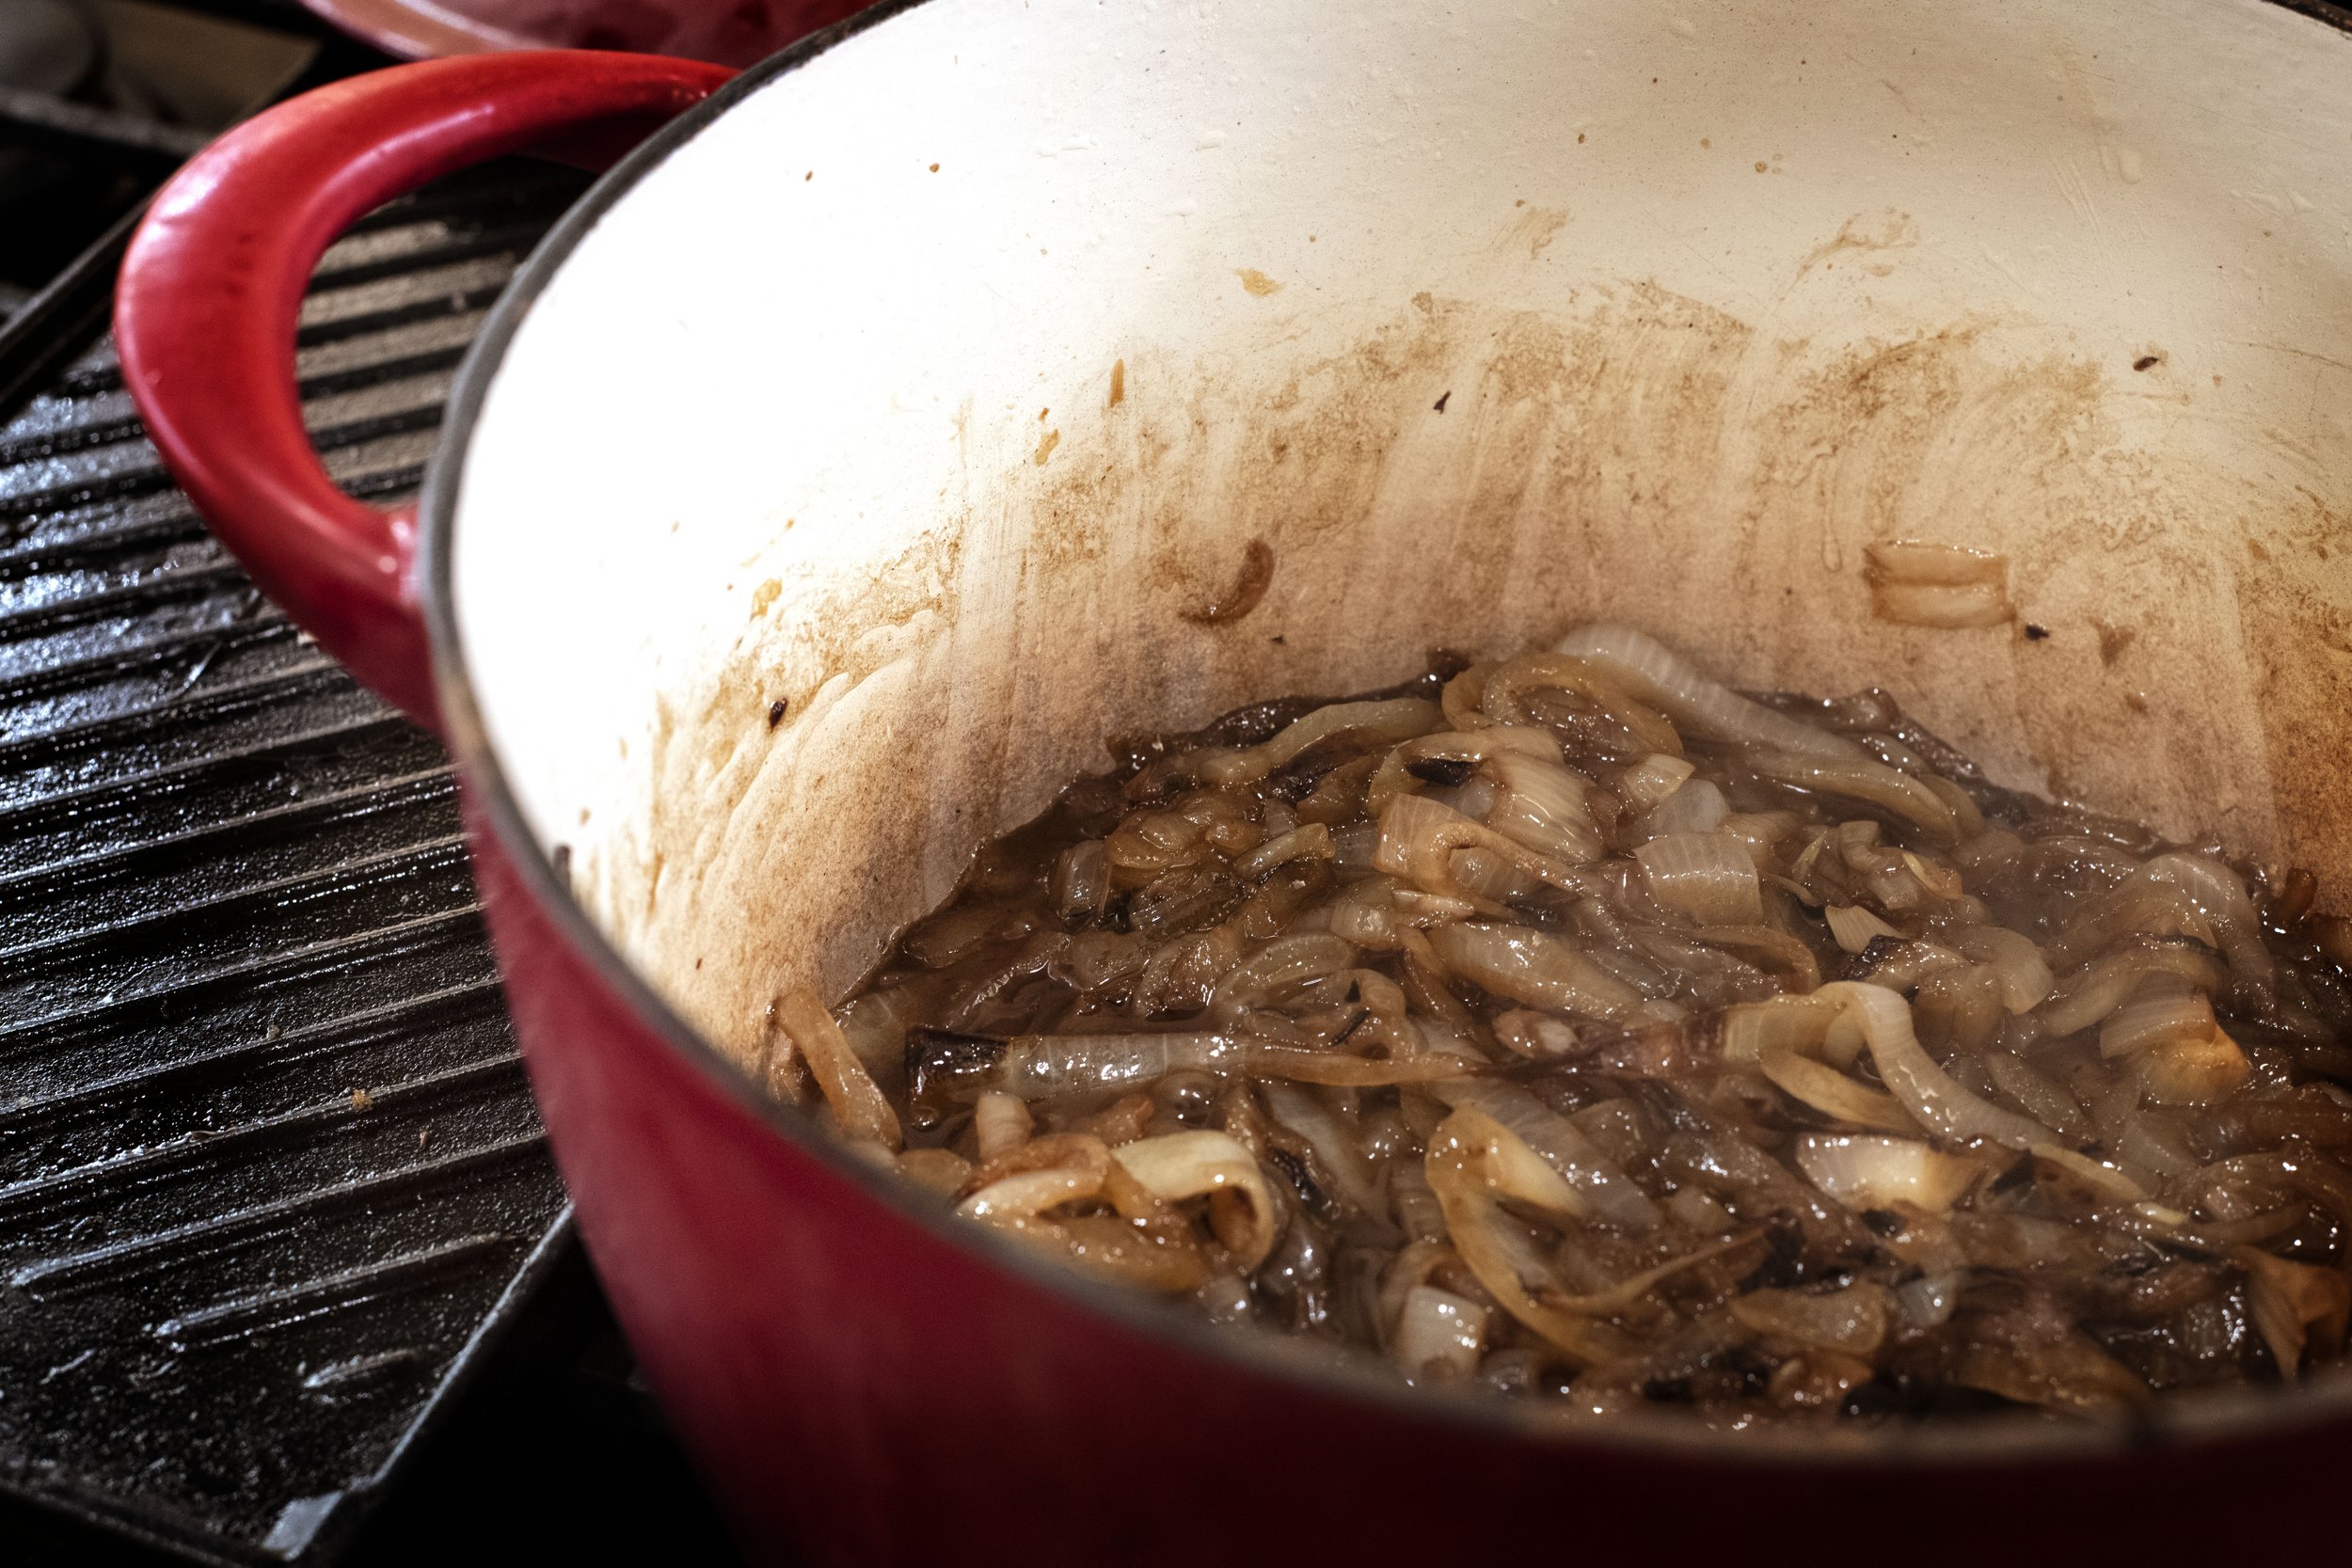
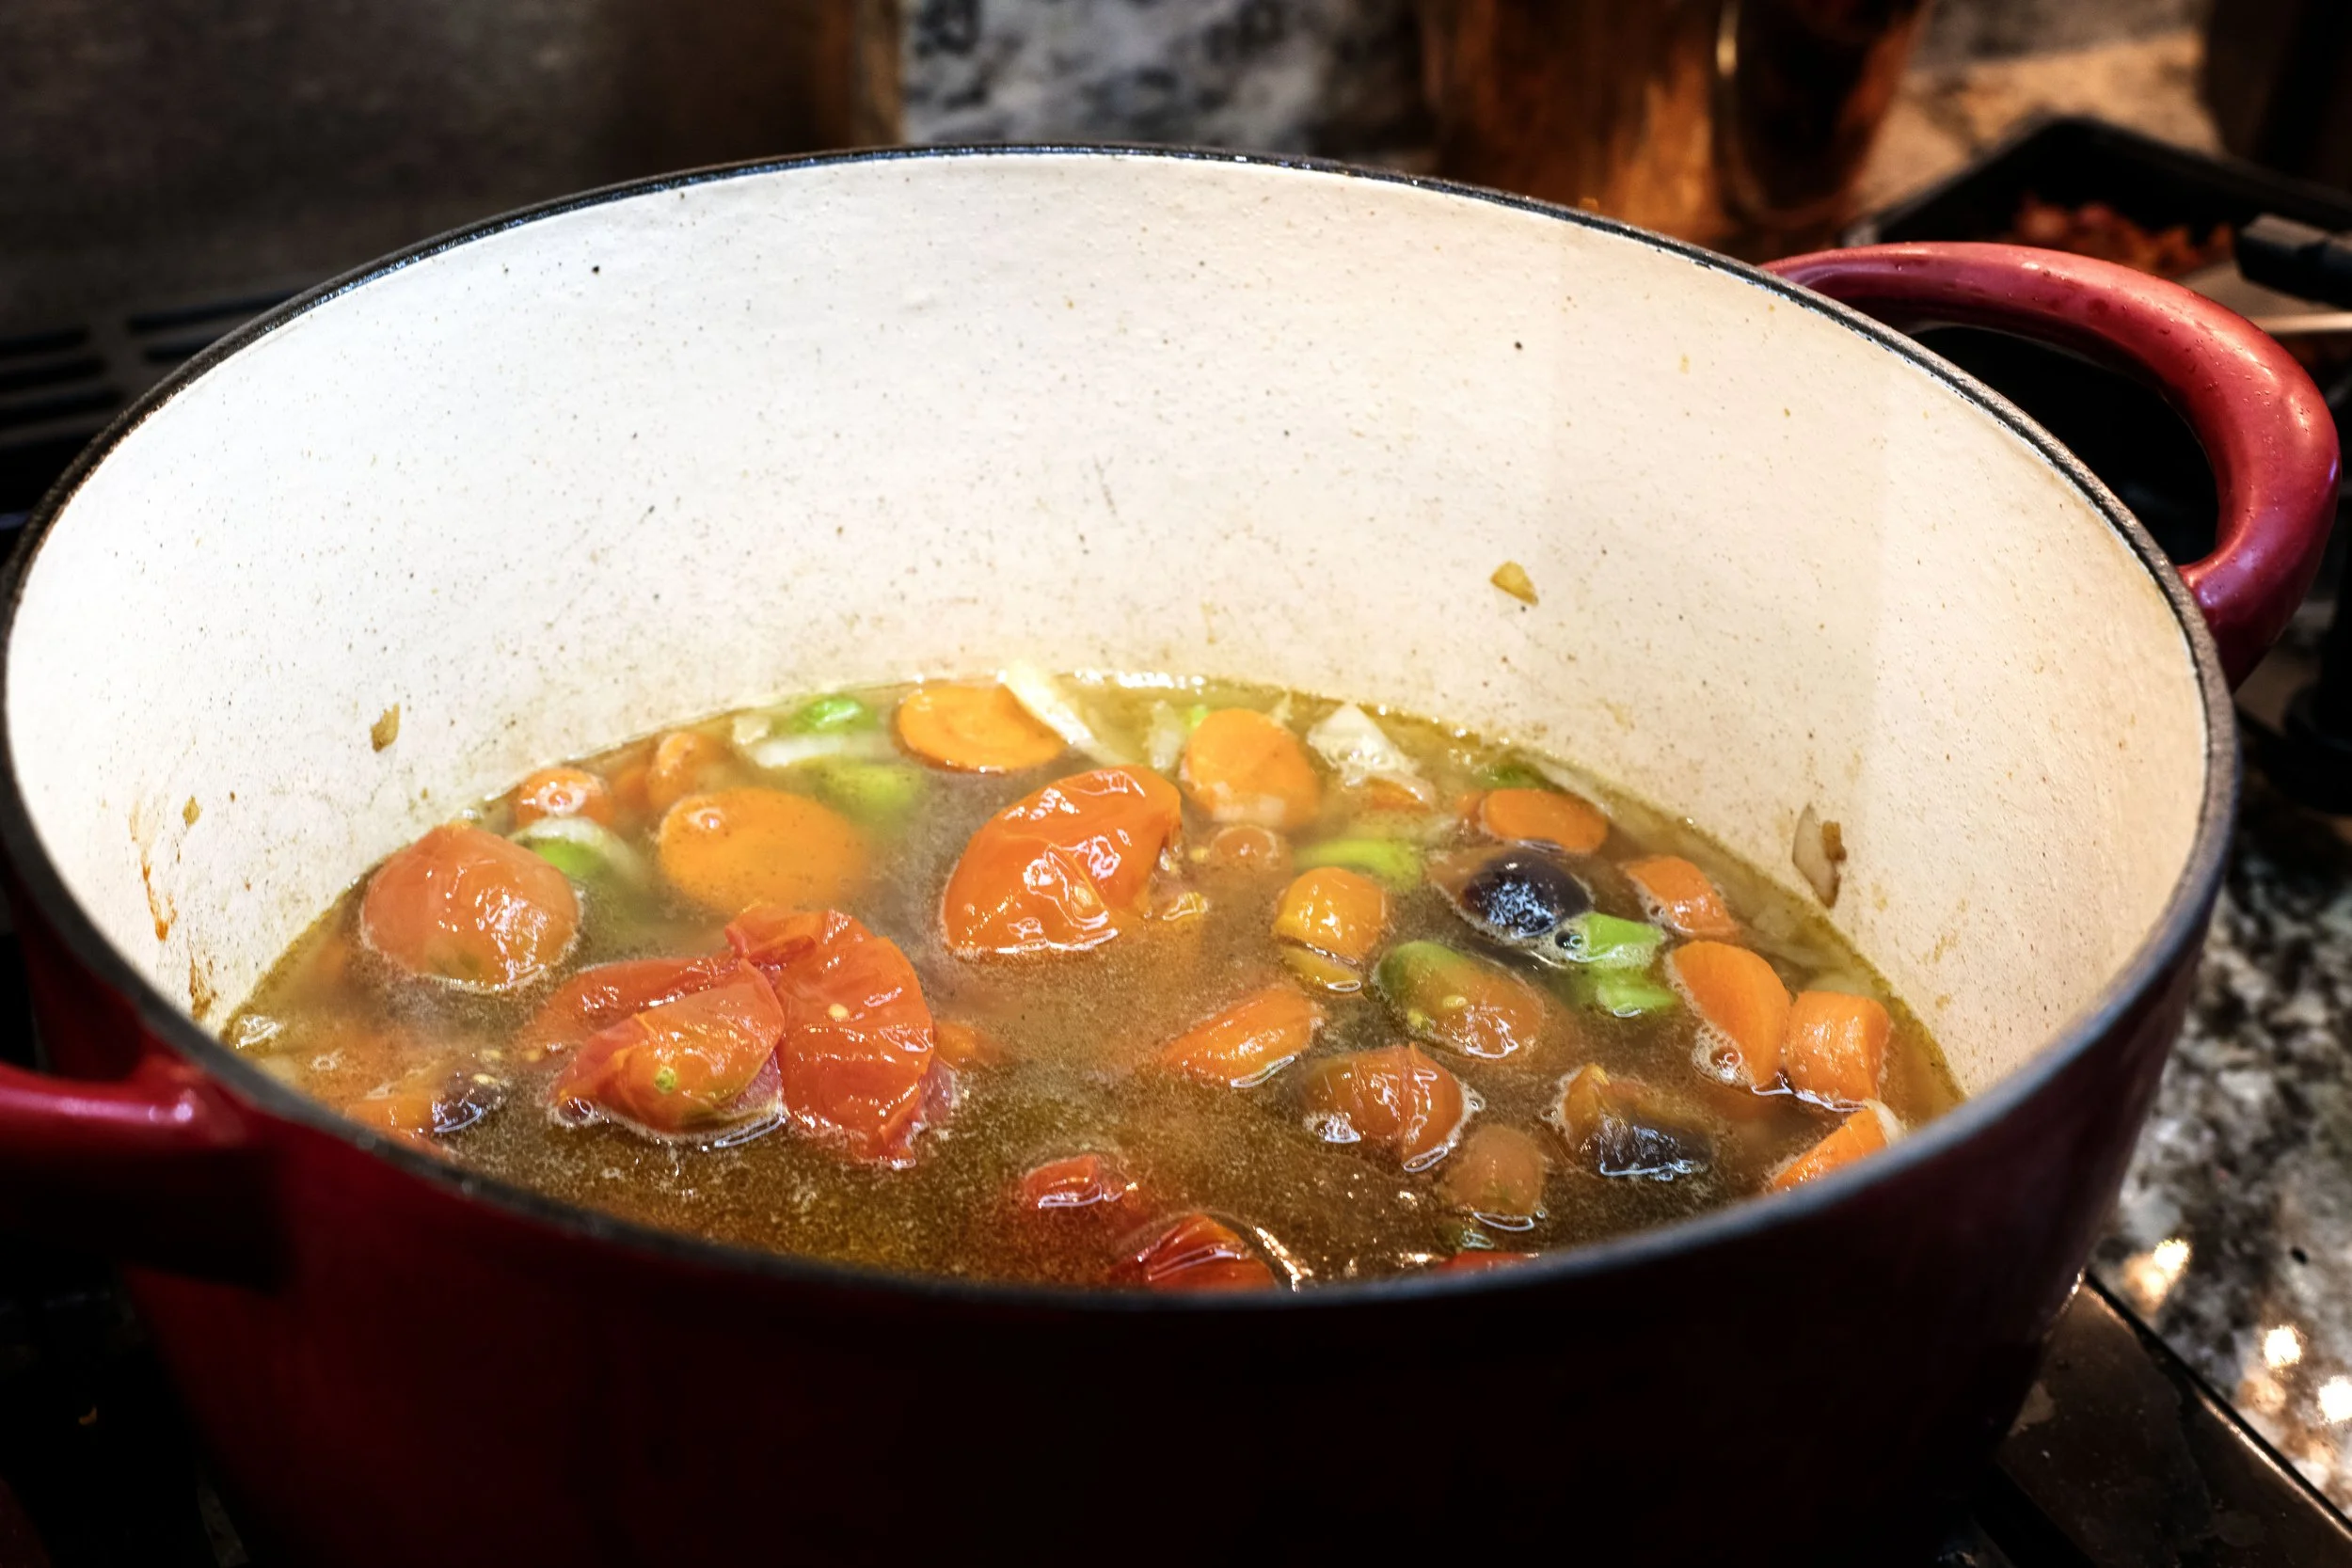
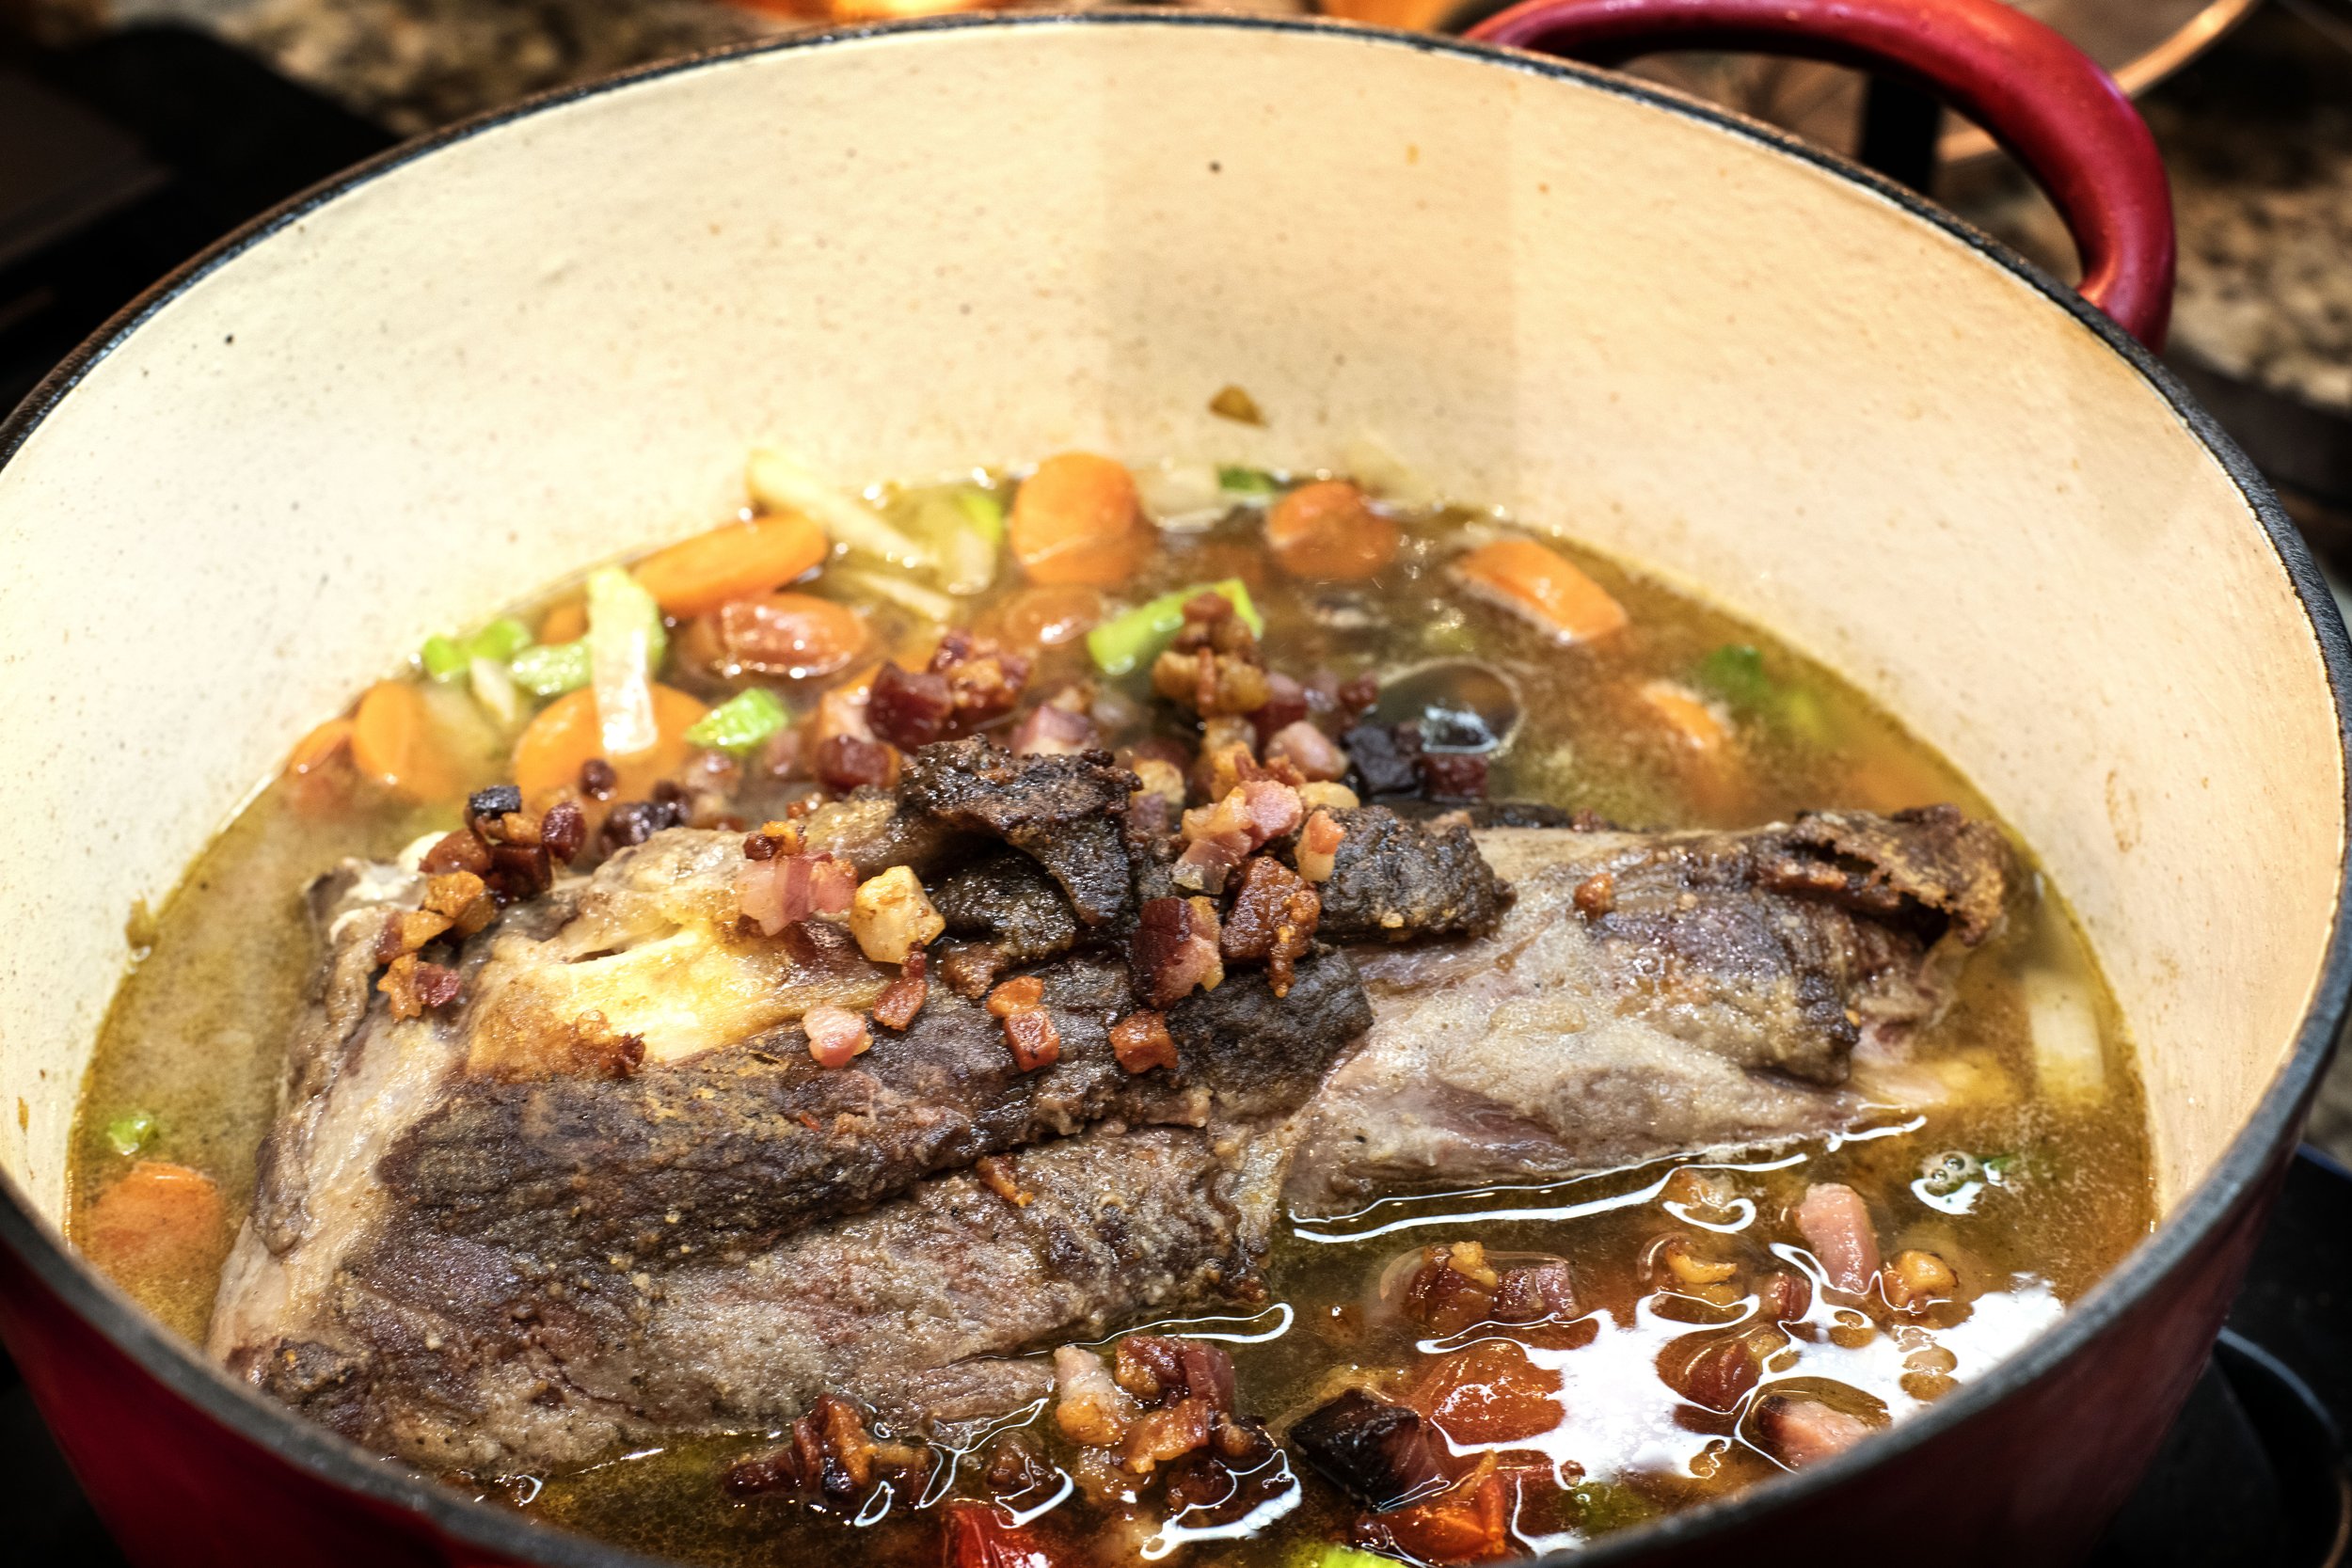
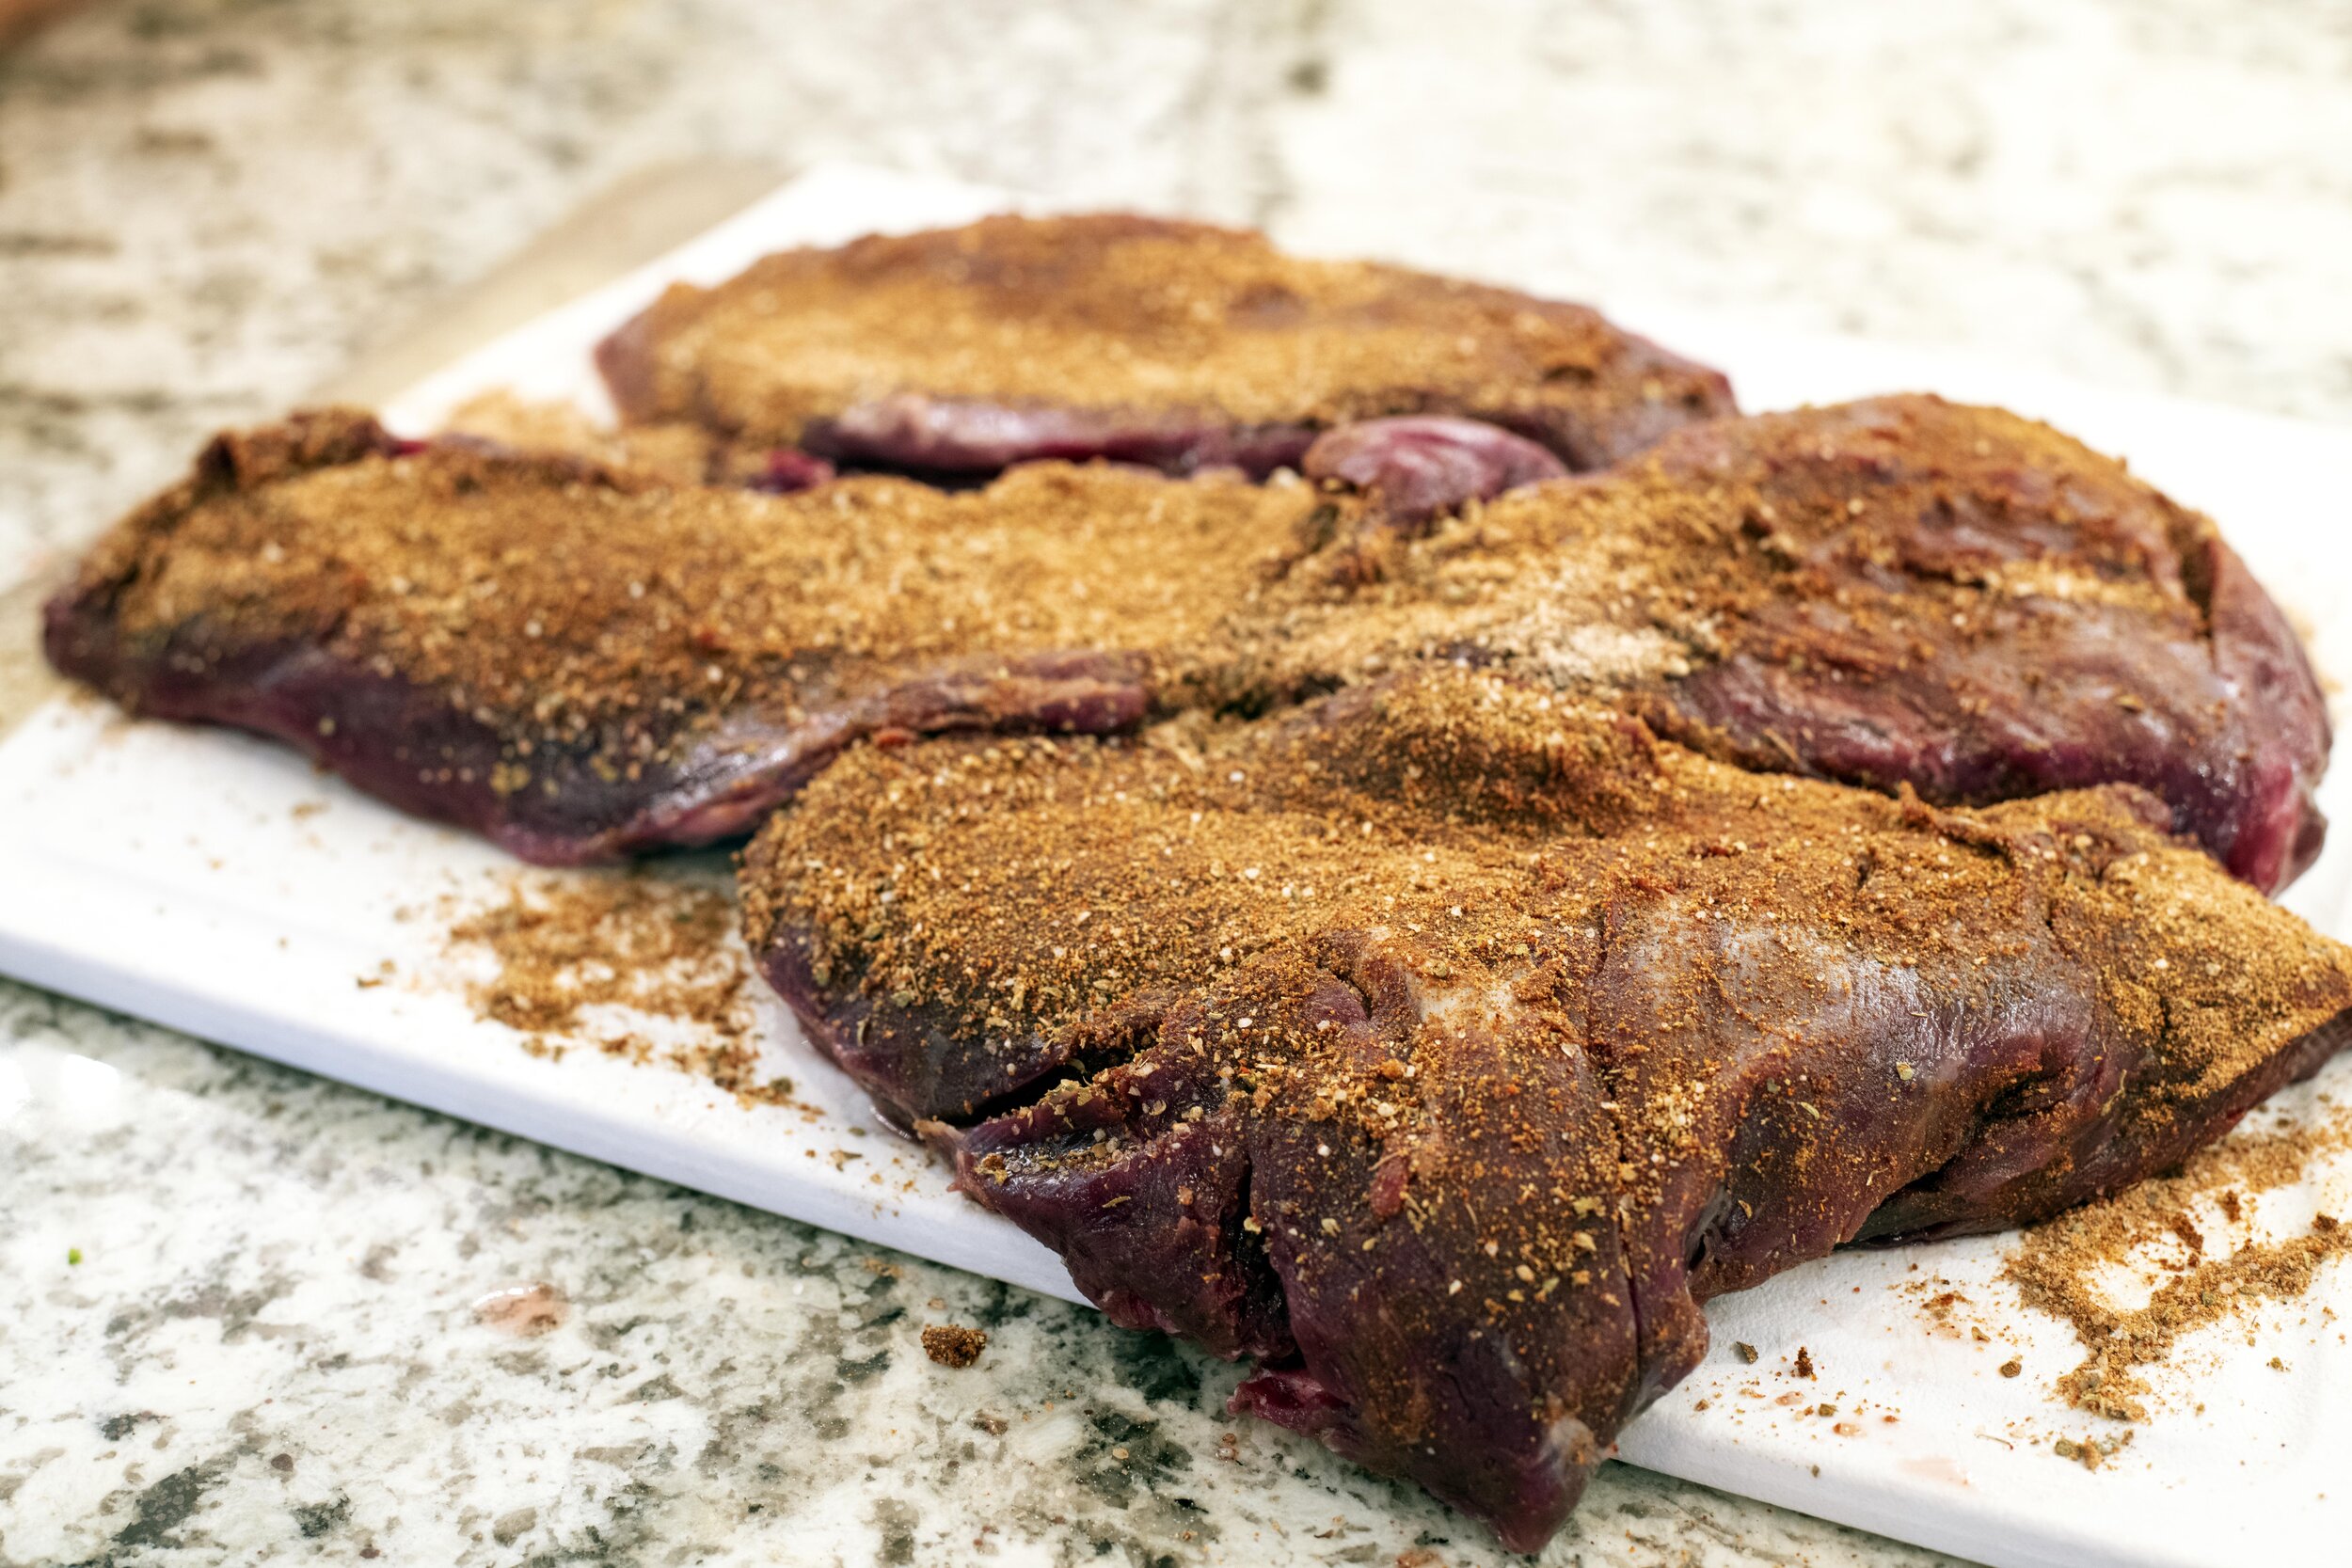
Prep the meat: I used a chunk of neck meat for this recipe. A tougher cut is preferred for this recipe because you should be saving your more tender cuts for steaks. Make sure to clean up any excess fat or connective tissues from the meat. Season the chunk with salt and pepper and to the pressure cooker.
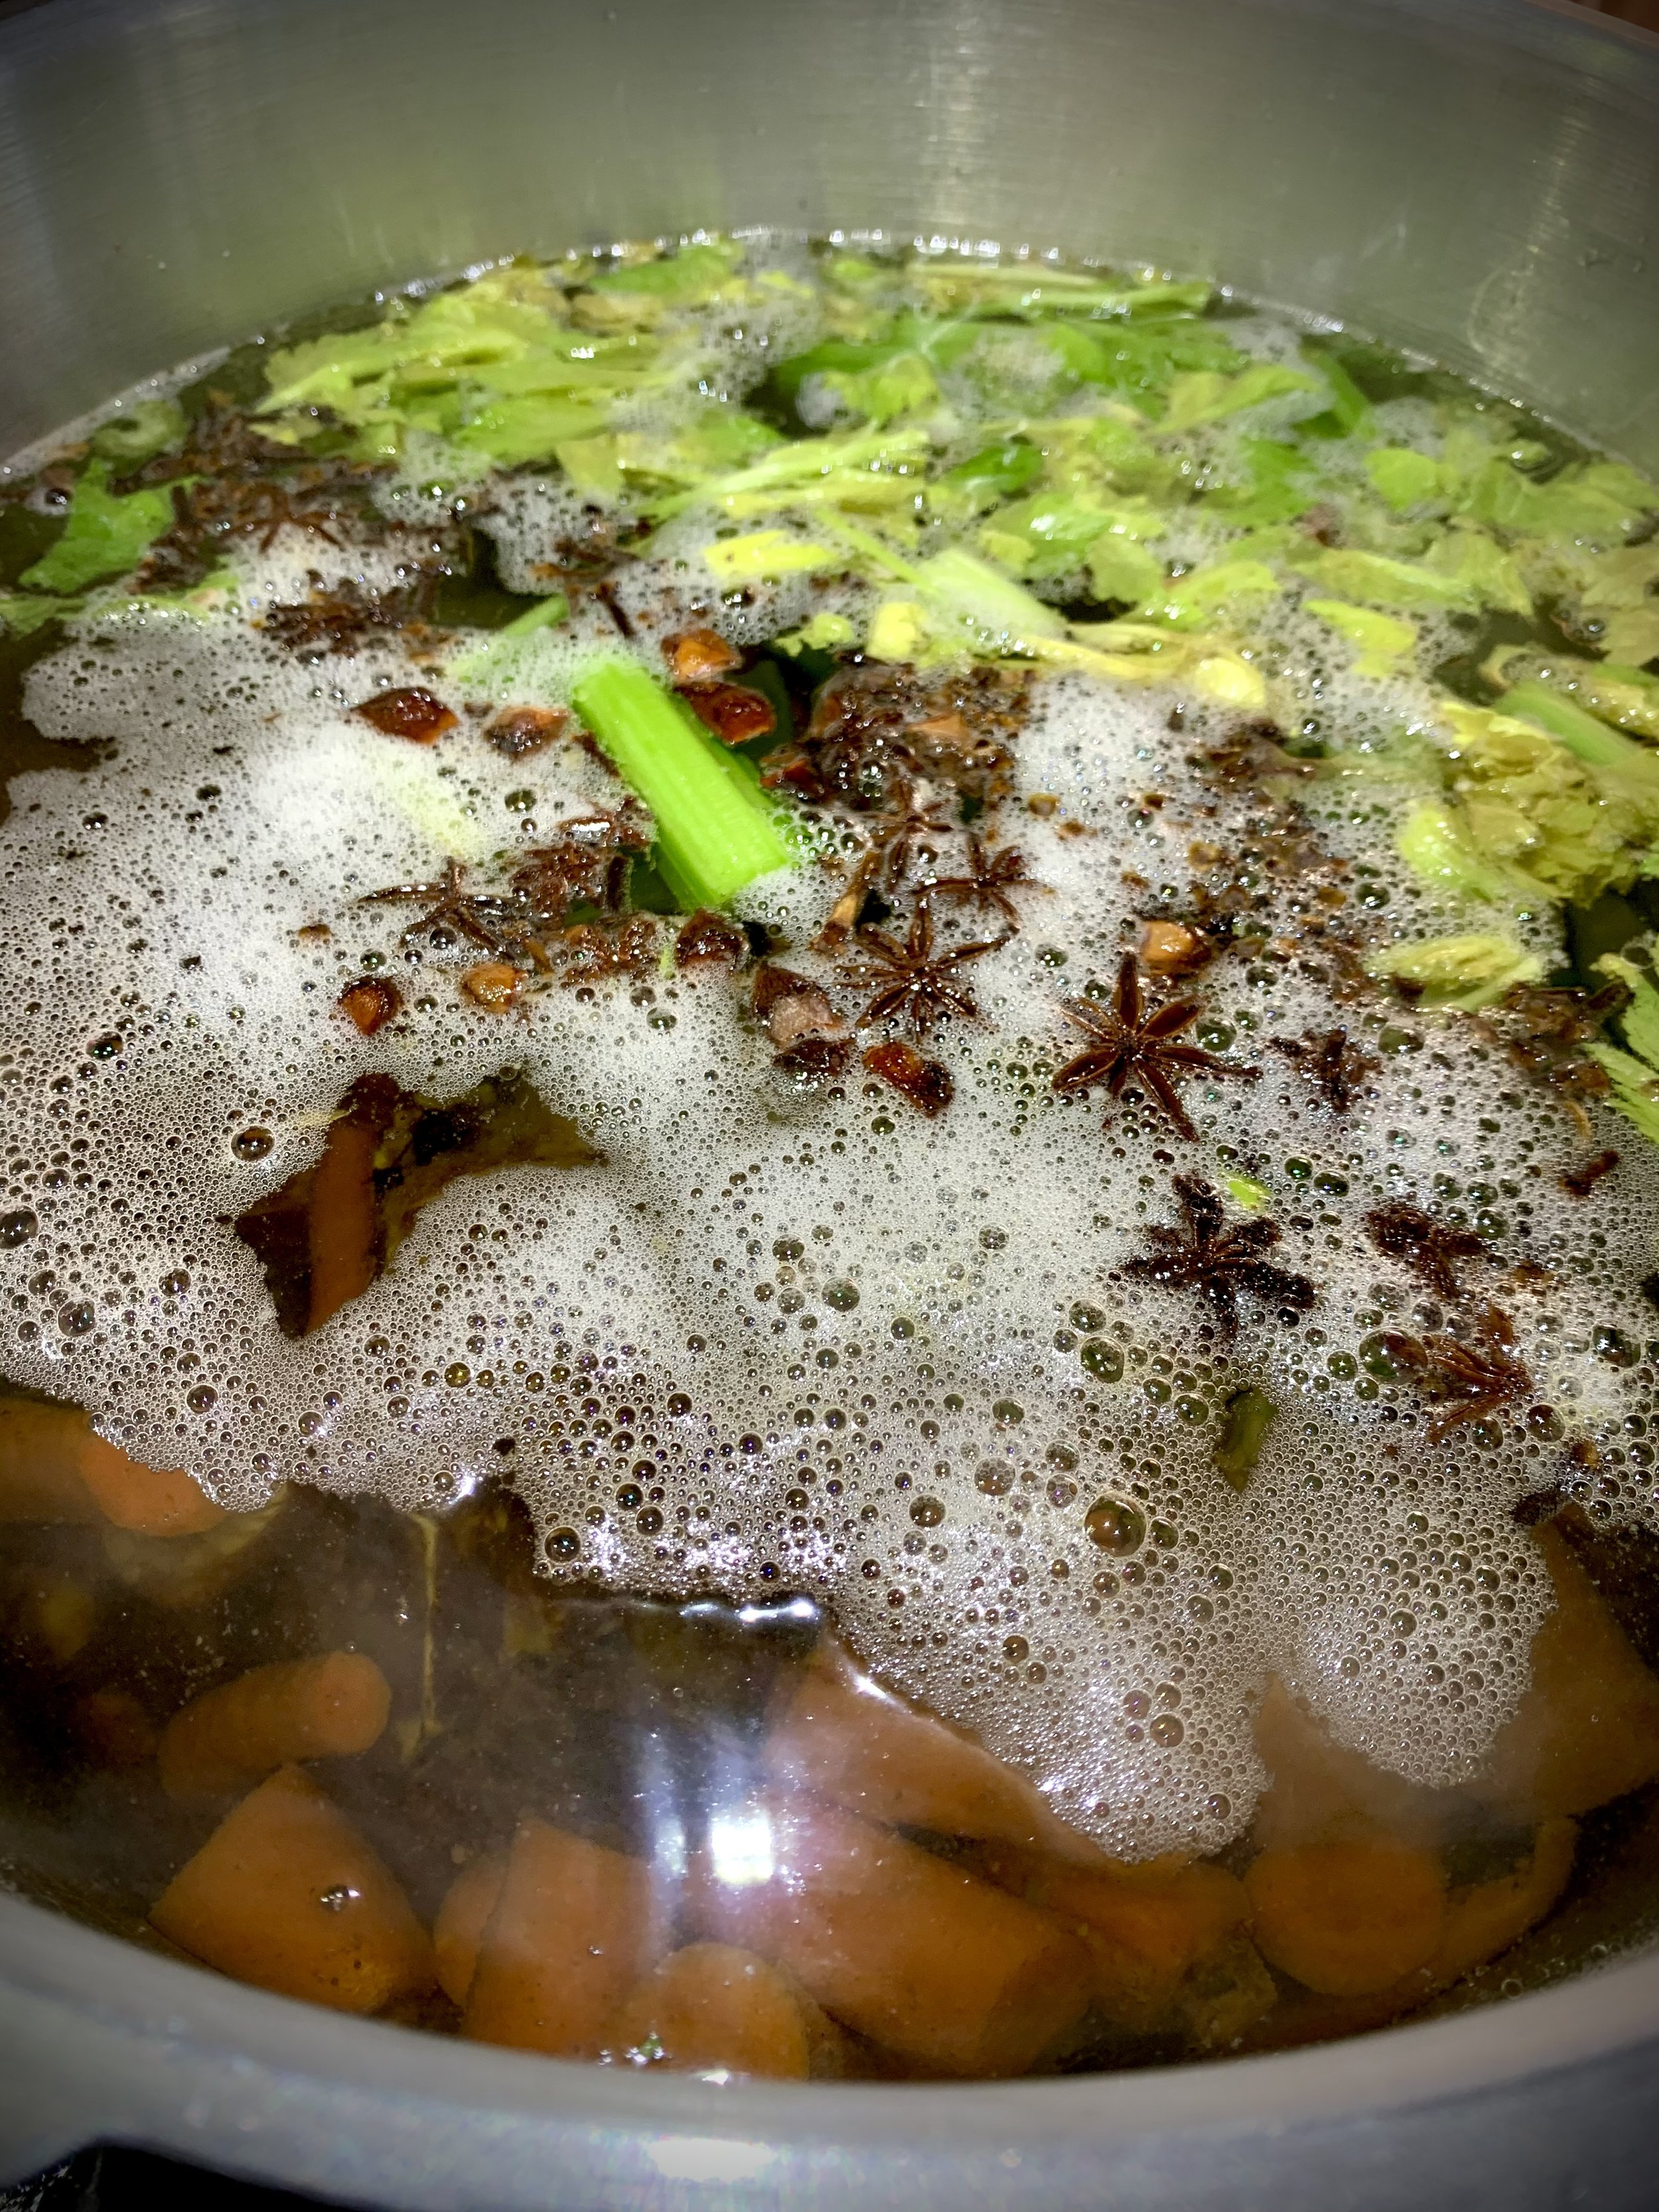
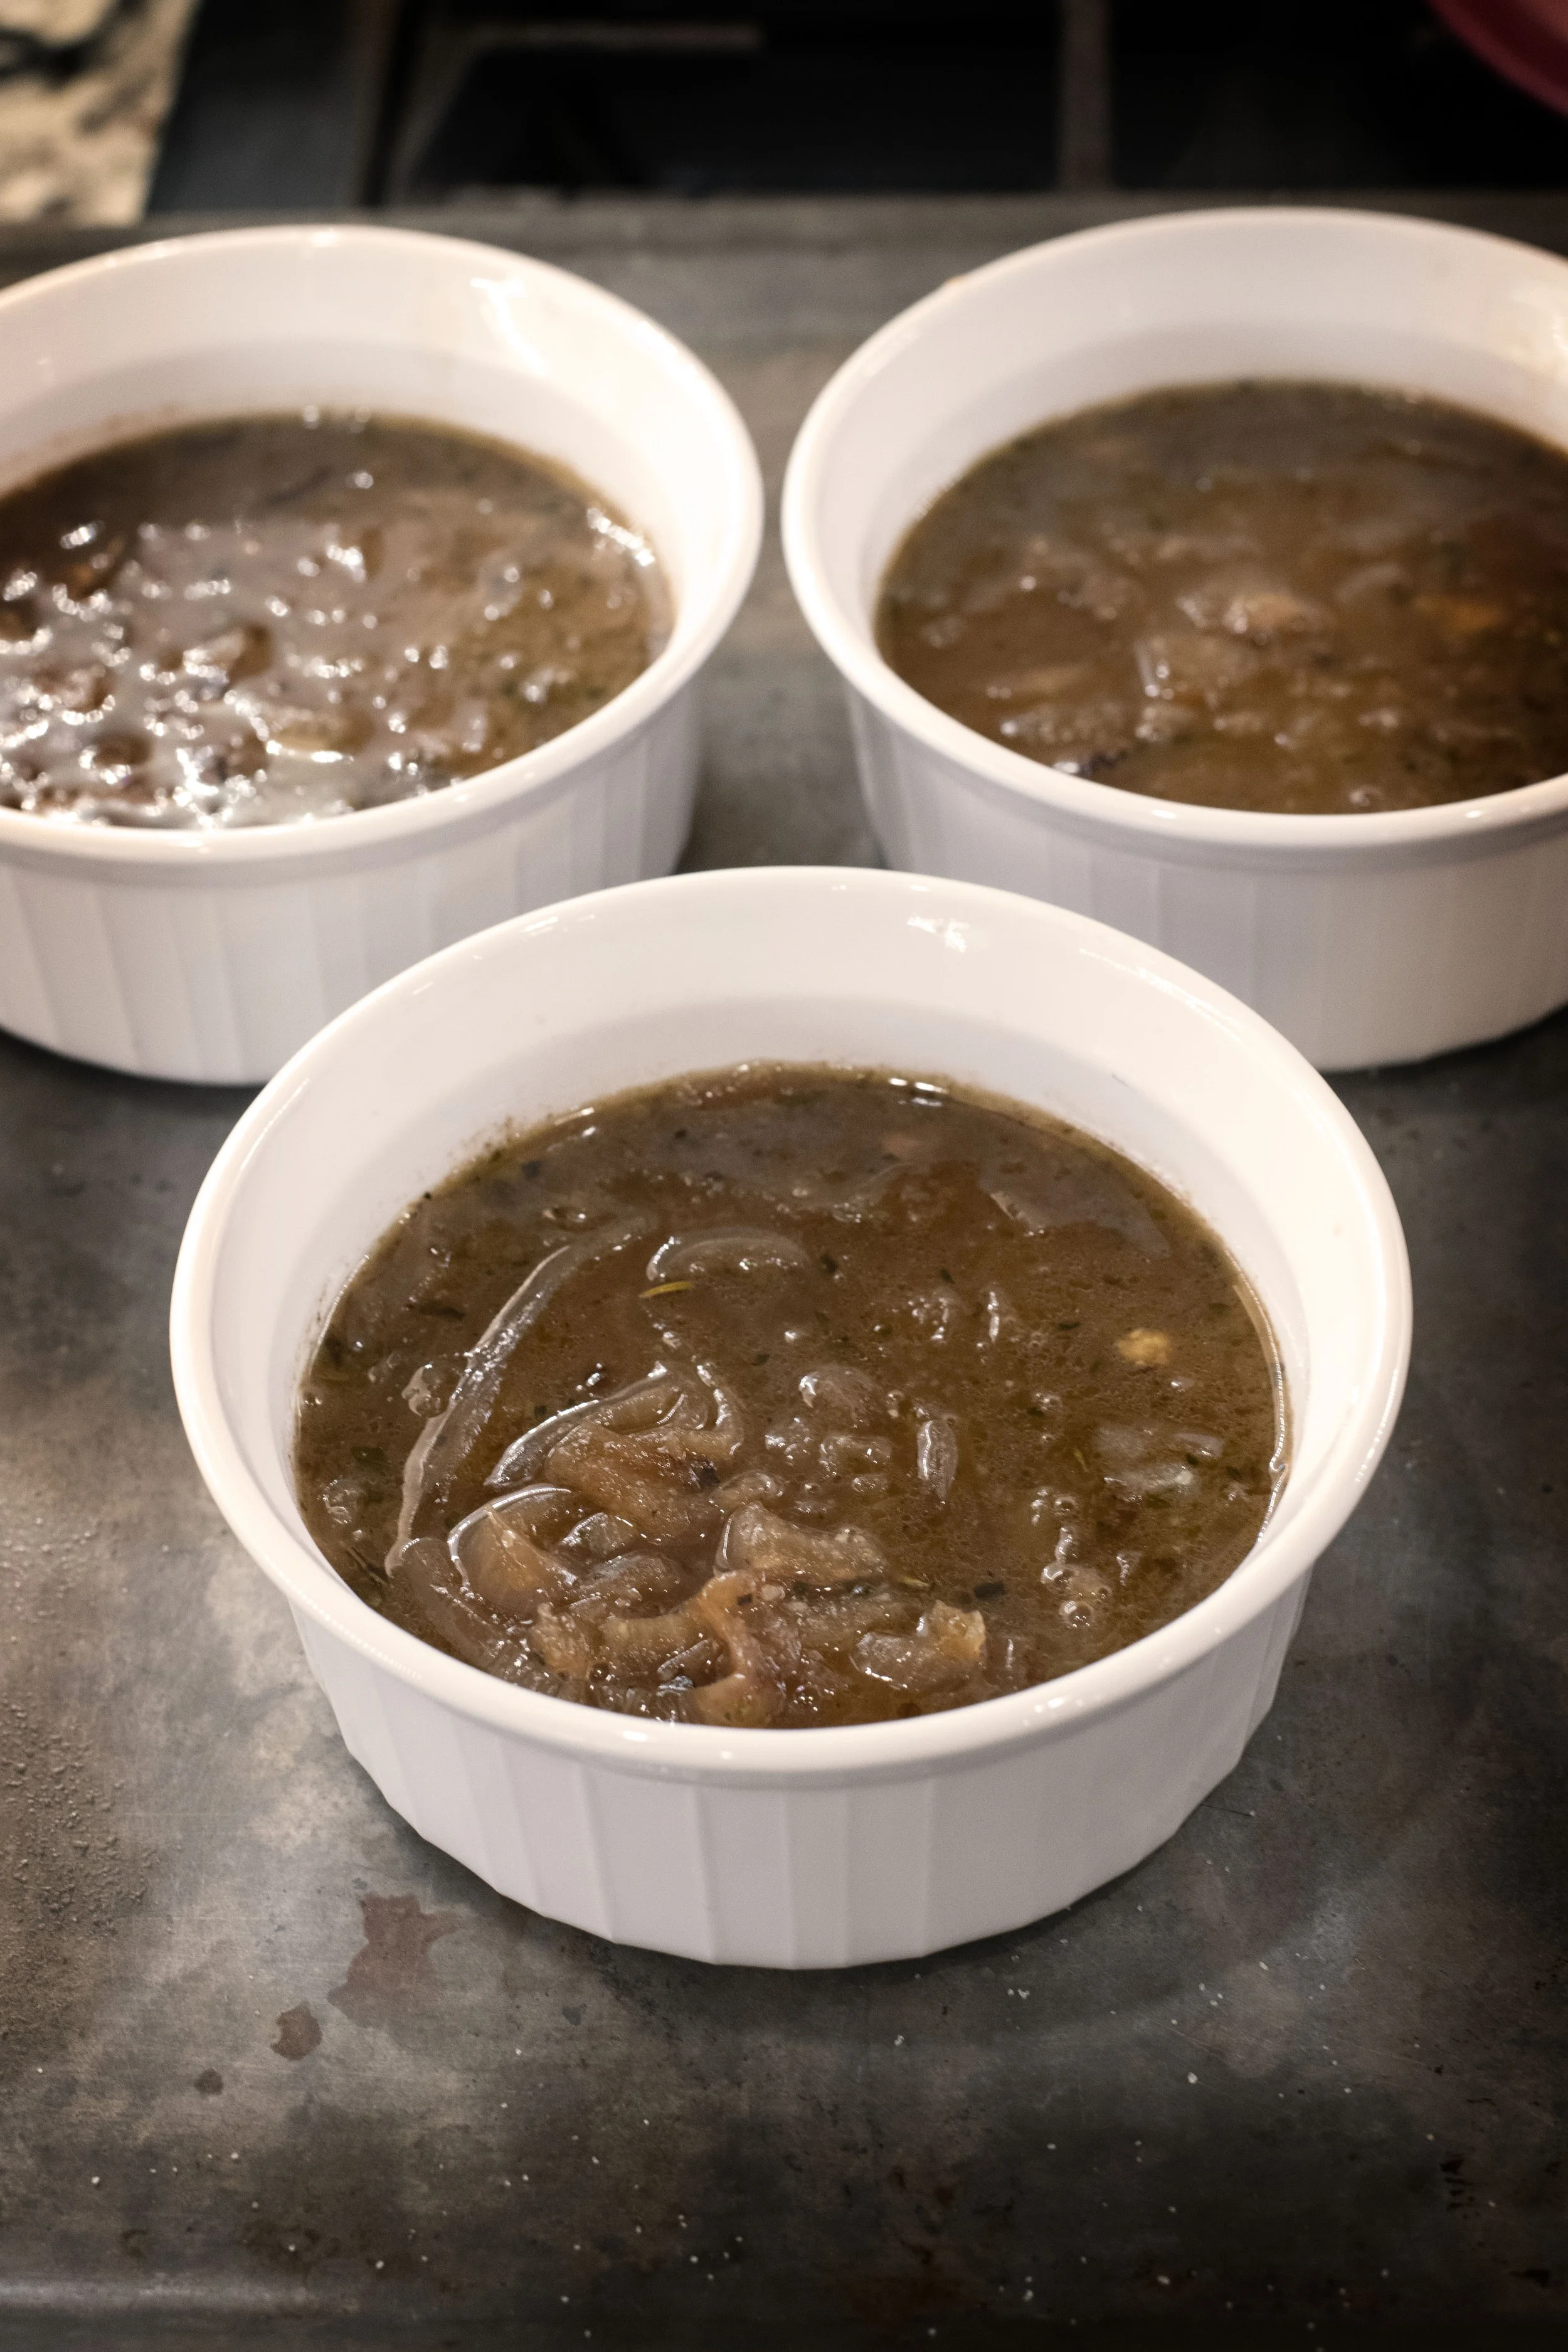
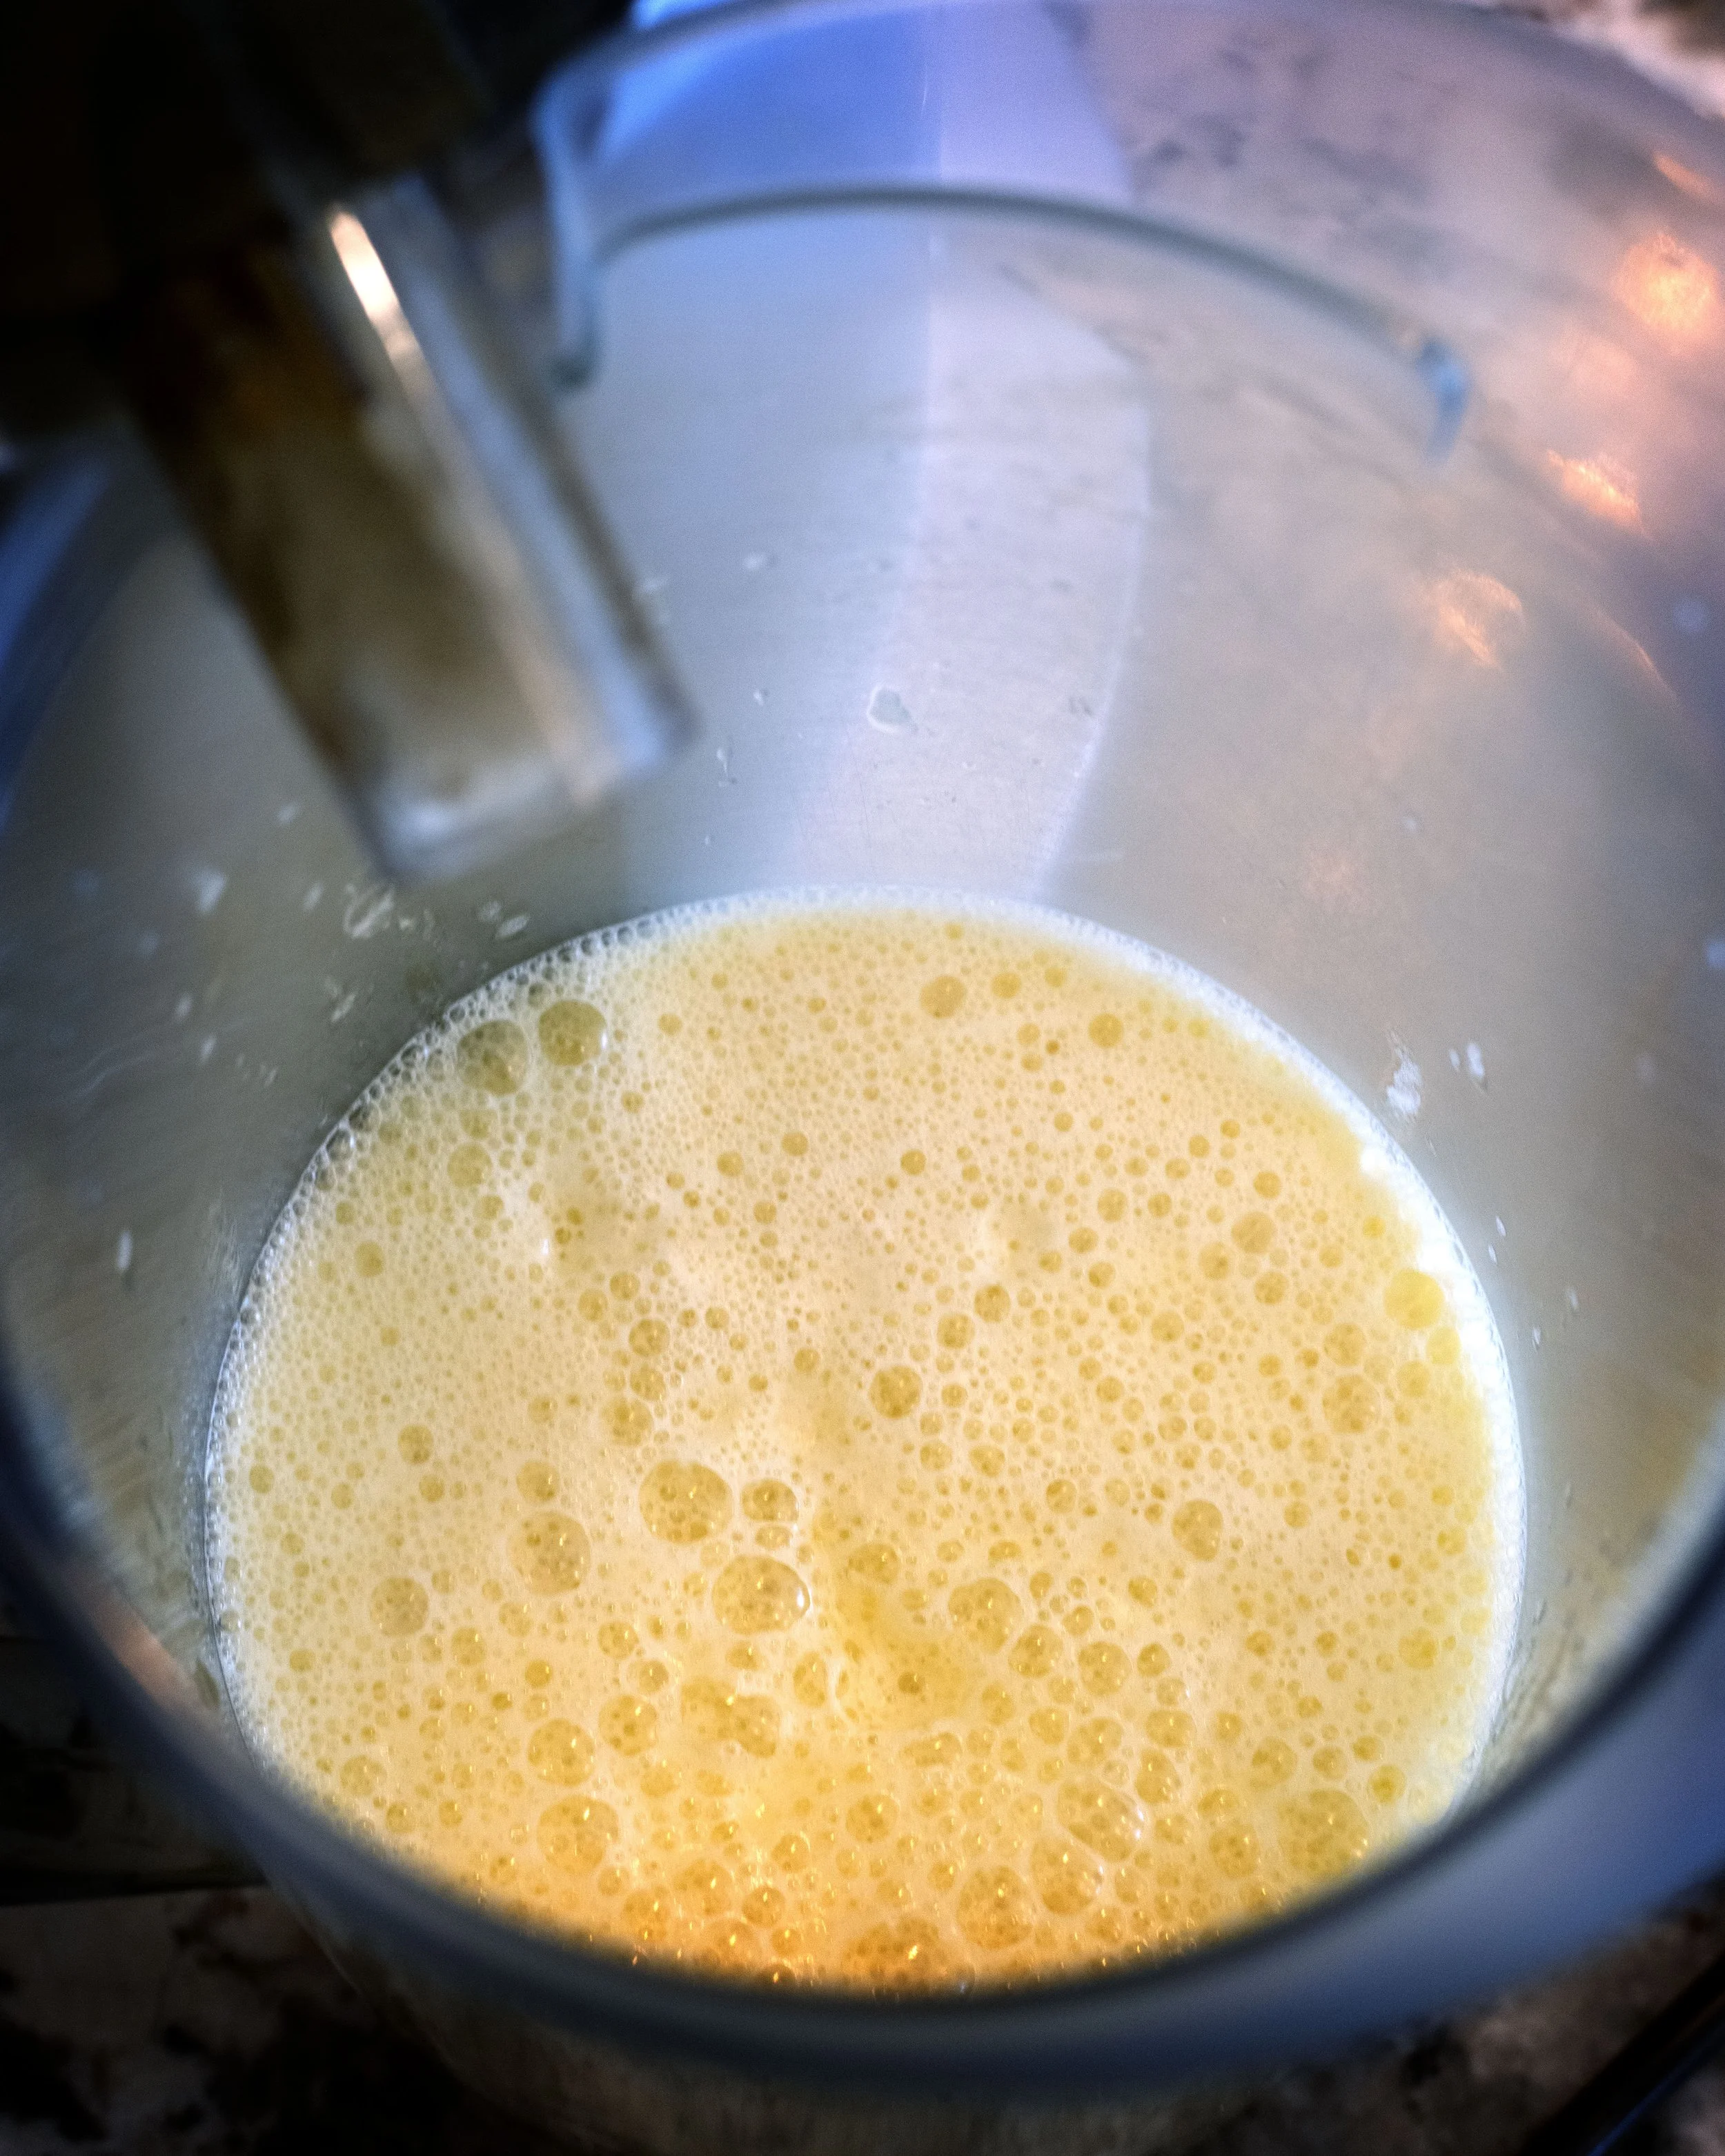
Build the cooking liquid: pour a cup of pineapple juice, quarter cup each of ketchup and soy sauce, and two tablespoons of brown sugar into the cooker. Grate two inches of the fresh ginger piece over the top. Stir everything together and lock the lid.
Build the pressure: Verify that the pressure release valve is securely set to the "sealing" position.
Cook: Set the cooker to high pressure for 75 minutes.
Release pressure: Once the timer goes off, allow the machine to naturally release its pressure for 15 minutes before manually opening the venting valve.
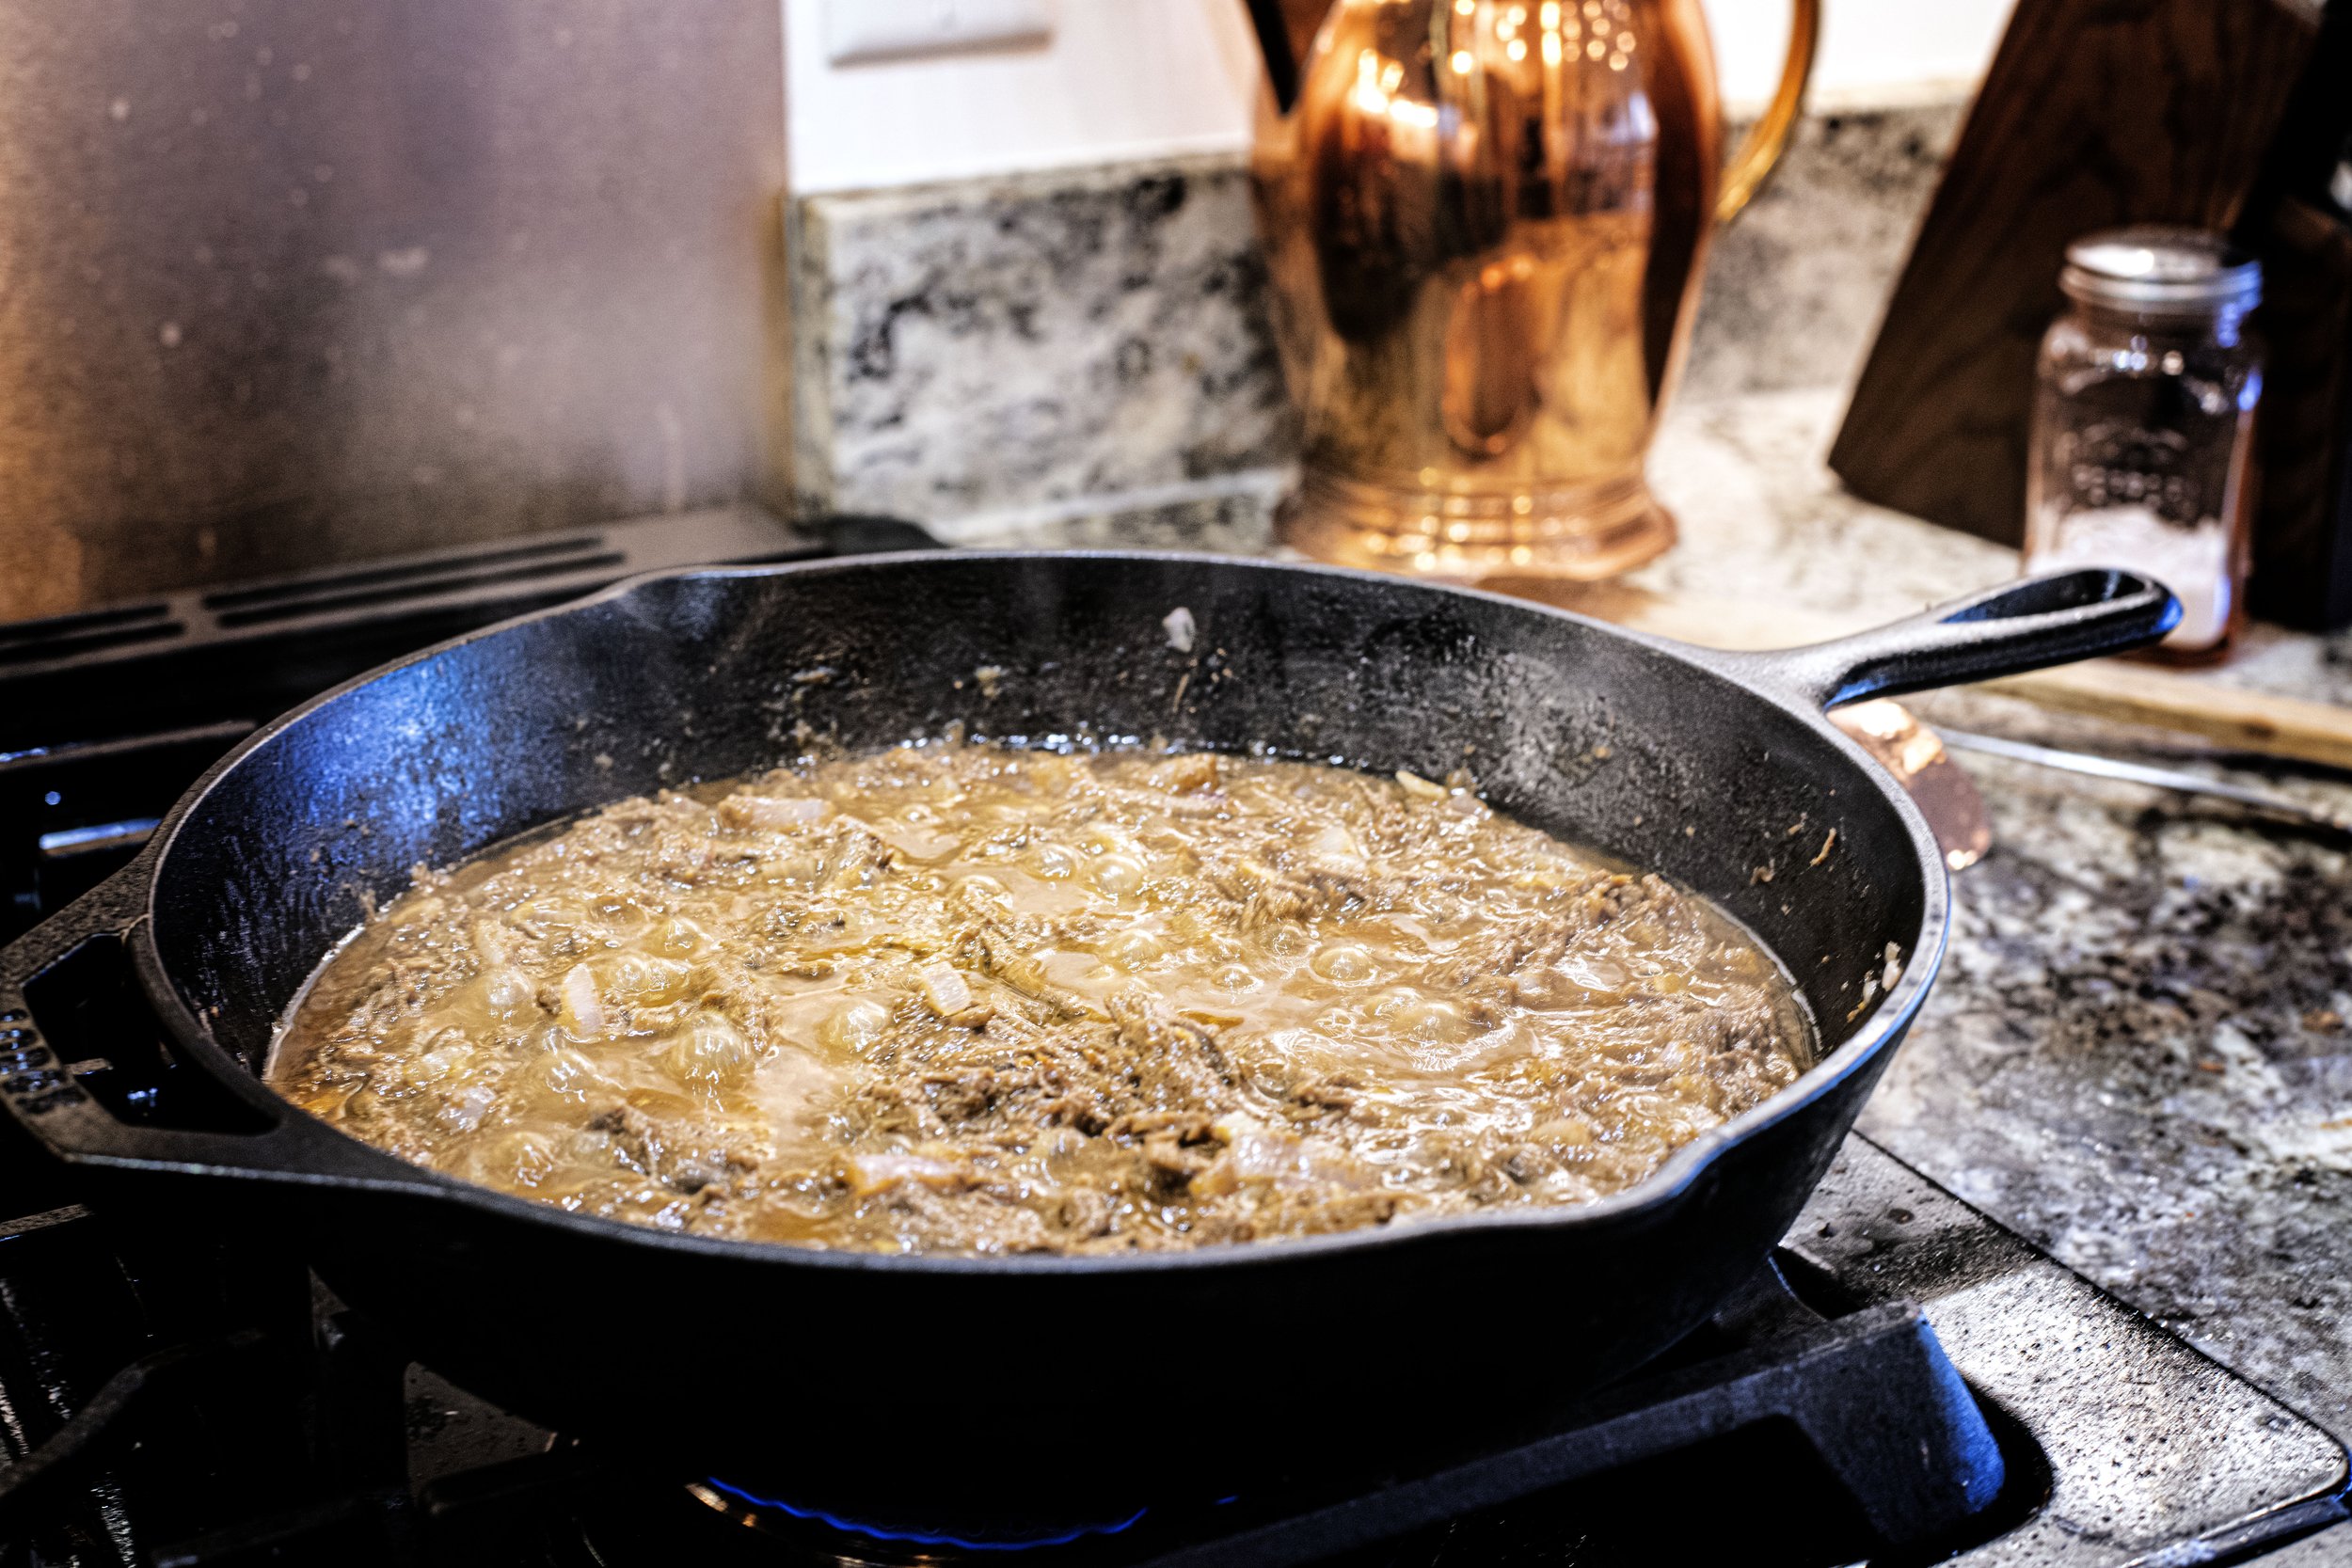
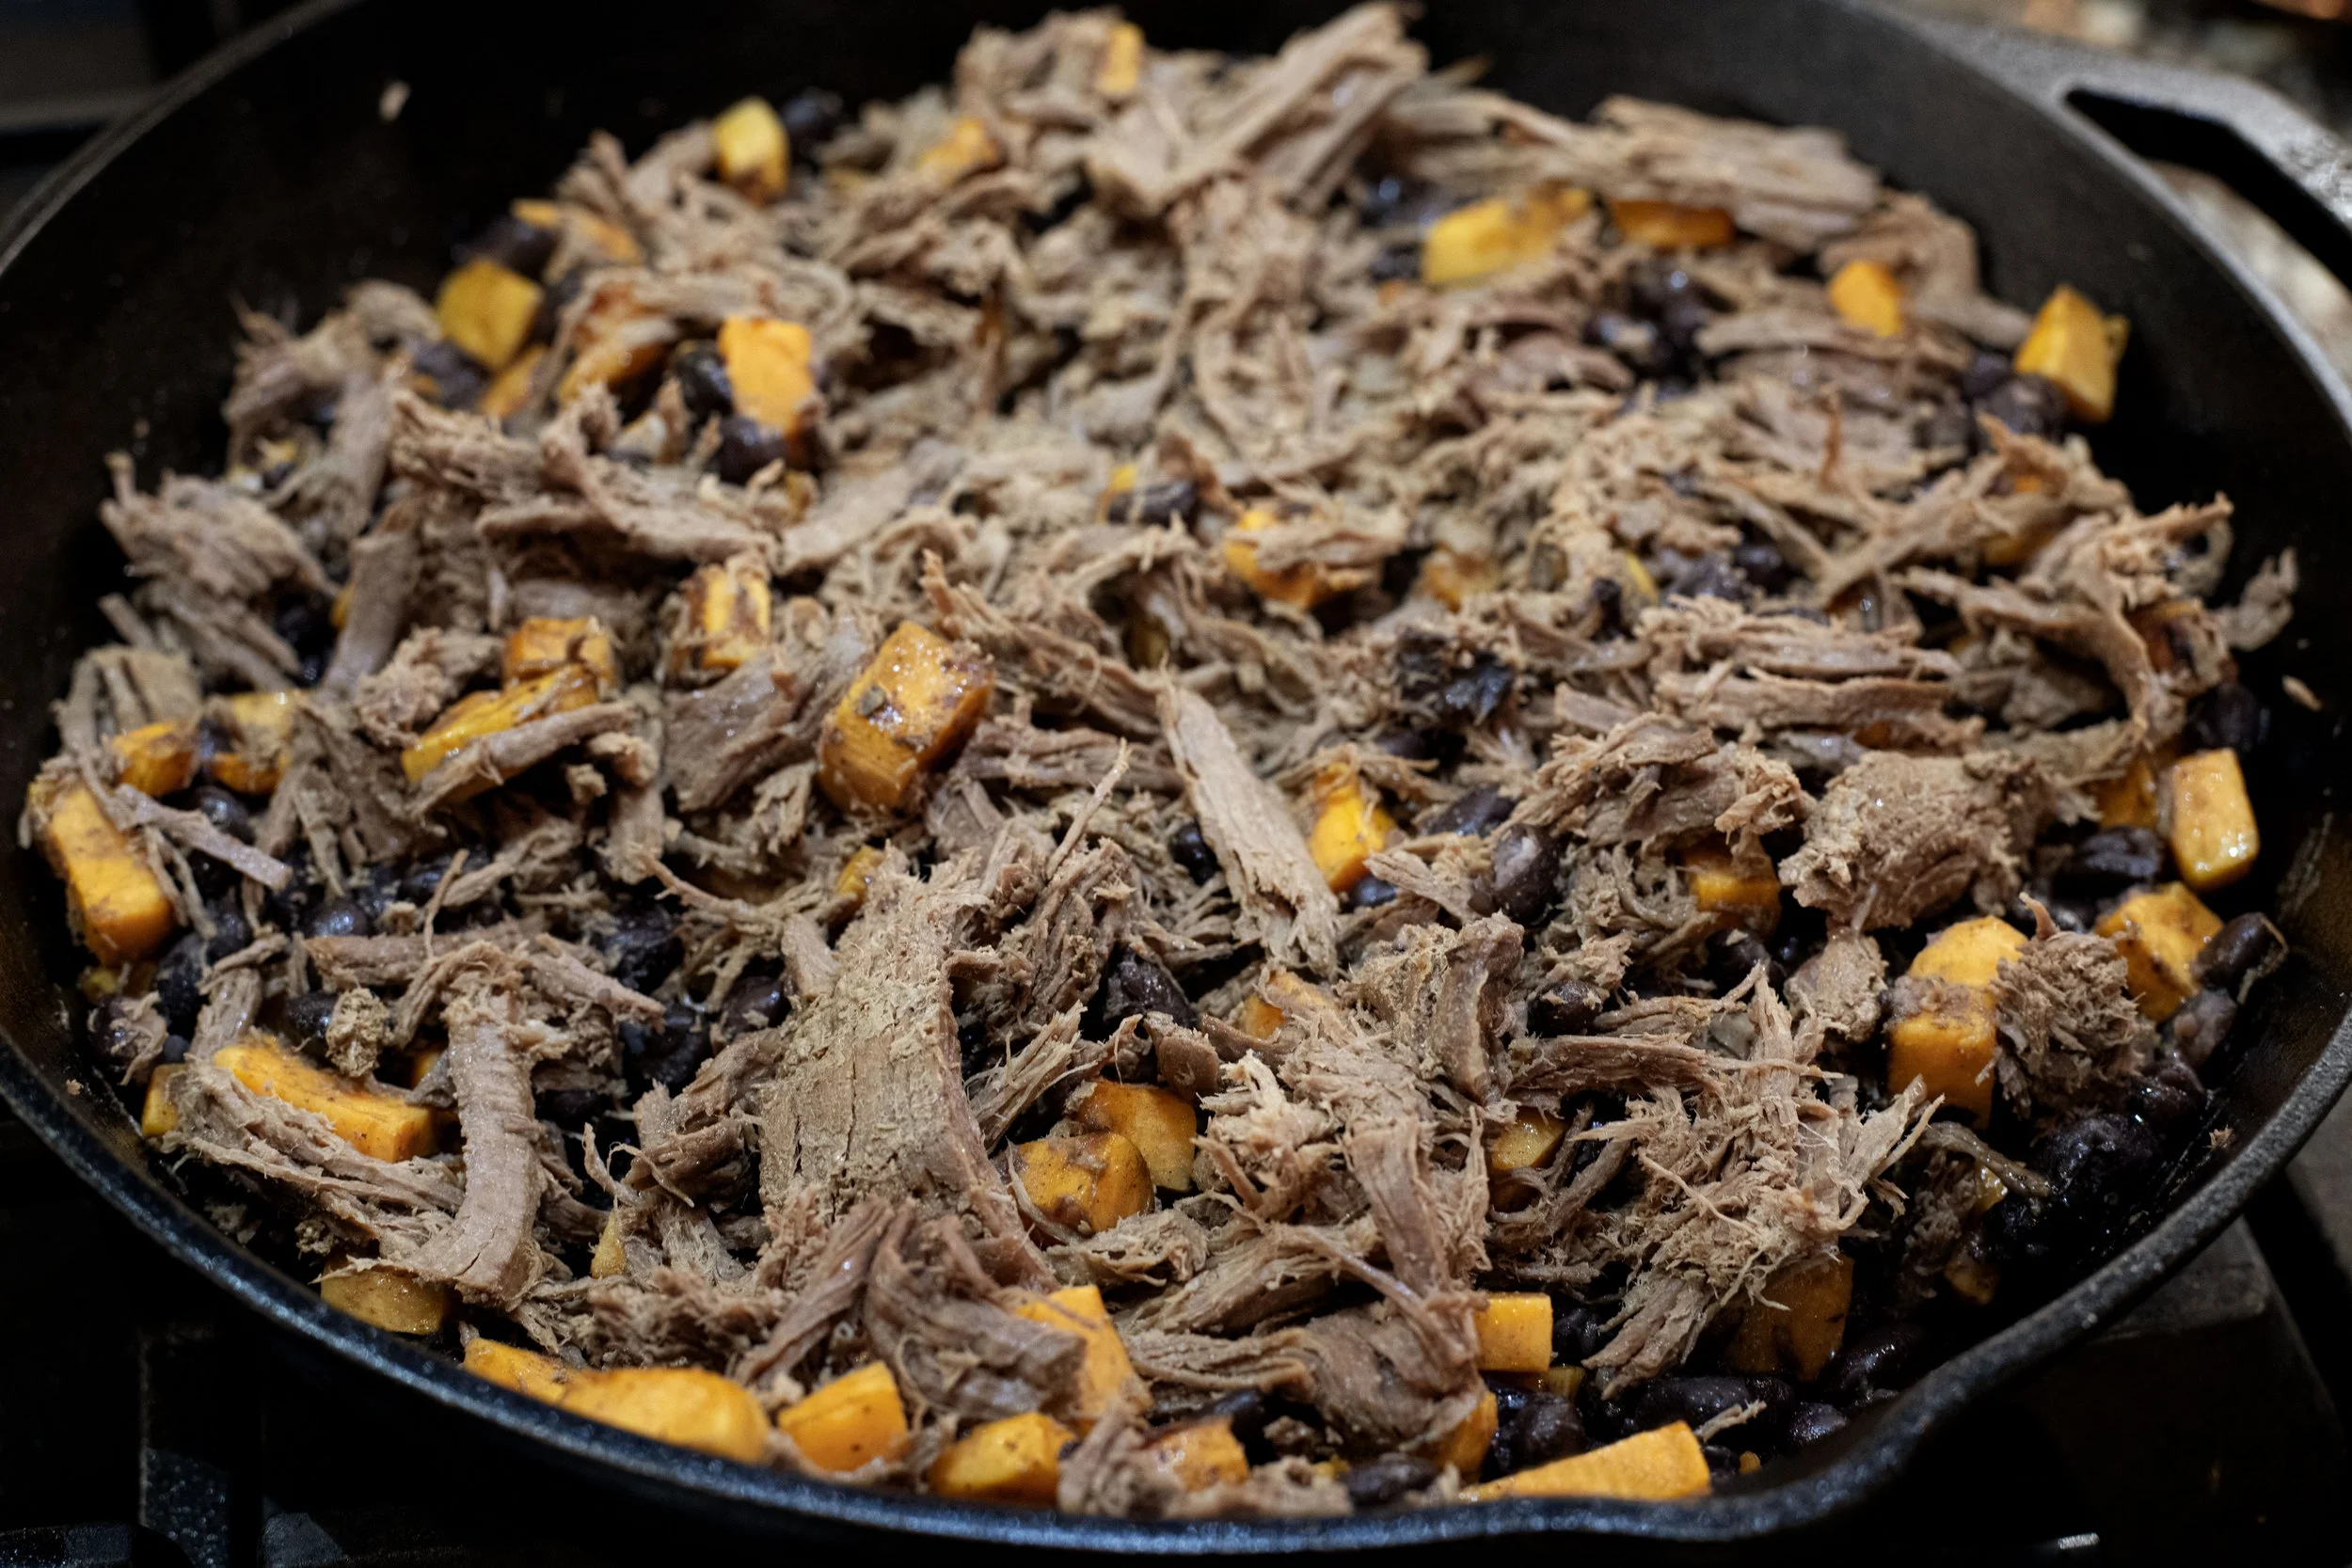
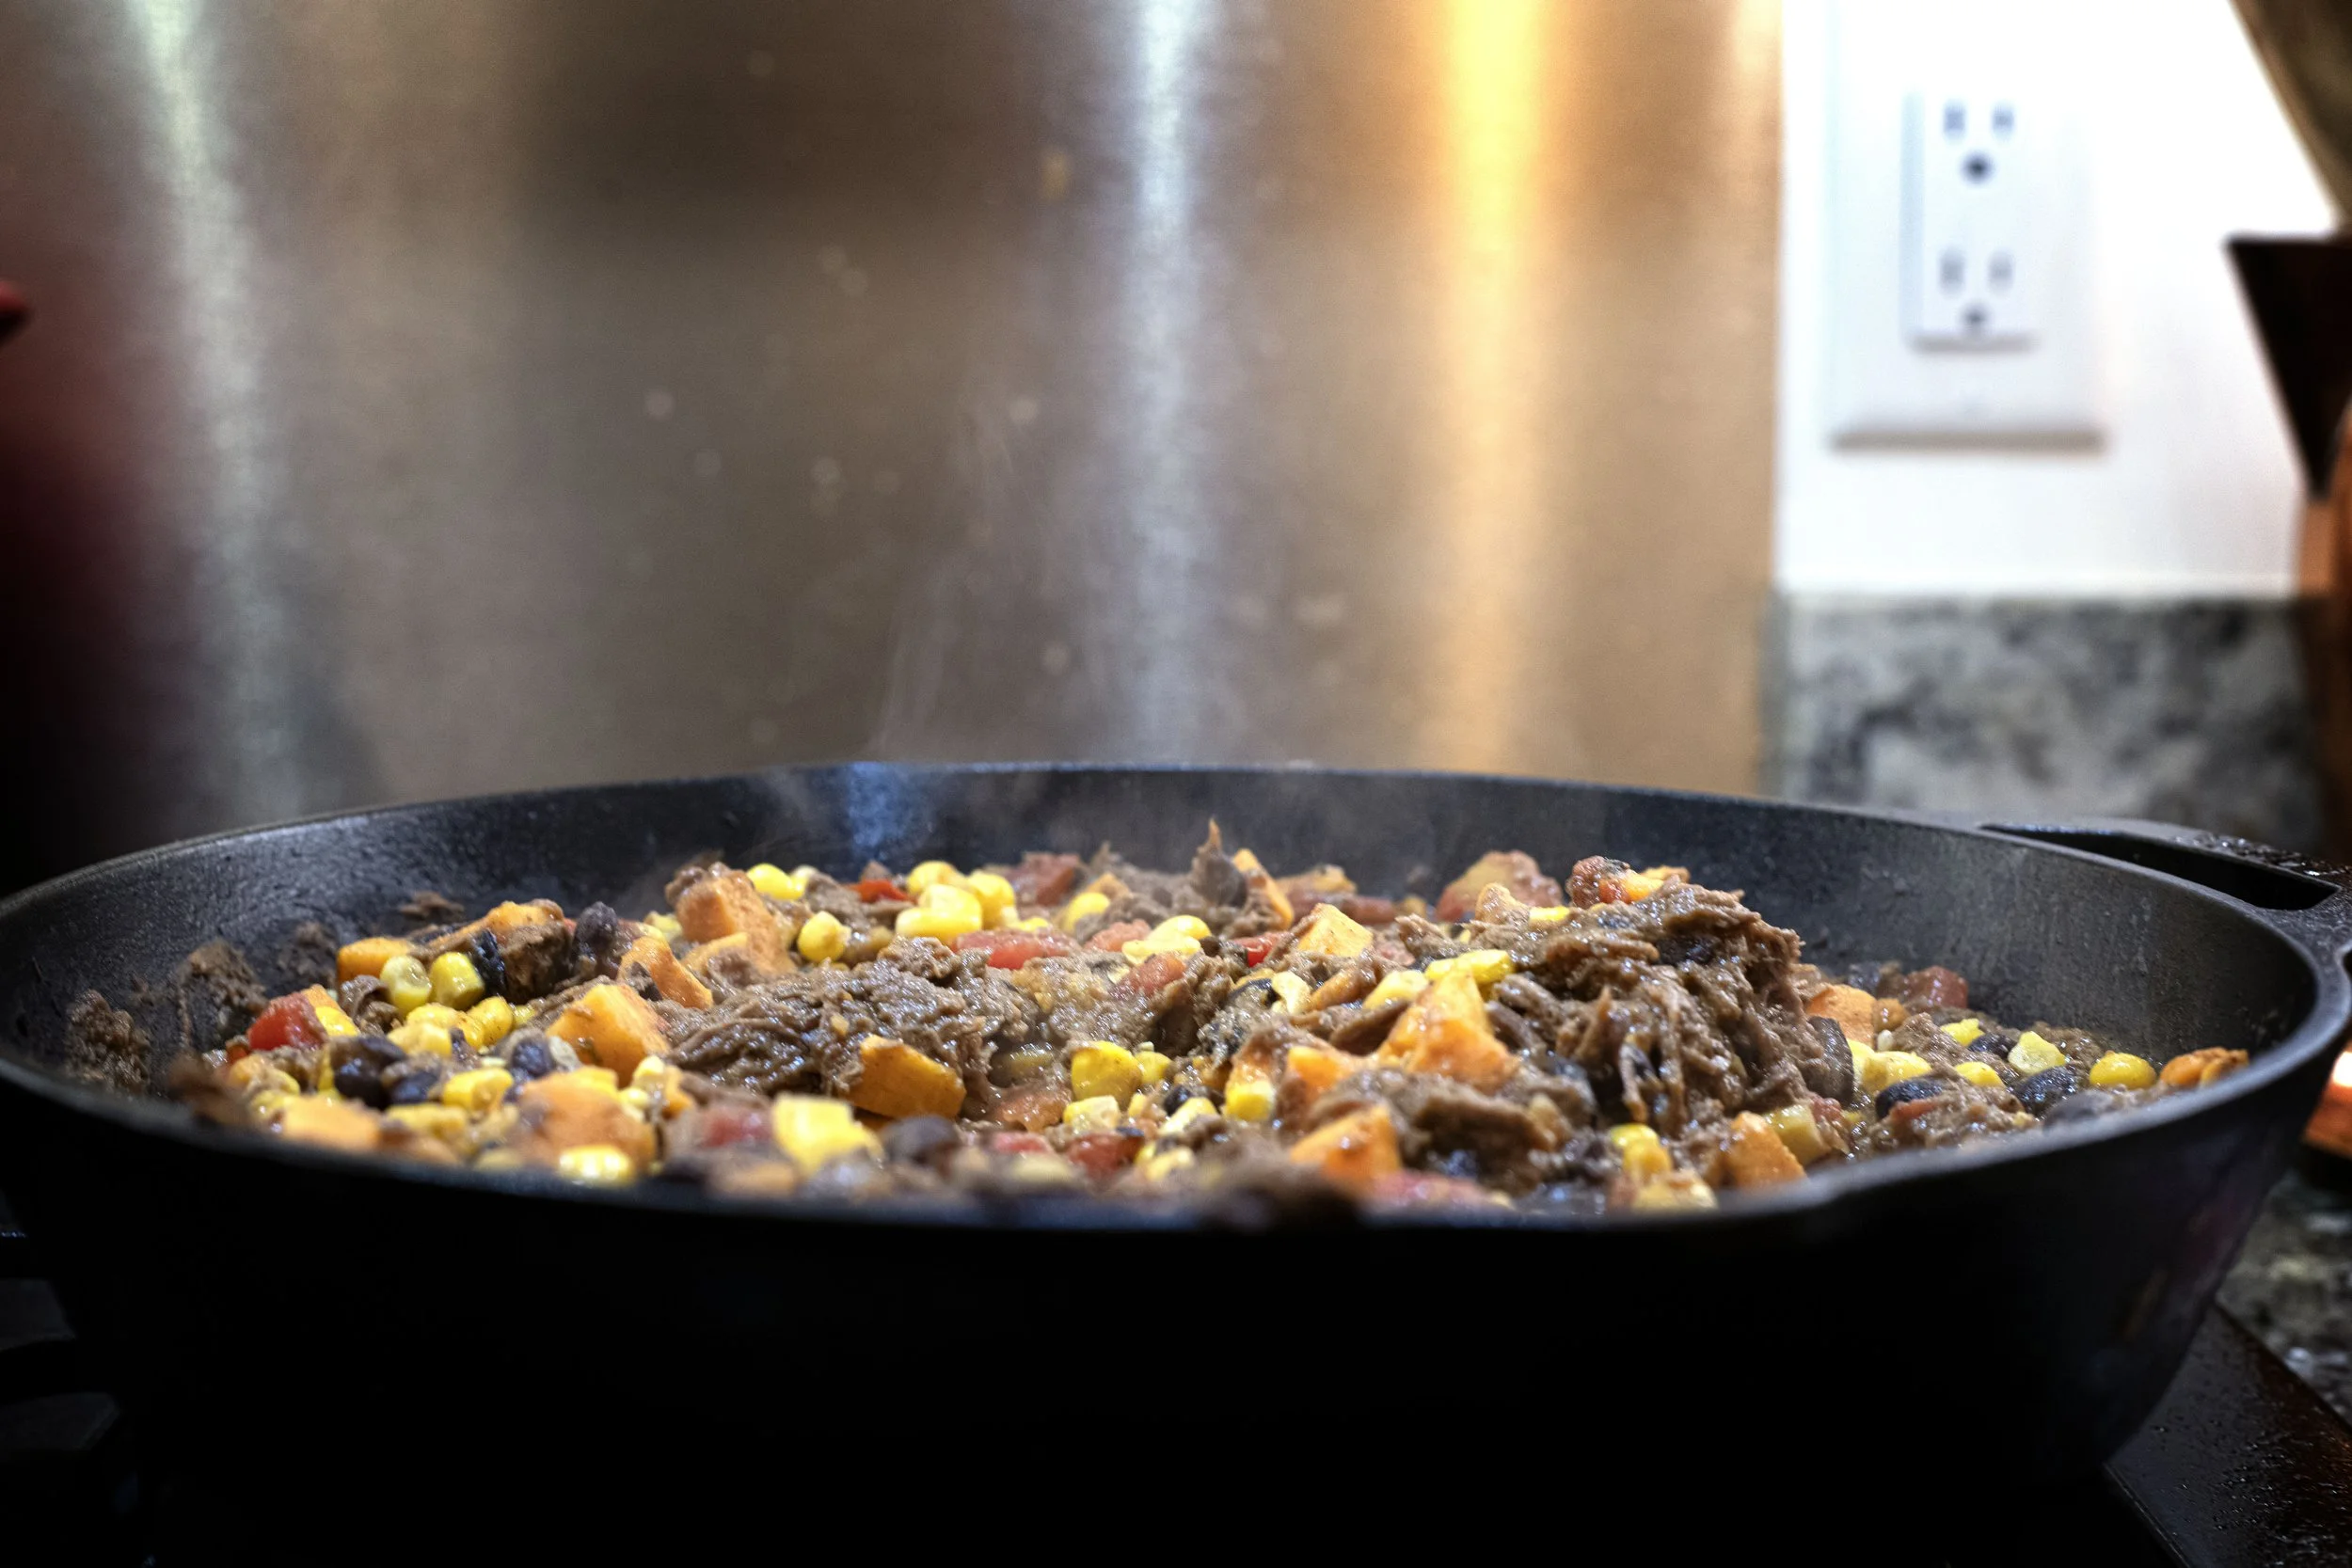
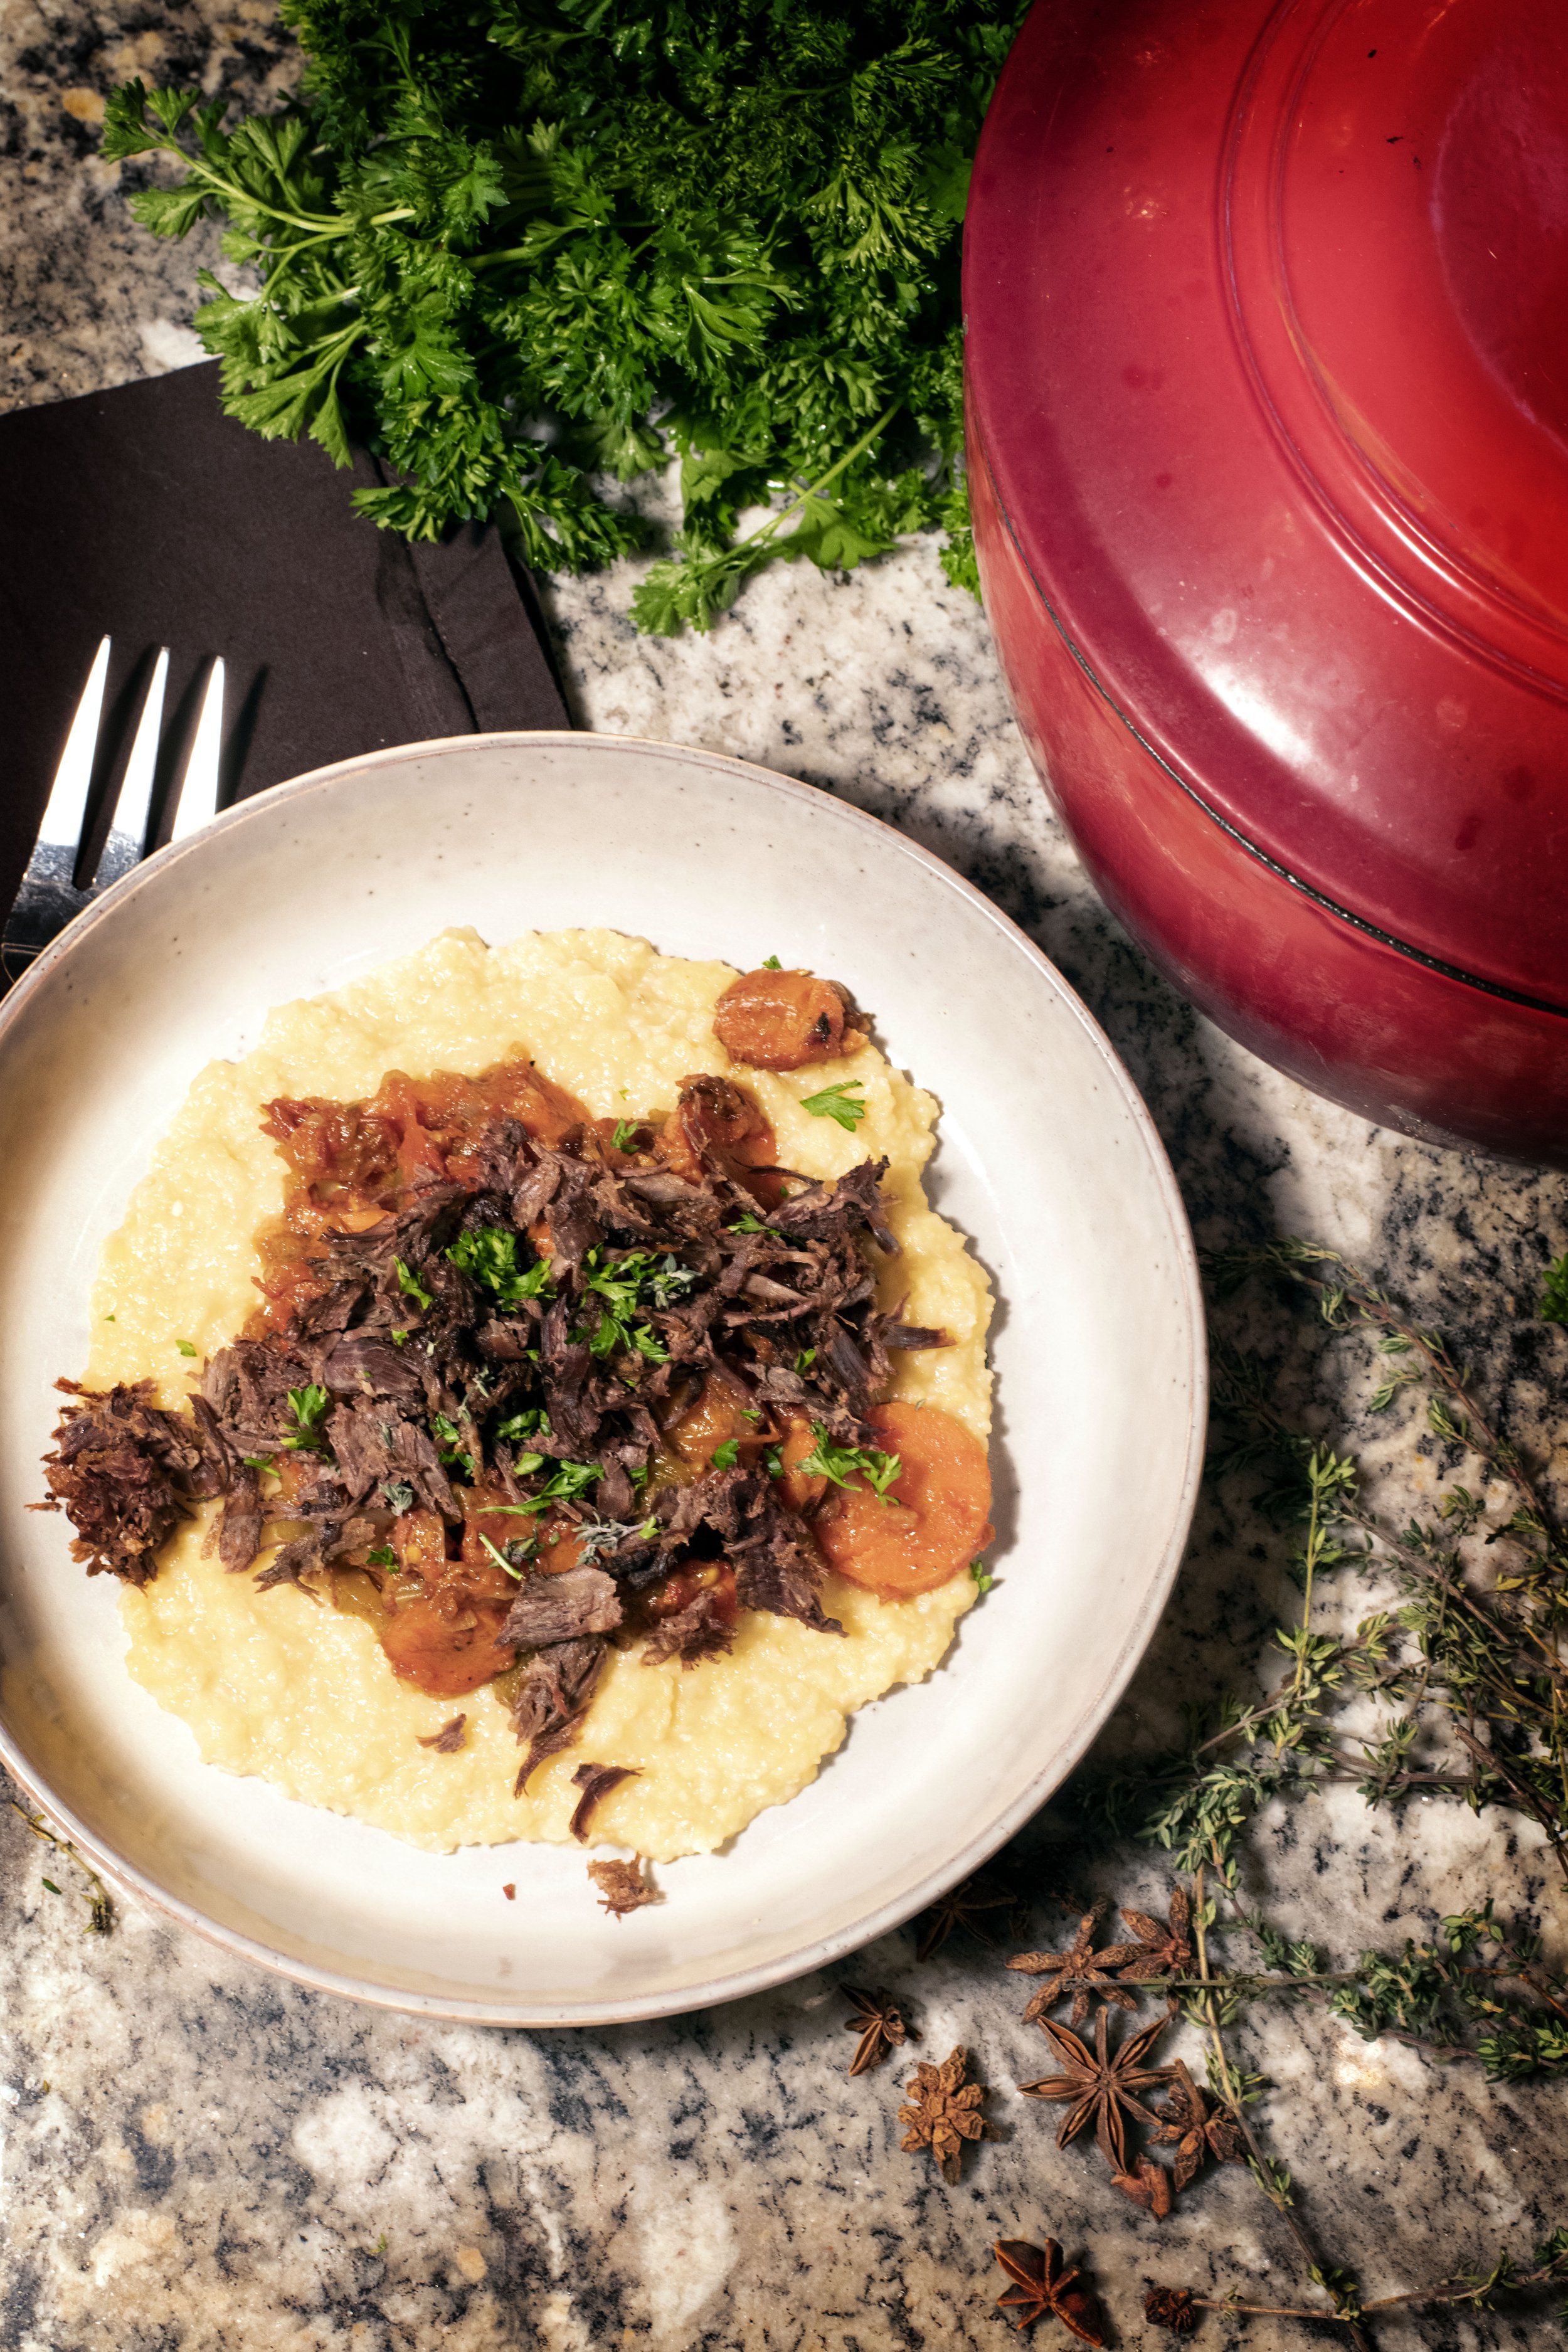
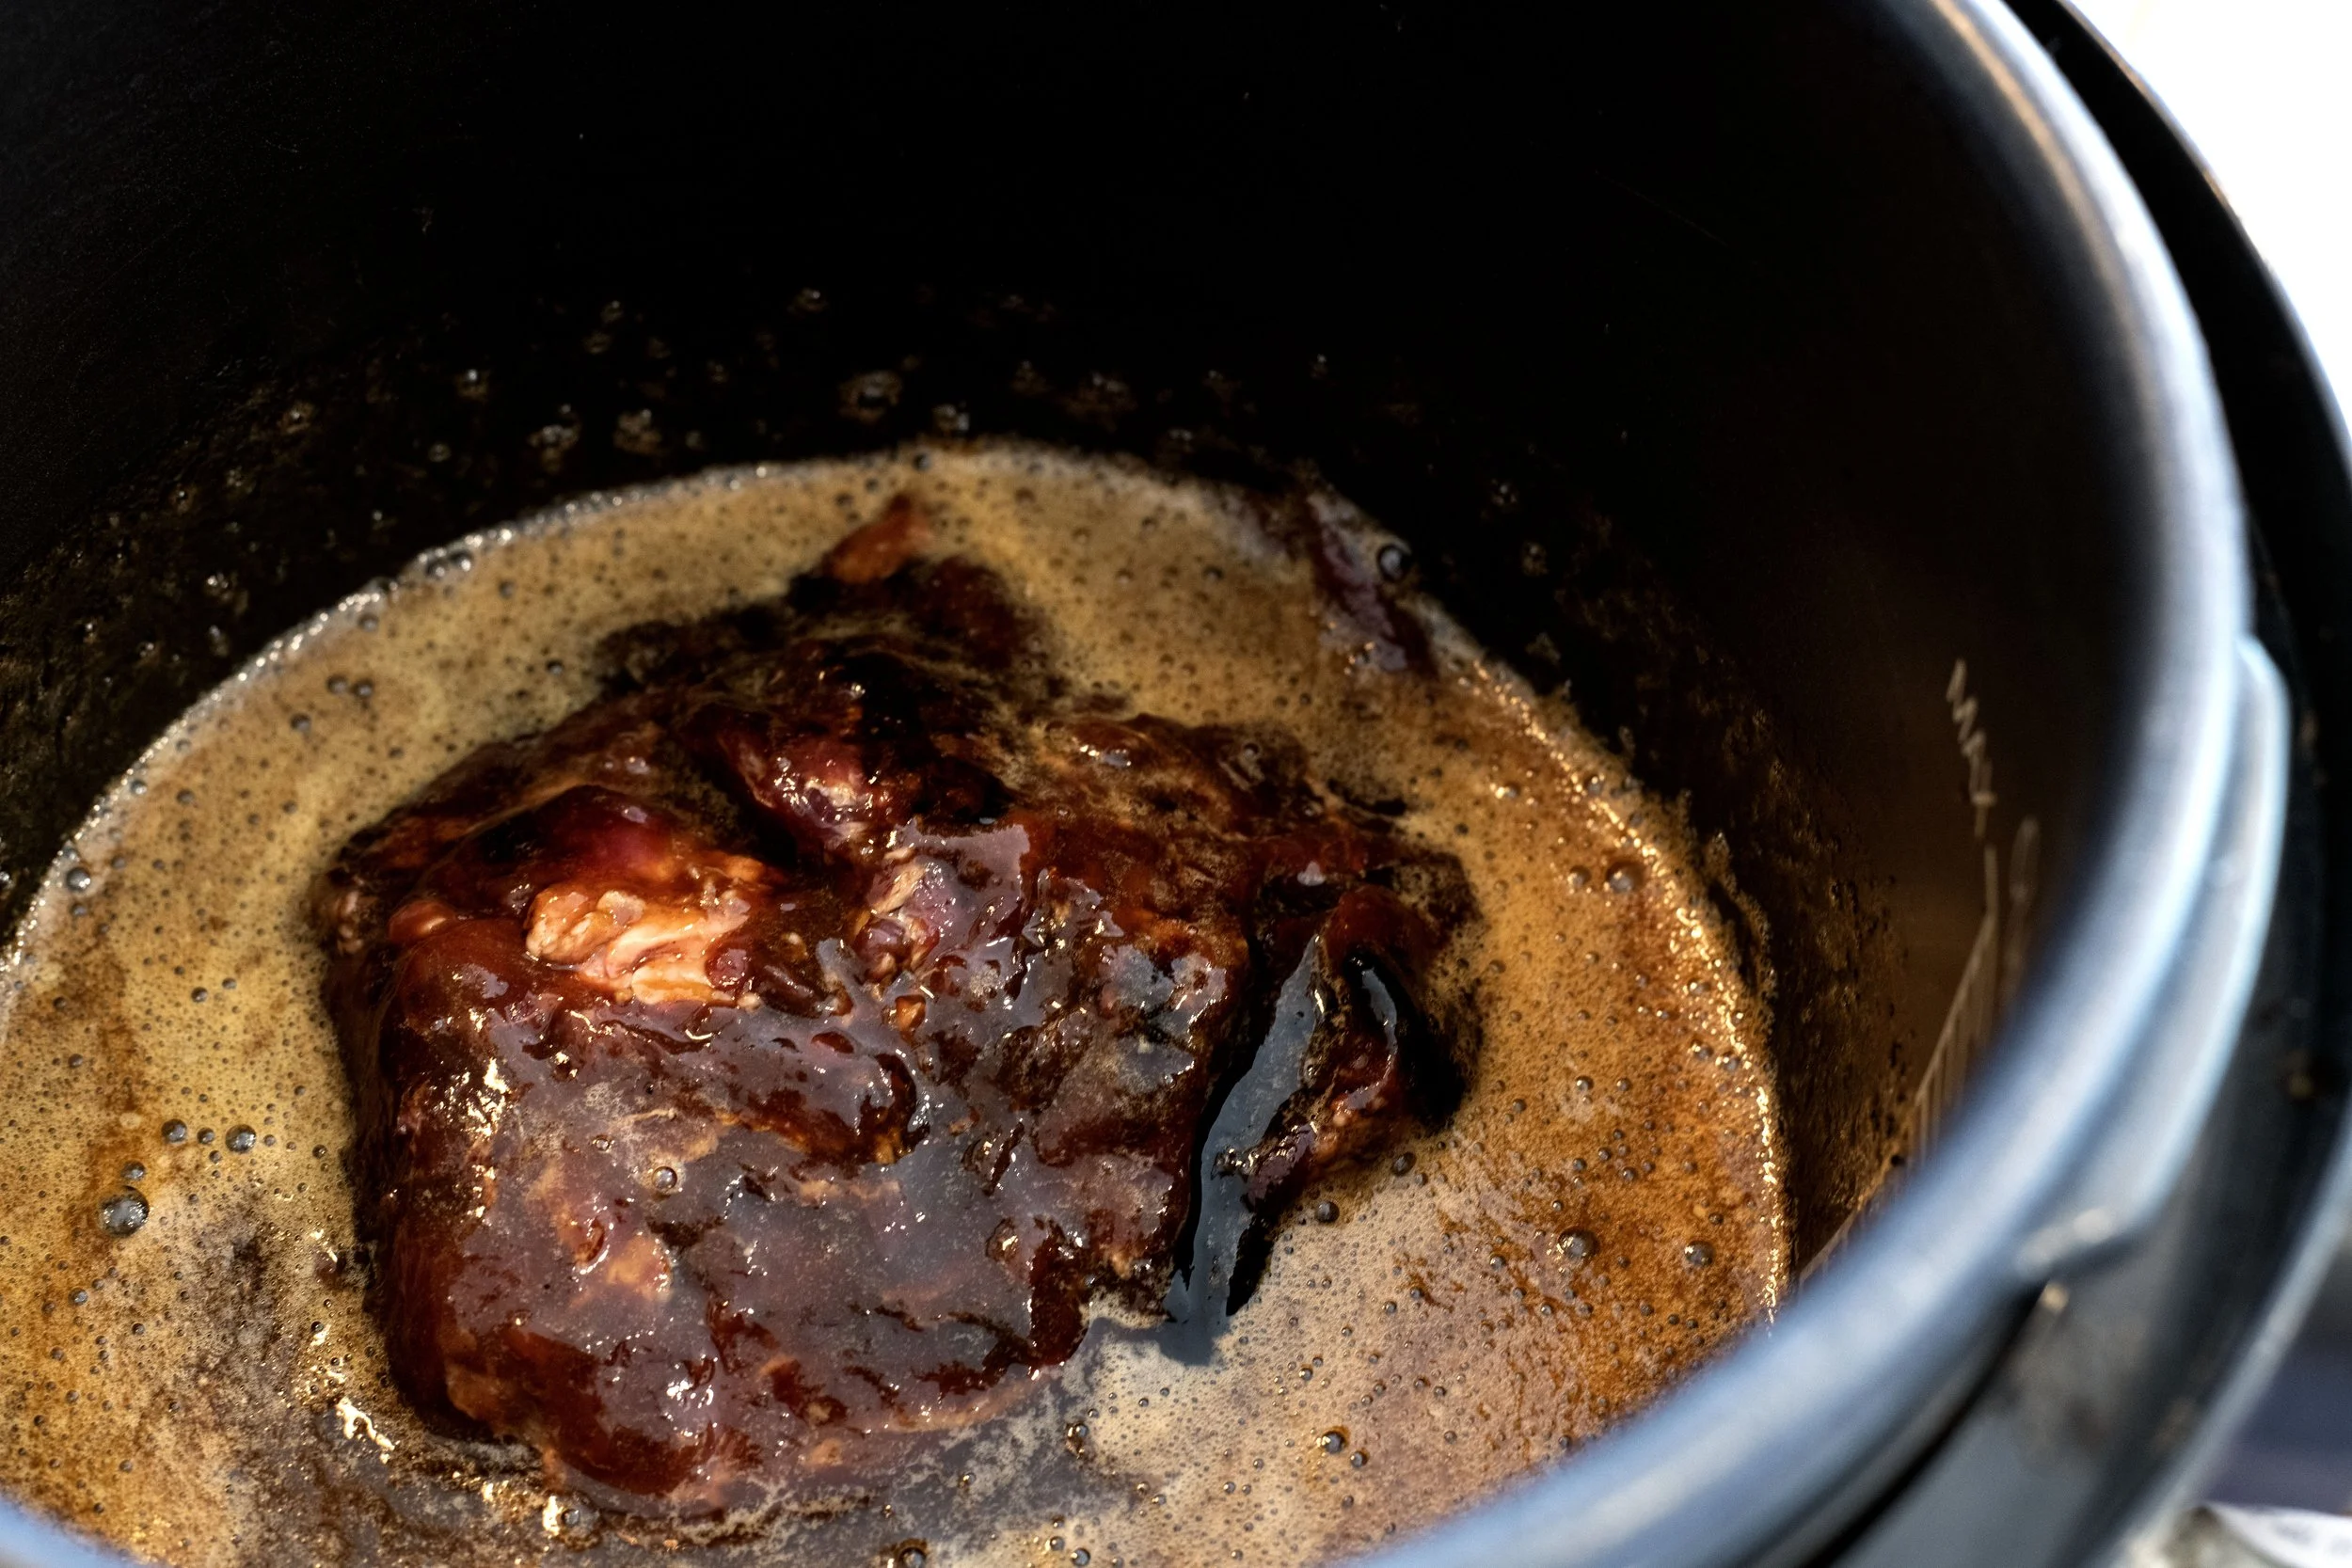
Shred: After the cooker has fully depressurized, carefully open the lid and transfer the meat to a cutting board. Use two forks to shred the javelina into bite-sized pieces, then set them aside.
Thicken the sauce: Turn the pressure cooker to saute function. Remove a quarter cup of the liquid from the pot and in a small bowl whisk it together with the corn starch. Once all the lumps have been removed from the corn starch slurry, return it to the pot with the rest of the cooking liquid. Stir and bring the mixture to a light boil. Add in one tablespoon of the honey and the tamarind. Stir and thicken the liquid.
Return the shredded javelina to the pot. Toss thoroughly to coat the meat in the sauce. Switch the cooker to "Keep Warm" while you prepare the slaw.
Making the Pineapple Cucmber Slaw
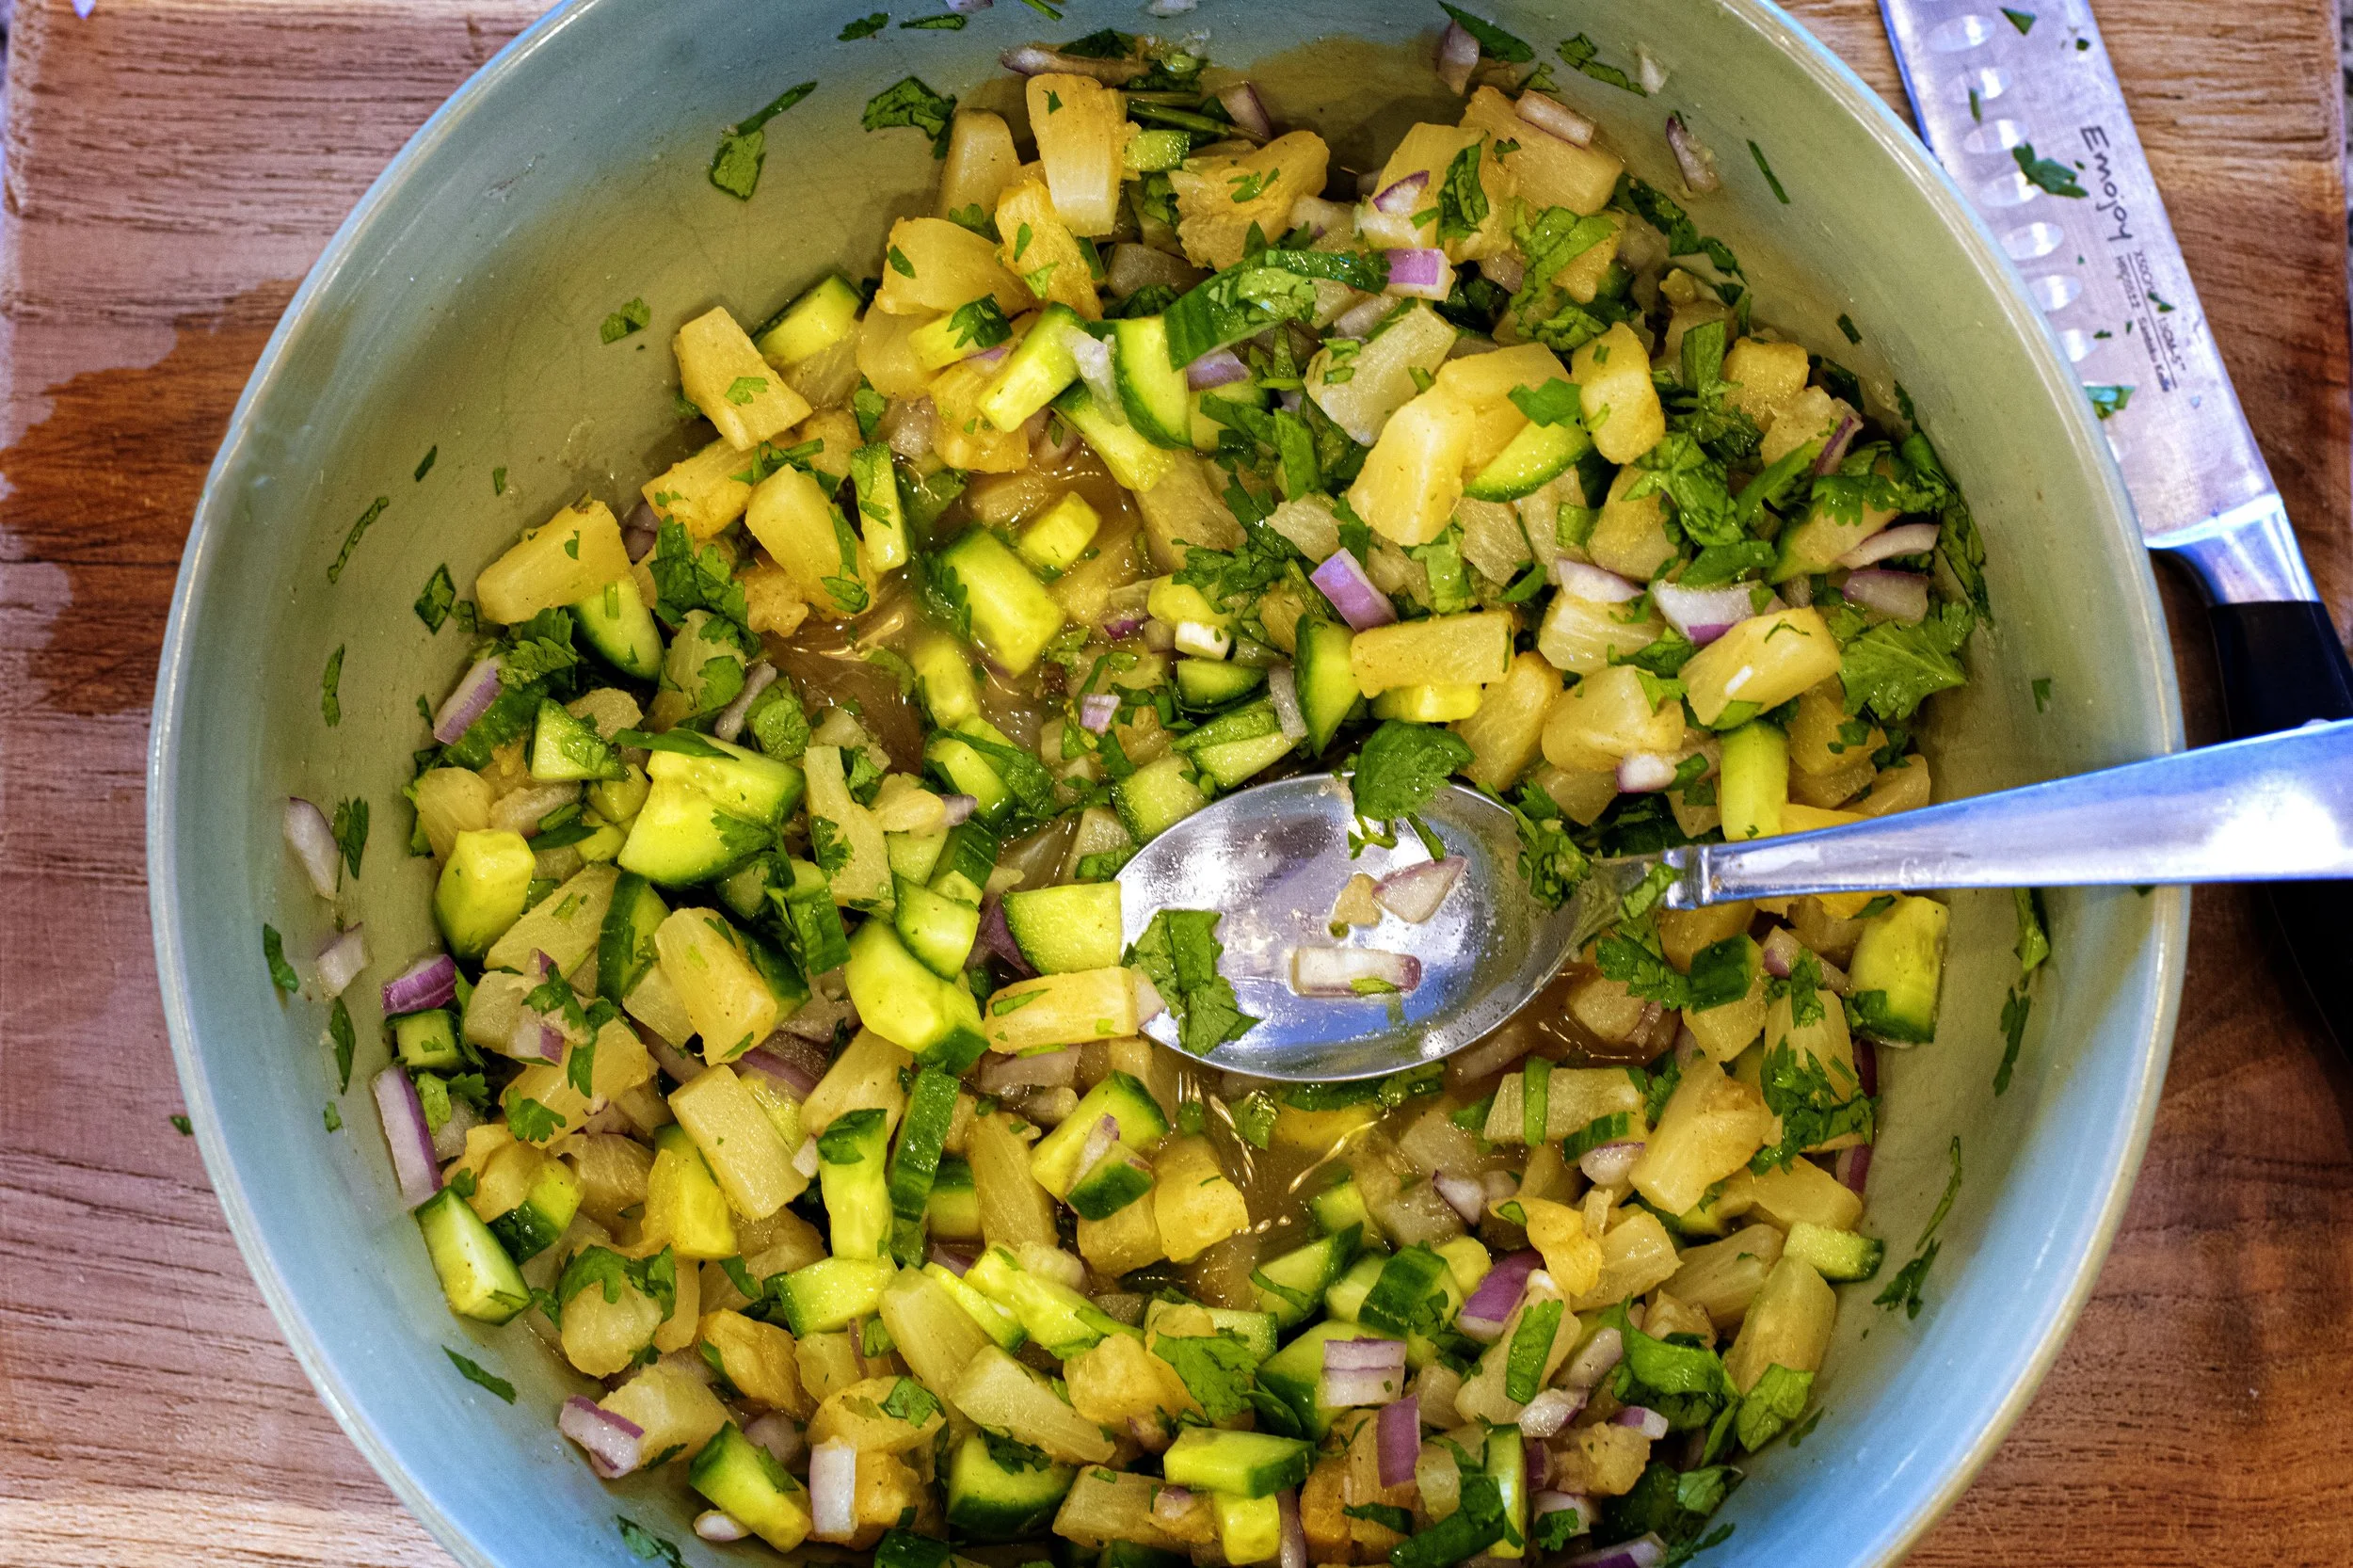
I think toppings really make the taco, and this pineapple cucumber slaw definitely pulls this entire recipe together. The saw is fresh, flavorful, and accentuates the tangy sweet profile of the Huli Huli javelina meat.
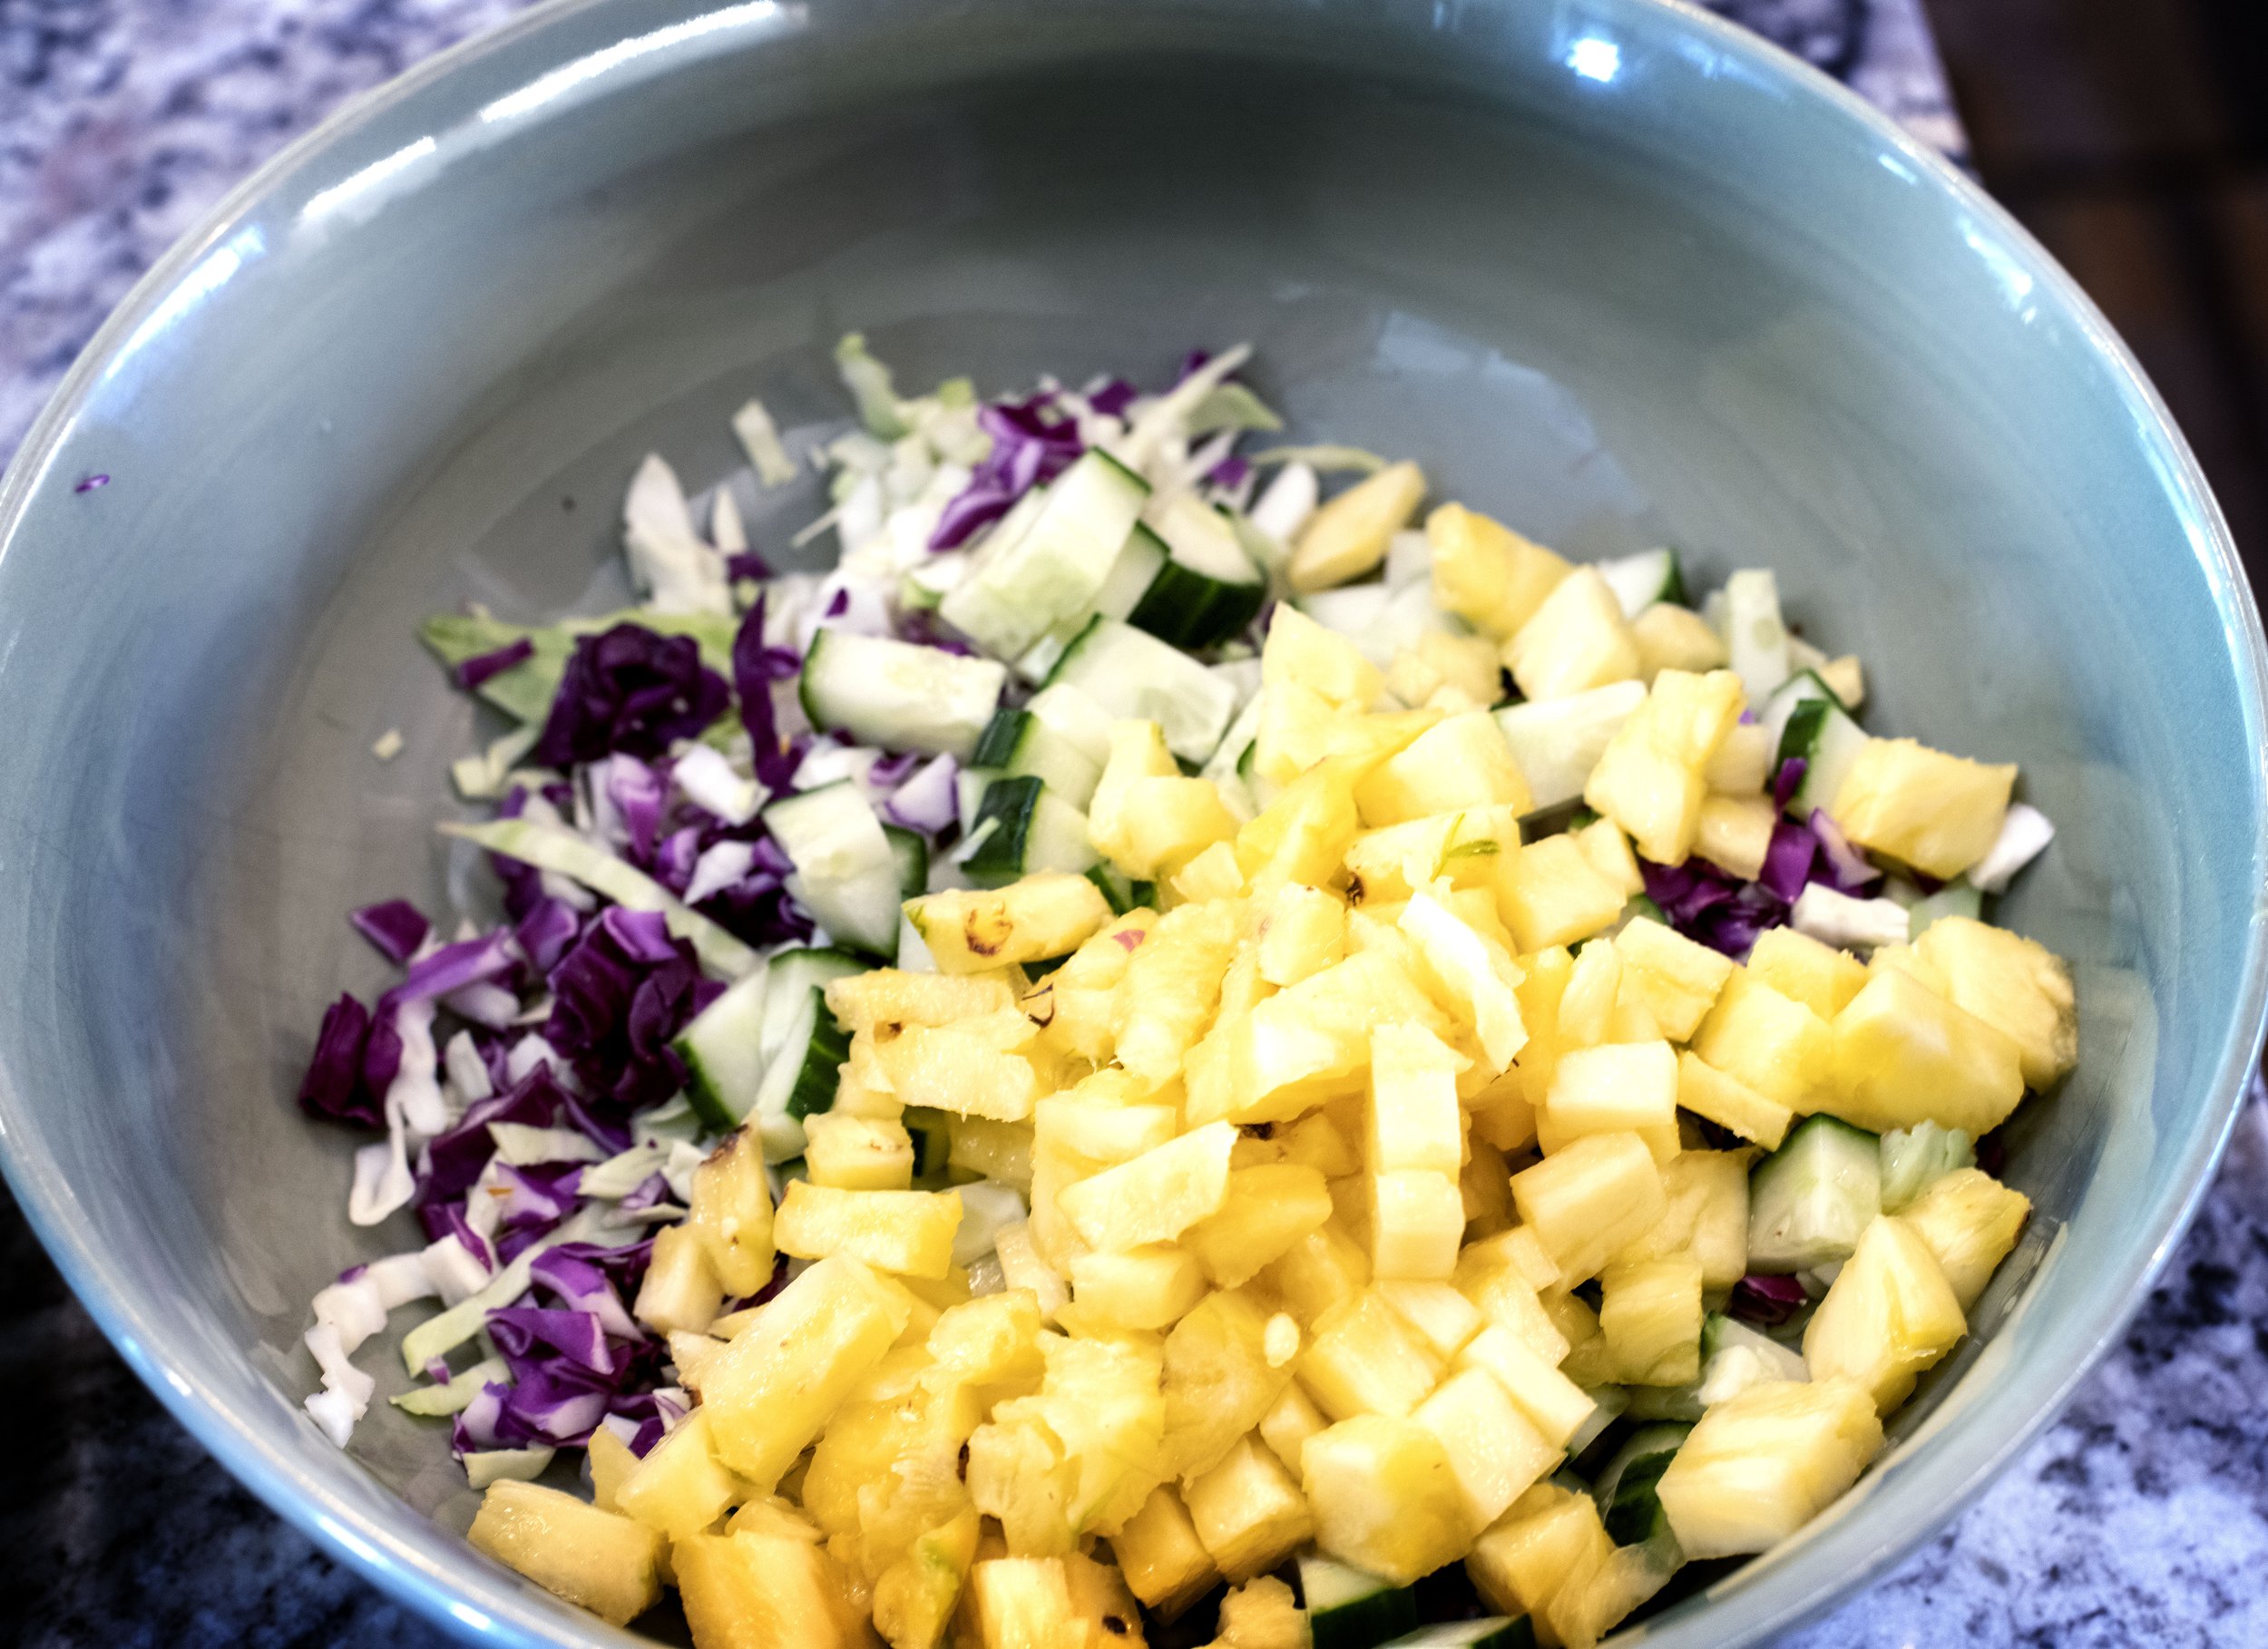
To start the slaw, shred up a couple cups of green and purple cabbage. The color contrast of the different cabbages make a feast for the eyes! Also dice up the fresh pineapple into tidbits and the cucumber into bite-size pieces. Mix all the ingredients together in a medium size bowl.
To make the sauce for the slaw, add a half cup of plain Greek yogurt to a small bowl. Whisk in some rice wine vinegar, coconut aminos, and a little sesame seed oil. Be cautious with the amount of sesame seed oil you use, it is a potent ingredient!
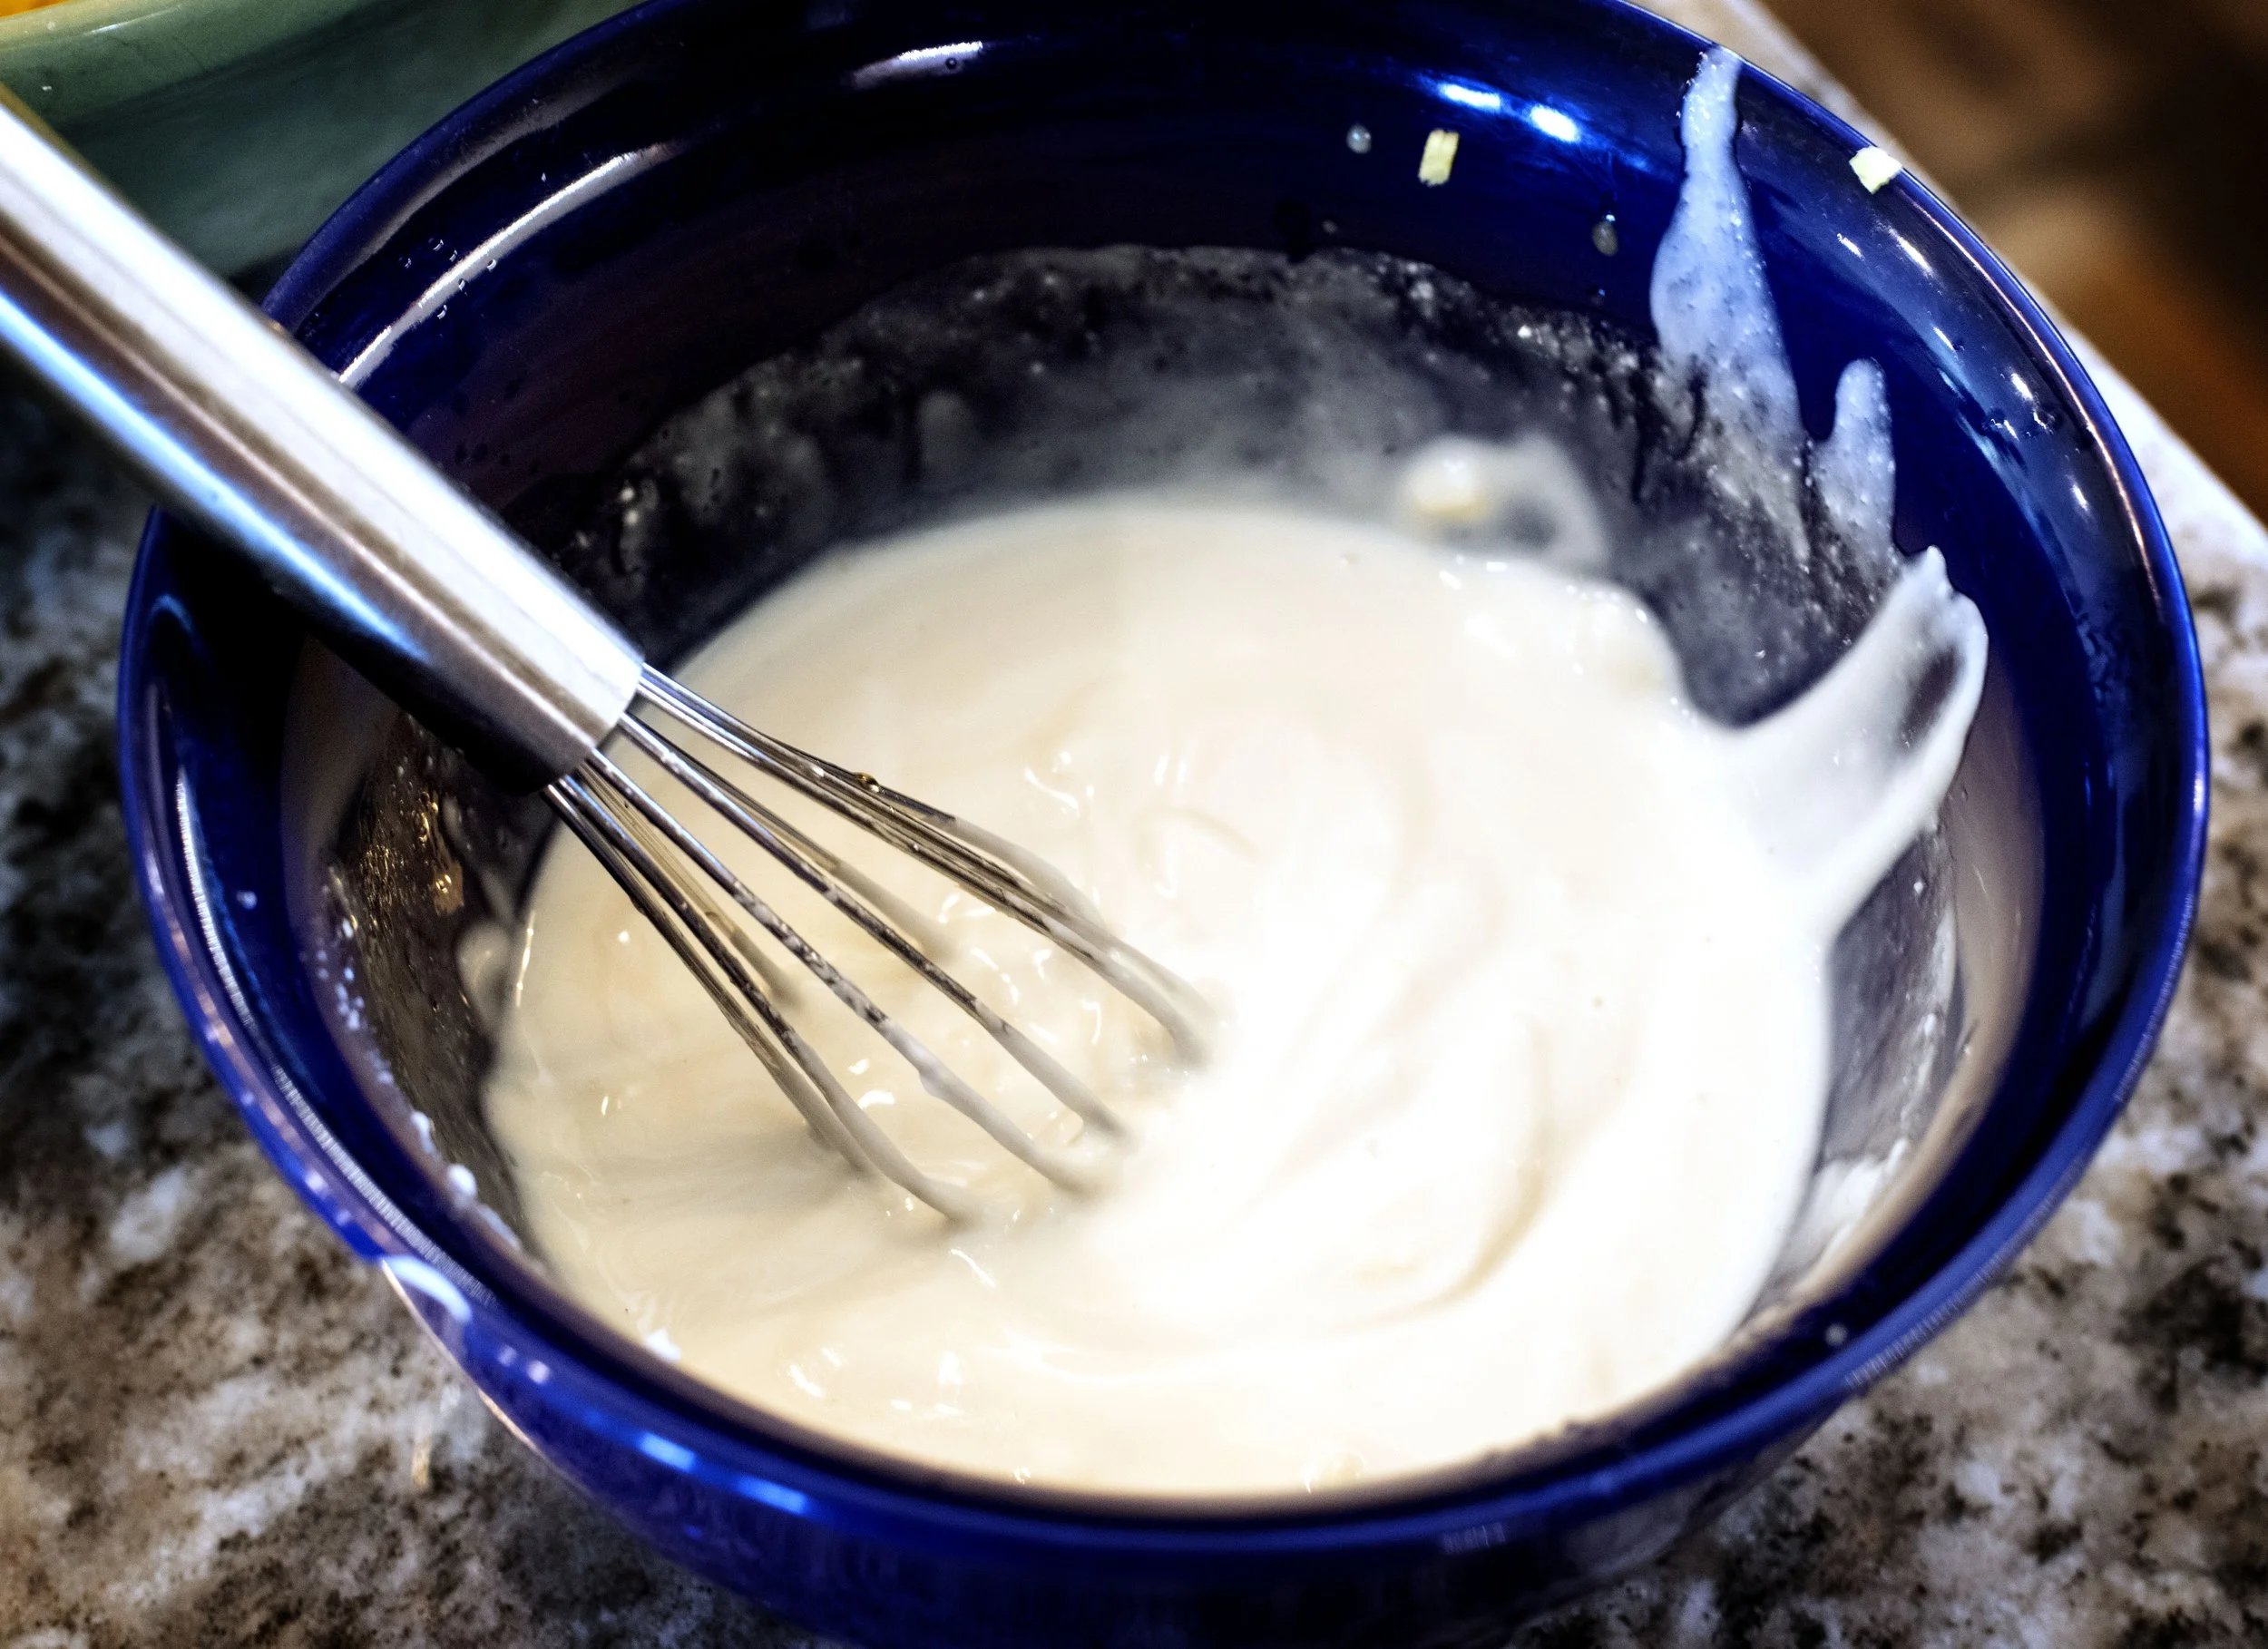
Add the rest of the fresh grated ginger, about an inch piece, and the other tablespoon of honey to the sauce. Squeeze the juice of half a lime over the top and thoroughly whisk until the sauce is smooth and creamy.
Mix the sauce in with the pineapple cucumber slaw until everything is evenly coated. The topping is ready to go!
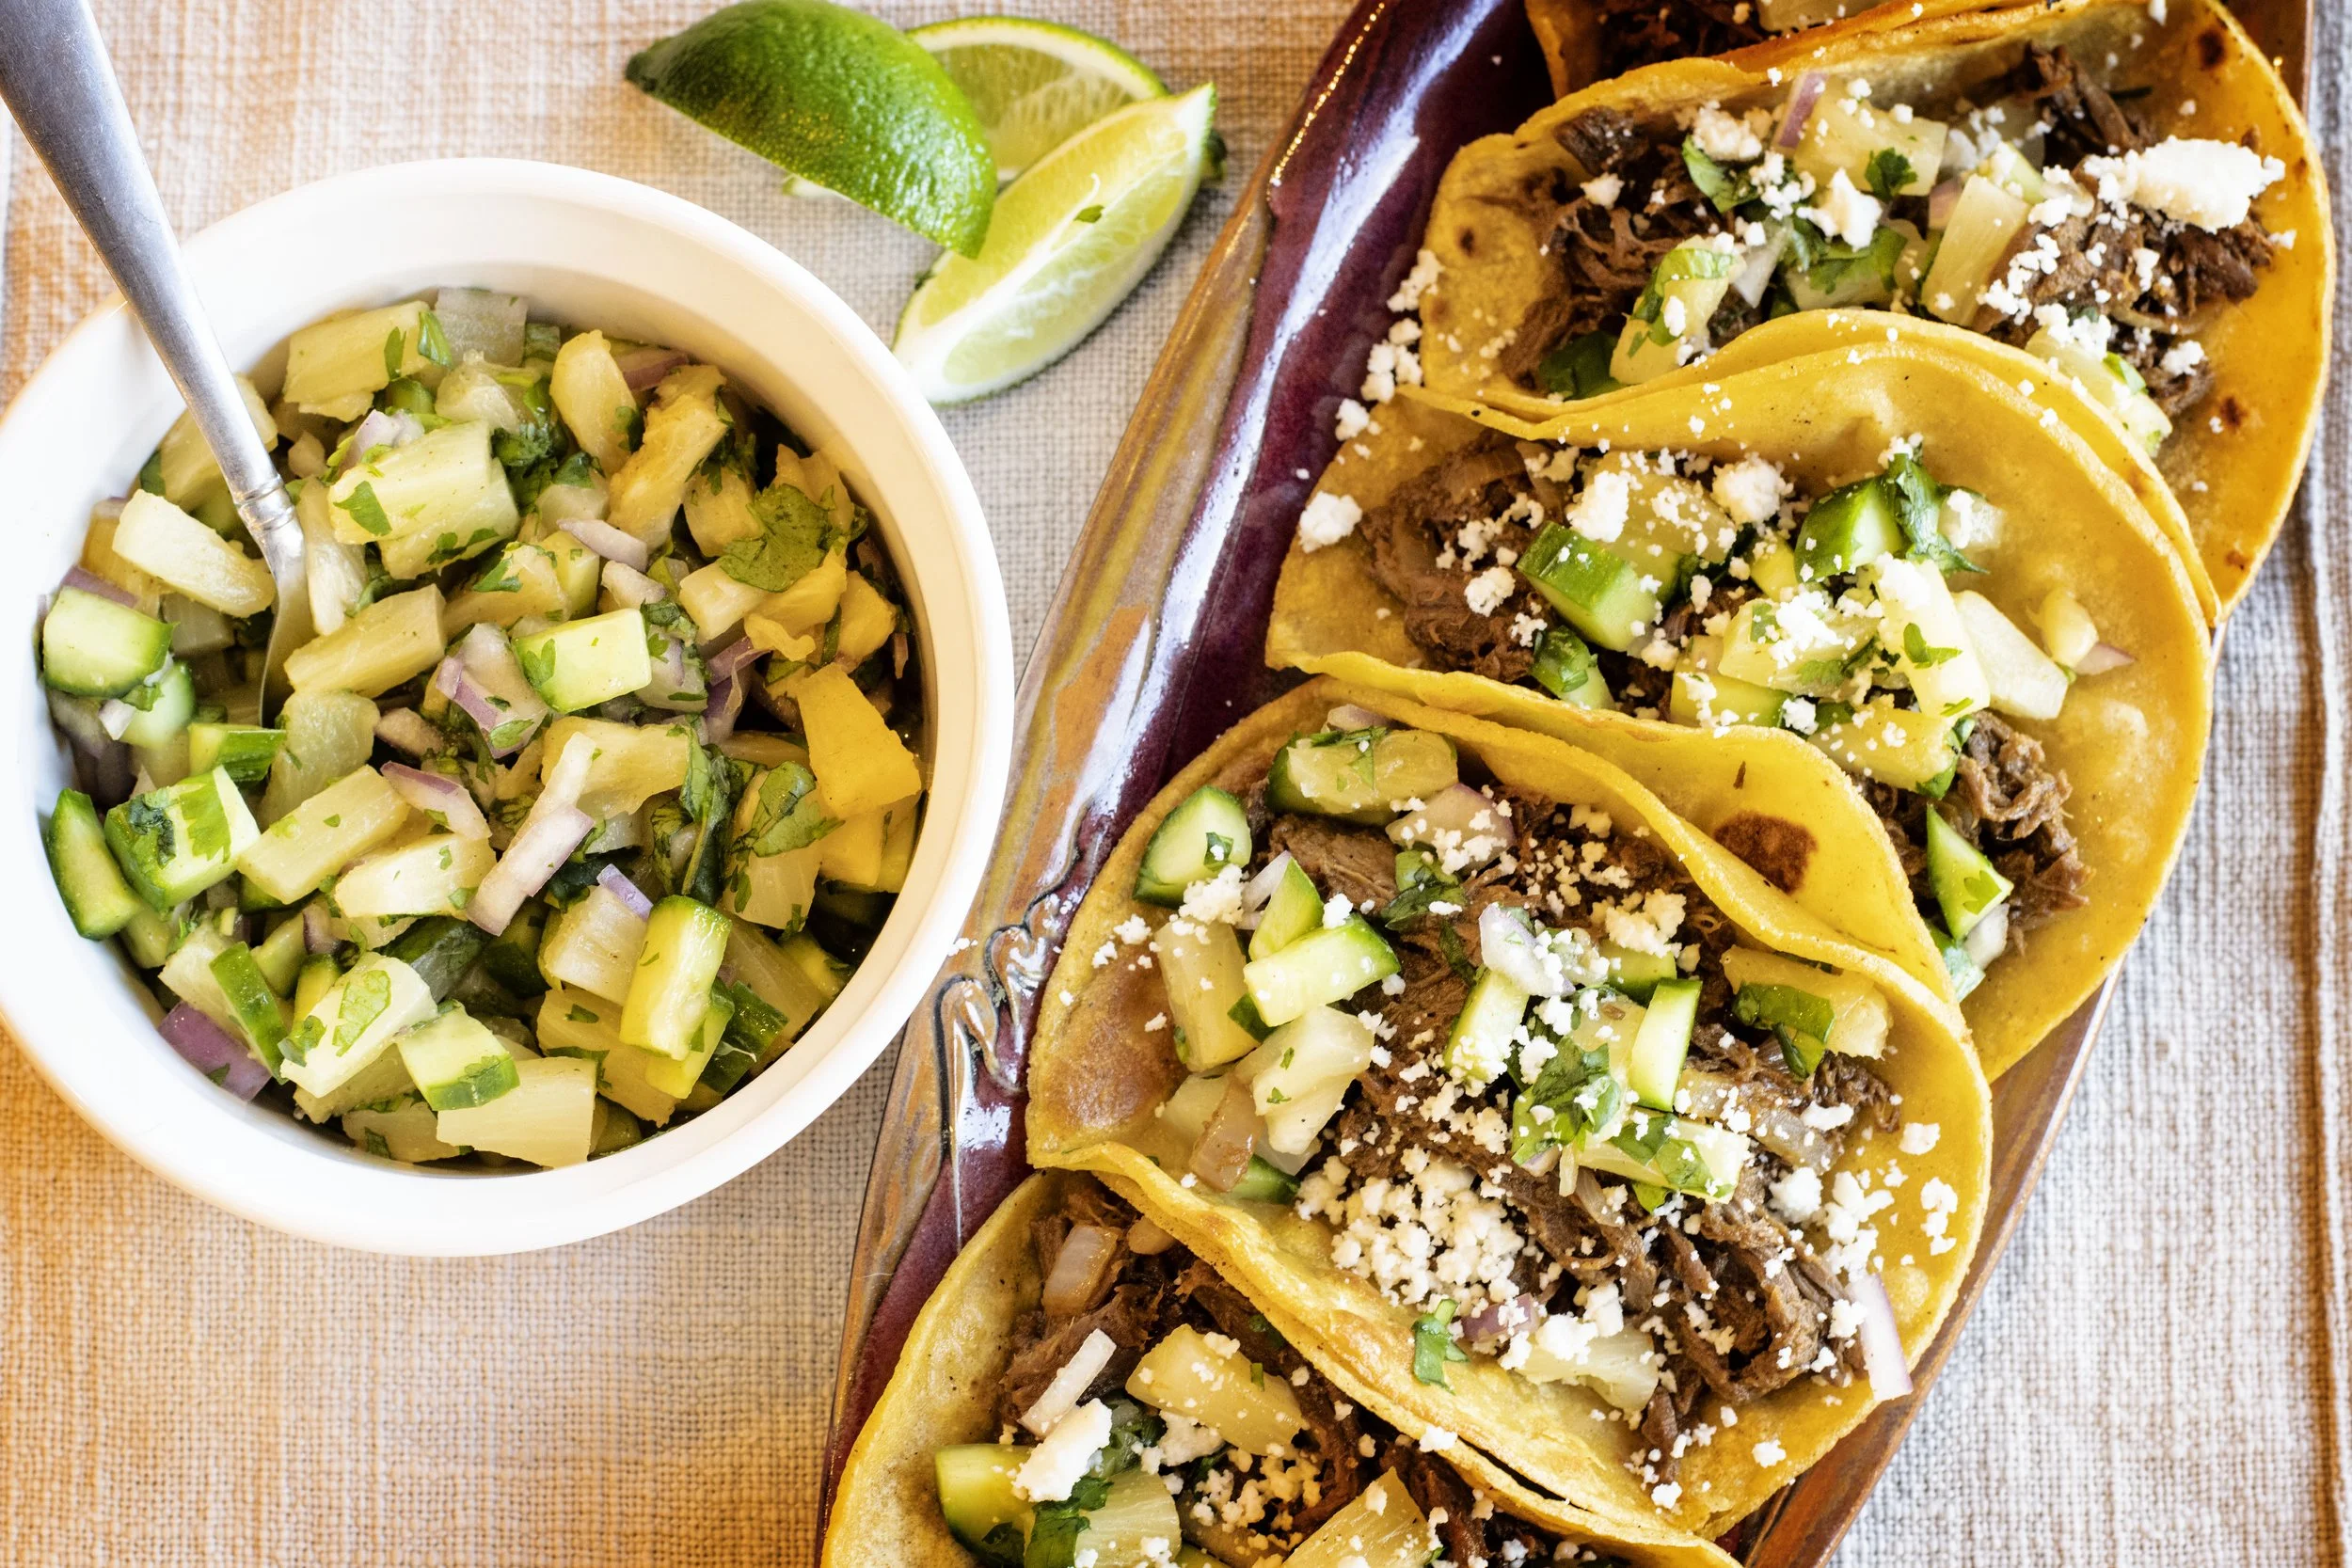
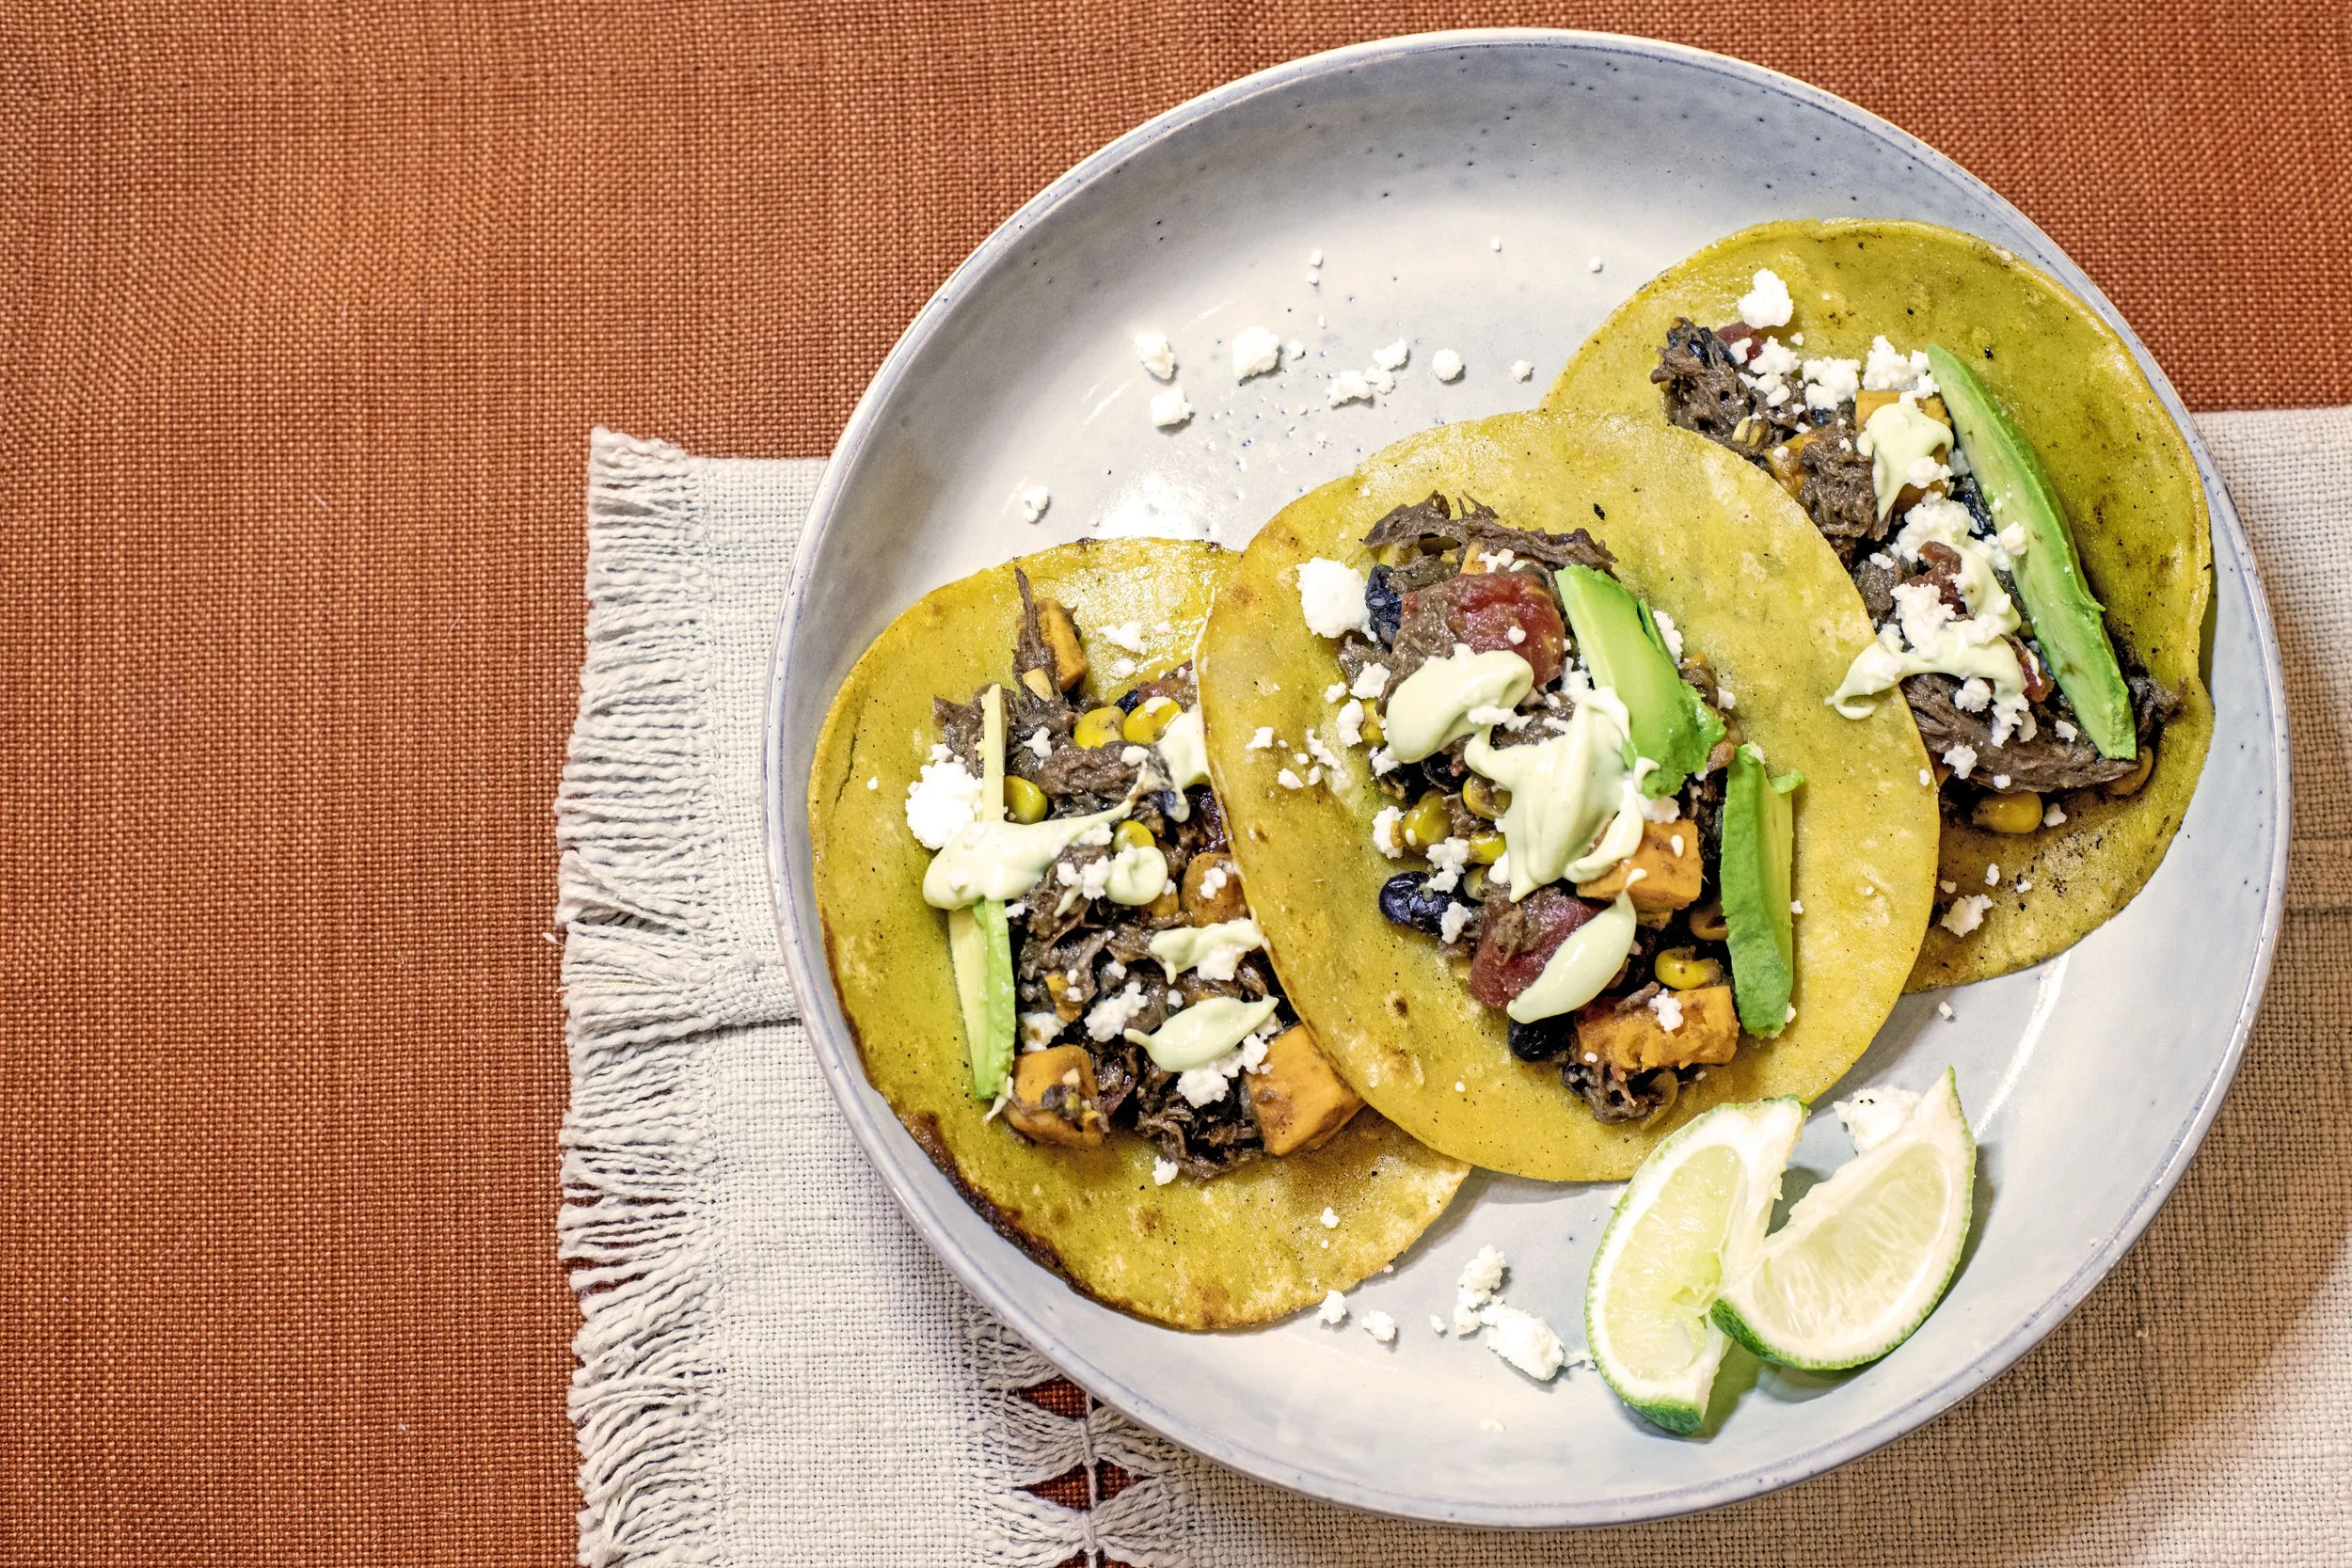
Plate up the Huli Huli Javelina Tacos
All that’s left to do is plate up the tacos and eat! I used corn tortillas for my tacos; however, you could use flour, and as I have said in the past, I will only slightly judge you. I personally feel flour tortillas are reserved for a burrito-style item and corn for a taco, but that is not a hard-set rule and even I break it.
Anyway, in a small skillet, heat a judge a touch of oil over medium heat. The tortillas just need warmed and softened really at this point. Cook them in the lightly oiled pan for about thirty seconds per side. Nothing too crazy here!
Top the warm tortilla with a generous scoop of the Huli Huli javelina and a spoonful of the pineapple cucumber slaw. I think this dish is a great blend of flavors. The javelina meat is tangy and sweet from the pineapple and tamarind. The slaw is refreshing and really jumps out against the warmth of the javelina meat. It’s just a beautiful taco!
Happy Hunting!

Ultimate Instant Pot Huli Huli Javelina Tacos with Pineapple Cucumber Slaw
Learn how to cook tender, shreddable wild game with this easy Instant Pot Huli Huli Javelina Tacos recipe. Topped with a fresh pineapple cucumber slaw!
Ingredients
- 2 pounds javelina meat - tougher cut (I used the neck)
- 1 cup fresh pineapple juice (juiced by you or bottled will work)
- ¼ cup ketchup
- 2 tablespoons brown sugar
- ¼ cup soy sauce
- 3 inch piece fresh ginger, grated (2 inches for the cooking liquid and one inch for the slaw)
- 1 tablespoon corn starch
- 2 teaspoons tamarind paste
- 2 tablespoons honey (1 tablespoon for cooking liquid and 1 tablespoon for the slaw)
- 2 cups shredded green and purple cabbage
- 1 cup pineapple chunks (I used a fresh pineapple for the juice and chunks, could also use canned pineapple tidbits
- 1 cucumber, diced
- ½ cup greek yogurt
- 2 tablespoons rice wine vinegar
- 1 tablespoon coconut aminos
- 1 teaspoon sesame seed oil
- Juice of half a lime
- Corn tortillas
Instructions
- Prepare the Huli Huli Javelina Meat
- Prepare the javelina meat for the pressure cooker by cleaning up any excess fat or connective tissue. Basically, if it looks yucky it goes. Place meat in 6-quart pressure cooker.
- Add the cup of fresh pineapple juice to the cooker. I juiced a fresh pineapple, reserving a quarter of the fruit for chopping into the tidbits for the pineapple cucumber slaw. Bottled pineapple juice will work as well.
- Finish the pressure cooker cooking juices by adding the ketchup, brown sugar, and soy sauce. Grate in about two inches from the three inch piece of fresh ginger, reserving the last inch for the slaw.
- Set the pressure cooker to “high pressure” for 75 minutes. Ensure the venting valve is set to “sealing” or closed. Lock the lid on and press start.
- Let javelina cook for the 75 minutes. When timer notifies cooking time has finished, let the cooker naturally release for 15 minutes then move the venting valve to “release” to remove any remaining steam or pressure.
- Remove the meat from the pot and shred it into bite-sized pieces using two forks. Set aside.
- Make the Huli Huli Sauce
- Turn the pressure cooker to saute function. Remove a quarter cup of the liquid from the pot and in a small bowl whisk it together with the corn starch. Once all the lumps have been removed from the corn starch slurry, return it to the pot with the rest of the cooking liquid. Stir and bring the mixture to a light boil. Add in one tablespoon of the honey and the tamarind. Stir and thicken the liquid.
- Return the shredded javelina to the pot. Toss thoroughly to coat the meat in the sauce. Switch the cooker to "Keep Warm" while you prepare the slaw
- Prepare the Pineapple Cucumber Slaw
- Shred half a head of green cabbage and half a head of purple cabbage, resulting in about two cups of cabbage. Add to a medium size bowl.
- Dice cucumber into bite size pieces. Prepare the pineapple chunks by either dicing up from the reserved pineapple used to make the juice for the sauce or by draining a can of pineapple tidbits. Mix together with the shredded cabbage and cucumber pieces.
- In a smaller bowl, mix up the slaw dressing by combining the plain Greek yogurt, rice wine vinegar, coconut aminos, sesame seed oil, one tablespoon of honey, remaining inch of fresh grated ginger, and juice from half a lime.
- Once slaw dressing is mixed, add to the shredded cabbage mixture and toss until everything is evenly coated.
- To Plate
- Warm corn tortillas in a dry skillet (or with a small splash of cooking oil) until soft and pliable, about thirty seconds per side.
- Place generous scoop of huli huli javelina on warm tortilla. Top with a spoonful of pineapple cucumber slaw.
- Serve immediately with fresh lime wedges.
- Enjoy!
Nutrition Facts
Calories
328Fat (grams)
5 gCarbs (grams)
34 gFiber (grams)
2 gProtein (grams)
36 gNutritional values are rough estimates based on standard ingredients and will vary depending on your specific cut of wild game, brands used, and actual serving sizes.
???? Frequently Asked Questions ????
-
There are lots of options to replace the javelina with for this recipe. If you are going the wild game route, I suggest using a wild turky leg. It will produce the same texture as the javelina when slow cooked. Grouse would also be a great trade out. If I were going to use a bigger game animal, I would actually go with bear. It would produce a similar flavor profile. Non-wild game, I would look at either chicken legs and thighs or a pork roast.
-
A traditional slow cooker, also called crock pot, would work perfect for this meal. It just requires a longer cooking time. I would go for 6 to 8 hours to really get a tender cut of meat for shredding.
Another option is a dutch oven. Mix up the braising liquid the same as you would for the pressure cooker, but instead use an enamel coated dutch oven pot. Set the oven to a low cooking temperature, like 300 degrees Fahrenheit, and cook covered for 4 to 5 hours.
-
Absolutely. Bottled, unsweetened pineapple juice works perfectly fine for the Huli Huli sauce and will still tenderize the meat. The main perk of using a fresh pineapple is simply having the leftover fruit on hand to make the pineapple cucumber slaw!